


Why Your Downspout Drain Is Not Draining: Problem Found at 24 Feet
This blog post is based on a review video titled "This is exactly what I needed! Sanyipace S850DSTKM" posted on the YouTube channel "Concrete with the Houses". The following content is a first-person account of the reviewer's experience using the product and represents only their personal opinion.
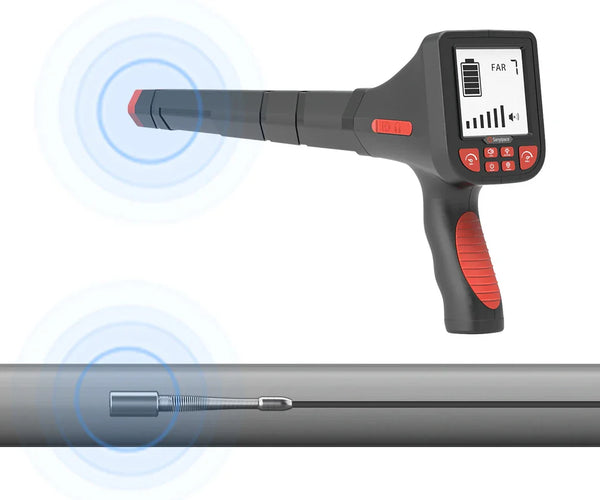
Good morning, everybody. Today, I’m reviewing a new product we received—the Sanyipace sewer camera (S850DSTKM).
A few months ago, the company reached out and asked me to test it. I agreed right away. Last year alone, I had to hire professionals twice to inspect downspout lines—and those inspections cost about as much as this camera.
At around $900 on Amazon, this tool can quickly pay for itself if you deal with drainage or sewer issues regularly. There’s also a discount code available through the channel, which makes it even more accessible.
Sanyipace Sewer Camera Unboxing and Setup

Once you receive the product, the first thing you’ll want to do is fully charge it for about two hours. The owner’s manual is right on top, so take a few minutes to go through it and familiarize yourself with the features.
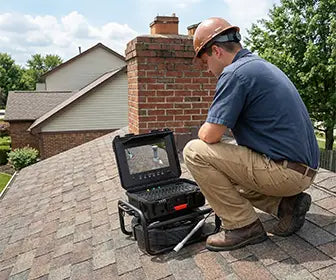
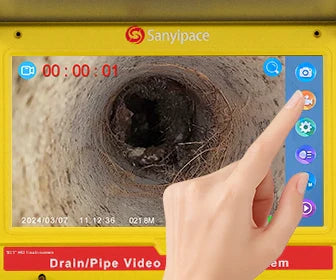
One of the standout features right away is the sun shield, which helps block sunlight when you're using the sewer camera outdoors, making the screen much easier to see. It also comes with a 10-inch monitor, which provides a clear and detailed display.
The pipe camera mounts here, and when you're not using it, make sure to store it safely. This equipment is delicate—whether it costs $900 or $9,000, proper handling is key.
Under the keypad, you’ll find all the included accessories: charging cords, an adapter, a trolley for smoother pipe navigation, and a protective attachment that helps guide the camera head through bends and traps.
Getting Started

To power it on, simply press the button on the right. Within seconds, the system is up and running.
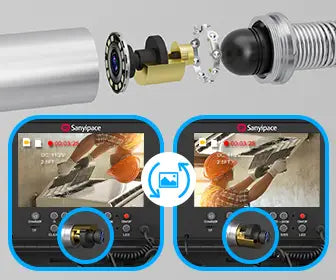
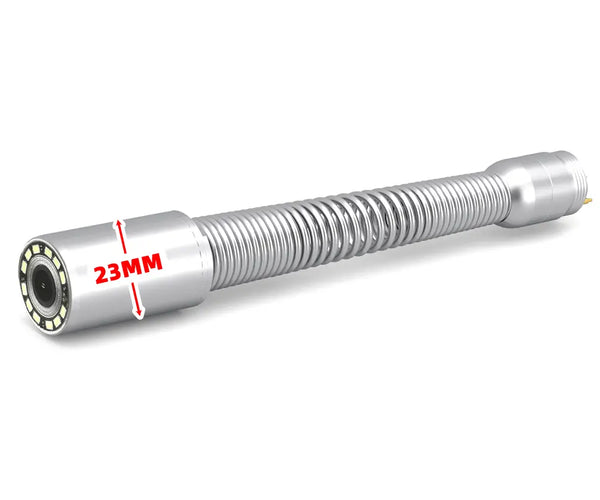
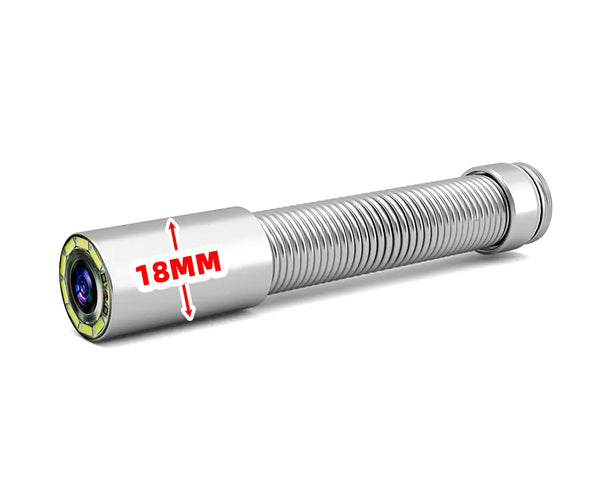
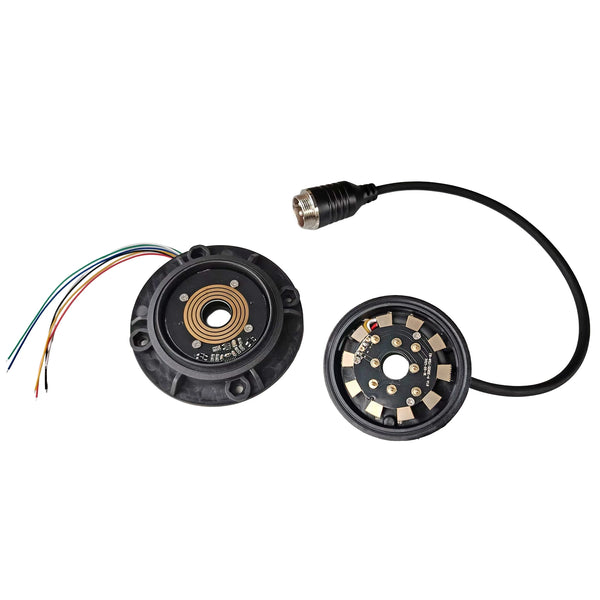
Before use, make sure the camera head is properly attached—remove the protective cap, screw it in, and tighten it by hand. Once connected, the live feed will appear on the screen.
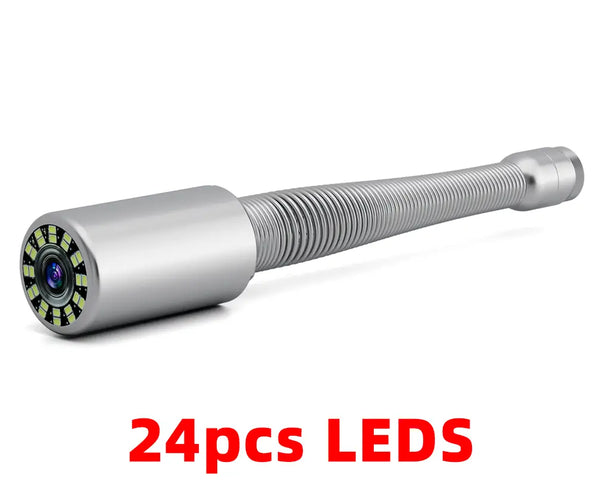
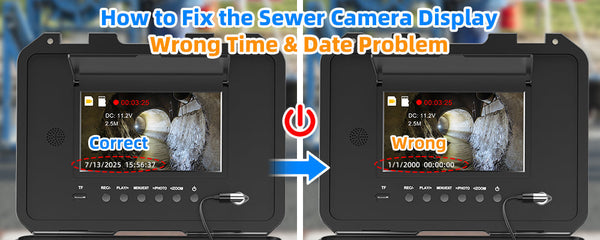
There are several useful settings available, including LED brightness adjustment and time/date setup. You can also take photos and record videos during your inspection.
One minor issue I noticed is related to playback—you’ll need to remove the SD card and transfer the files to a computer to view them. I haven’t fully tested that yet.
Sanyipace Sewer Camera Field Test: Tom’s House
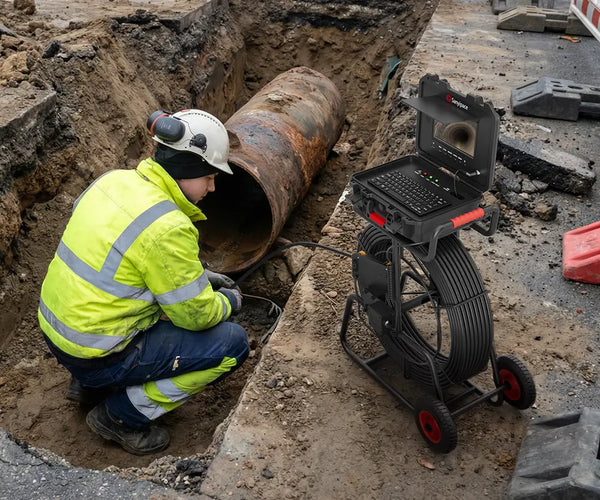
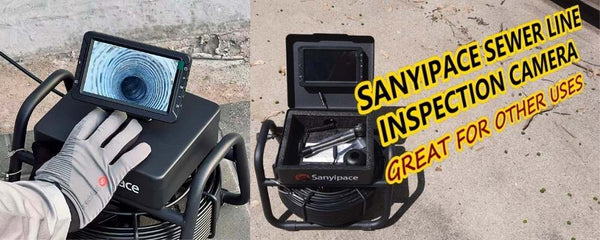
Now let’s take it out into the field. We’re heading over to Tom’s house to check out an issue with his downspout line.
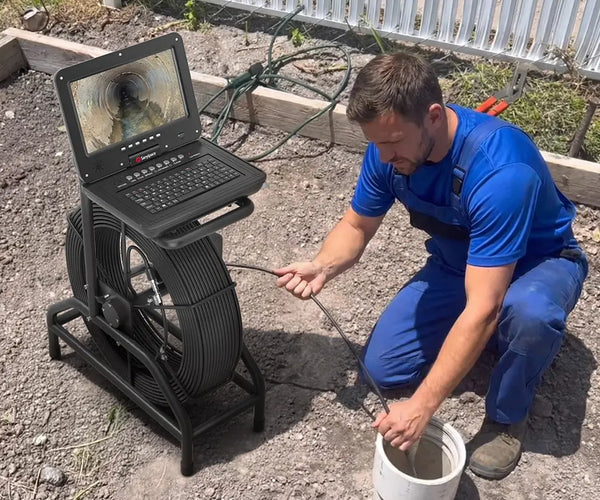
After removing the downspout, we’re ready to begin the inspection. I like to position the unit a bit farther back to give myself more room to feed the cable into the pipe.

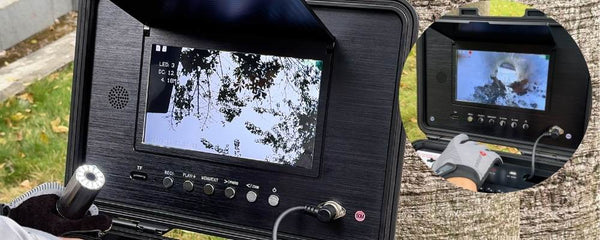
As you can see, the camera head moves smoothly through the pipe, handling bends and turns with ease. One helpful design feature is that the camera automatically maintains orientation, so the top of the pipe stays at the top of the screen.
Inspection Findings
At 7 feet, we start to see some debris inside the pipe.
At 14 feet, the camera continues moving without any issues.
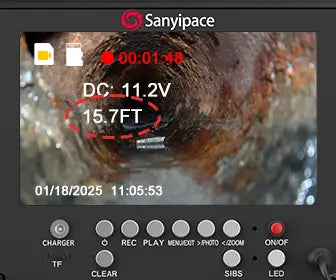
At around 21.6 feet, we hit a bend, and the camera goes underwater. This is a clear sign that something isn’t right. Even so, the image remains surprisingly clear, and we can see the water shifting as we push forward. I marked this location for reference.
Continuing further, at around 24 feet, it becomes clear that there’s a problem. The pipe has settled, creating a low spot where water is collecting and backing up. The concrete above it appears to have settled as well, trapping water in that section.
At this point, the solution would likely involve either cutting and repairing that section or replacing it entirely.
Additional Notes on the Equipment

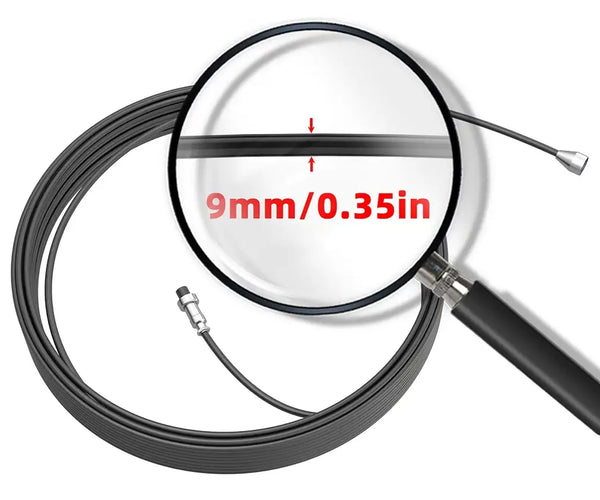
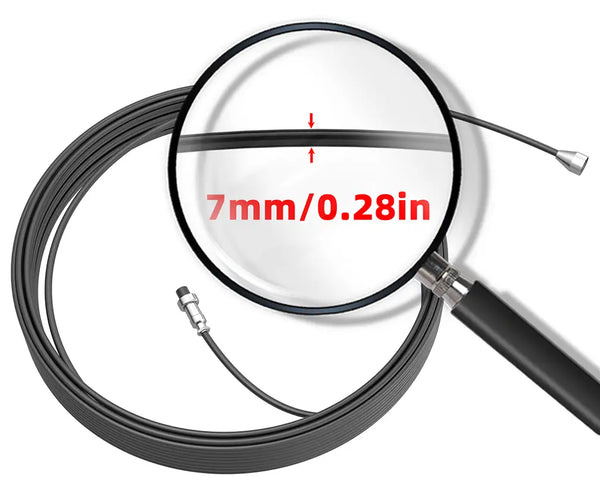
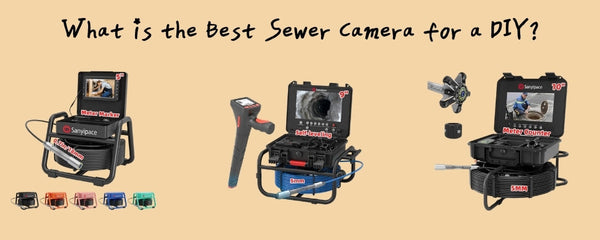
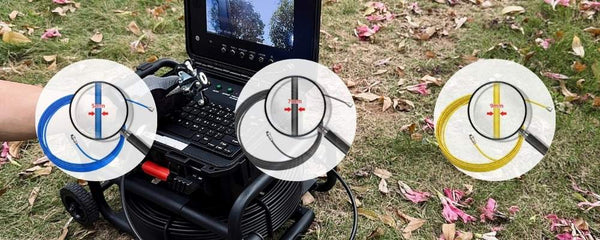
The camera comes with a 5mm cable, which is suitable for inspections up to 75 feet. For longer runs, there’s a version with a 7mm cable that can reach up to 150 feet. For most residential applications, though, the 5mm cable is more than sufficient.
Water Flow Test
To further test the sewer camera, I introduced water into the pipe using a garden hose.
Even with water flowing, the visibility remained good. At 24 feet, the water was moving normally, but at around 18 feet, the pipe was clearly holding water—confirming the presence of a low spot.
My Thoughts on the Sanyipace S850DSTKM Sewer Camera

Overall, I really like this sewer camera. It’s compact, portable, and very easy to use. The image quality is excellent, and all the accessories are neatly organized and readily available.
One feature I particularly appreciate is the ability to record with audio. This allows you to narrate your findings during an inspection, which can be extremely useful for documentation or when working with clients.
Conclusion
In the end, we were able to clearly identify a low spot in the pipe at around 24 feet, where water was collecting. This kind of issue would have been difficult to pinpoint without a tool like this.
The Sanyipace S850DSTKM sewer camera made the inspection process straightforward and efficient, and it proved to be a very useful piece of equipment.
Thank you to Sanyipace for sending this unit out for review. If you’re interested, you can scan the QR code for more details.
That’s all for today—thanks for watching, and I’ll see you tomorrow.


Laisser un commentaire