


How to Use a Sewer Camera?
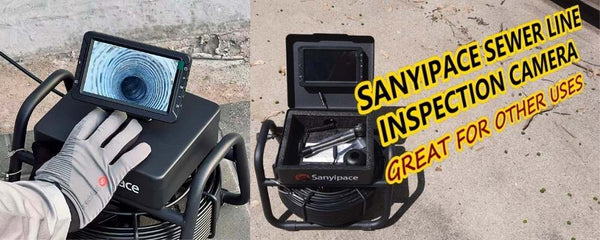
Sewer inspection cameras are no longer just for professionals. Today, more and more homeowners are purchasing these handy devices to inspect their pipes and troubleshoot issues on their own.
You might be wondering: Is it complicated to use? Do I need to hire a professional? The good news is, if you're just performing basic home inspections, you can absolutely do it yourself! Modern sewer cameras are designed to be user-friendly—almost as intuitive as using a smartphone.
In this guide, I will guide you step by step on how to complete the operation of the sewer camera and the related things you need to pay attention to.
No prior experience needed! Follow along, and you’ll complete your first pipe inspection in under 30 minutes. Ready to become your home’s plumbing detective? Let’s dive in!
Understand Sewer Camera
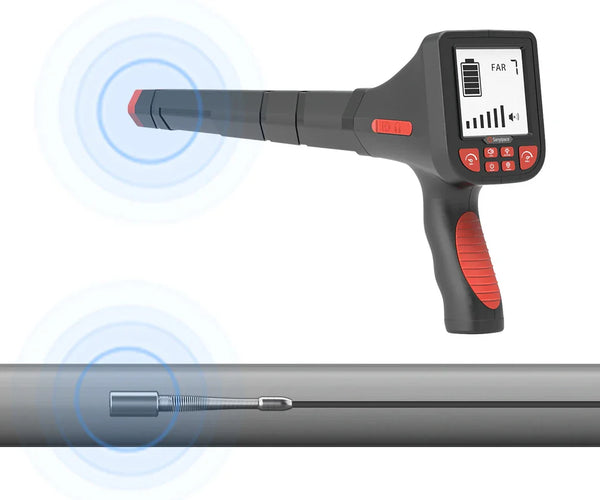
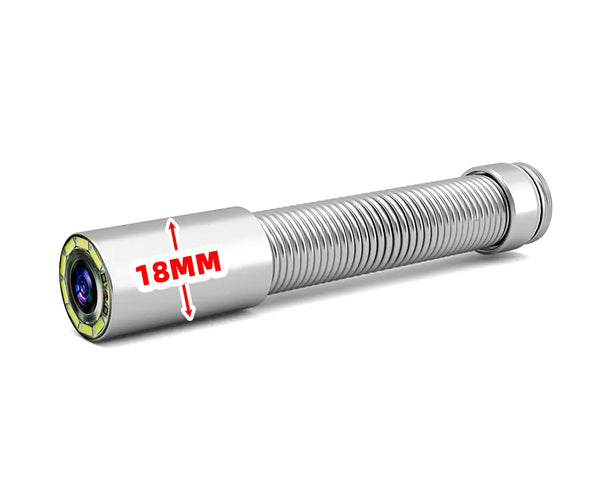
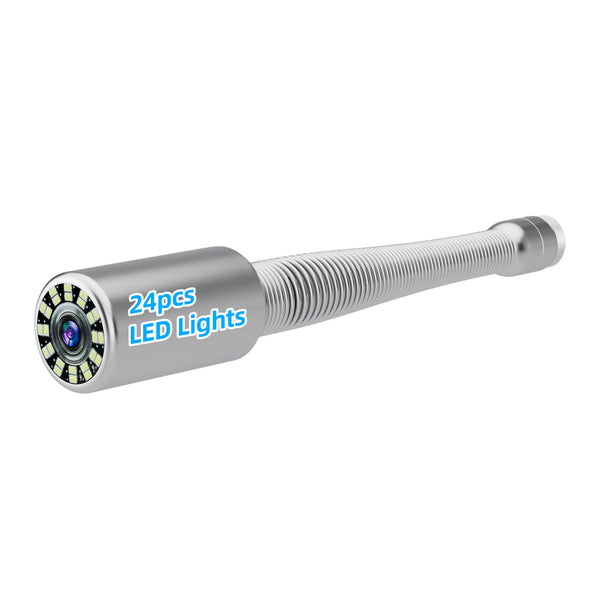
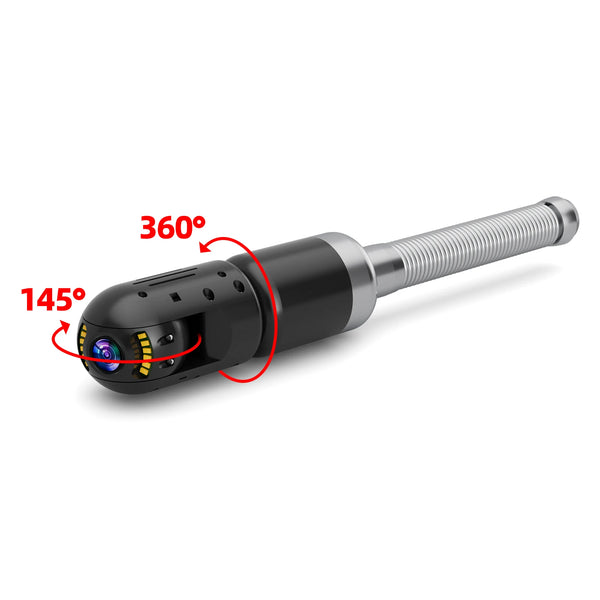
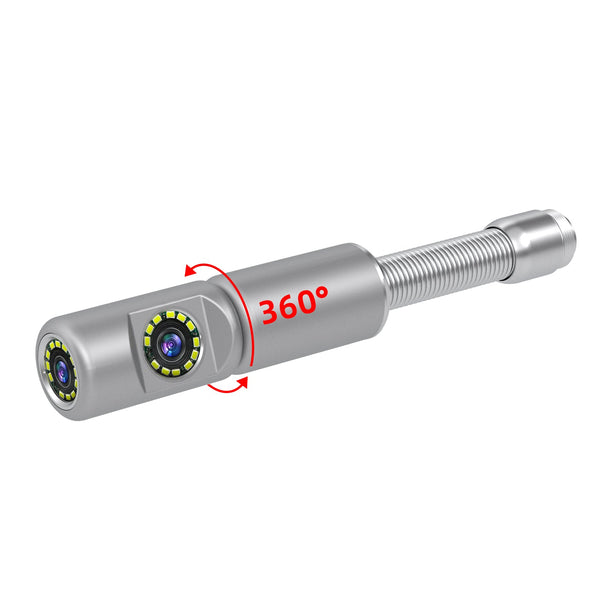
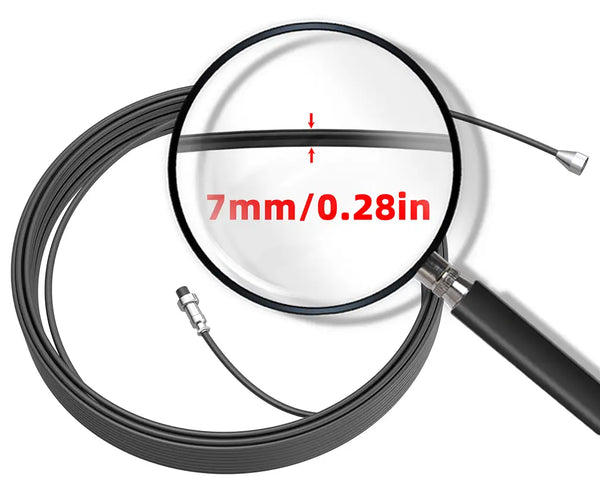
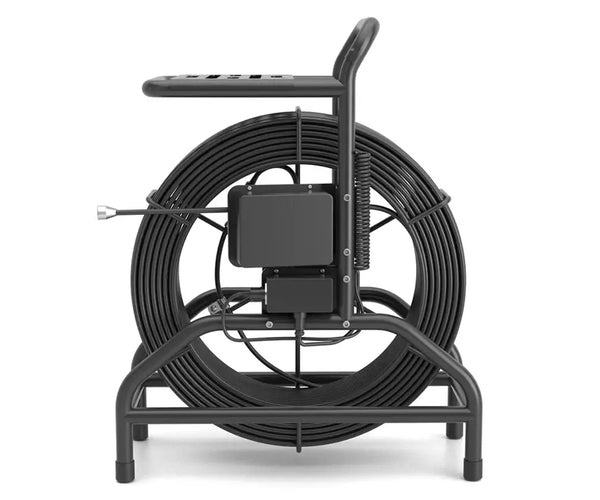
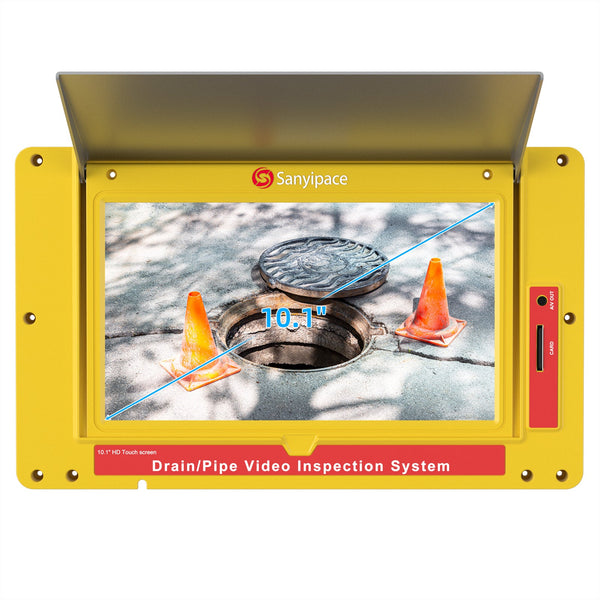
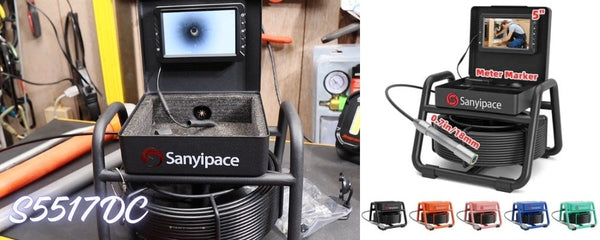
A sewer camera is essentially a tiny, waterproof video camera on a flexible cable that you feed through pipes to inspect their condition in real time. Imagine a medical endoscope, but for your home’s plumbing! These devices typically feature bright LED lights to illuminate dark pipes and a high-resolution camera (often HD) that sends live footage to a monitor or even your smartphone.
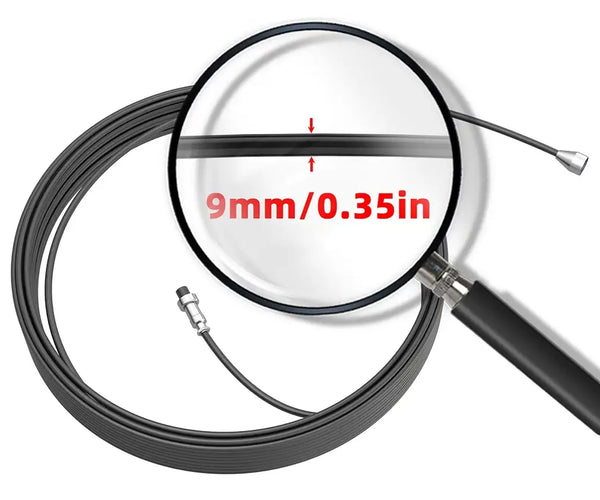
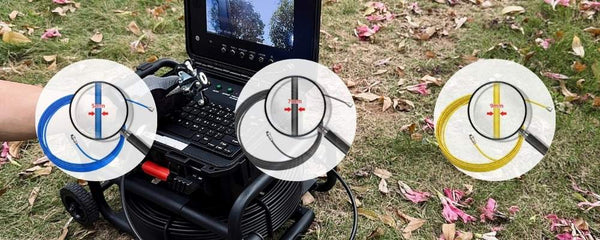
The cable is marked with measurements, so you can pinpoint exactly where a clog or crack is located—say, "15 feet from the cleanout." Modern versions might include extra features like side-view lenses to check pipe walls, transmitters to locate the camera’s position above ground, or even recording capabilities to document issues for plumbers.
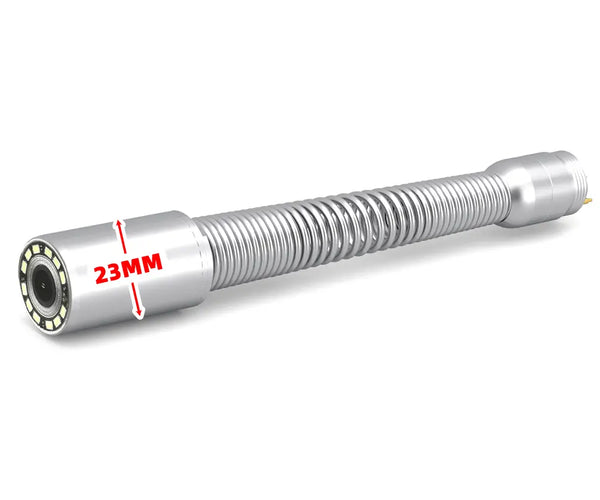
 Originally a tool for professionals, today’s pipe cameras are designed for DIYers too. They come in various sizes (some as slim as 0.4 inches wide) to navigate everything from sink drains to main sewer lines. While basic models work for occasional home use, advanced systems can map entire pipe networks or detect subtle cracks with sonar. The best part? Using one requires no technical skills—just feed the cable, watch the screen, and let the pipe camera reveal what’s hiding in your pipes.
After understanding the definition of a sewer camera, we can begin to learn how to use it step by step. Detailed steps:
Step 1: Prepare Before Starting the Job

Before beginning any inspection work, it’s important to make sure your sewer camera system is ready and fully functional. Go through the following checklist:
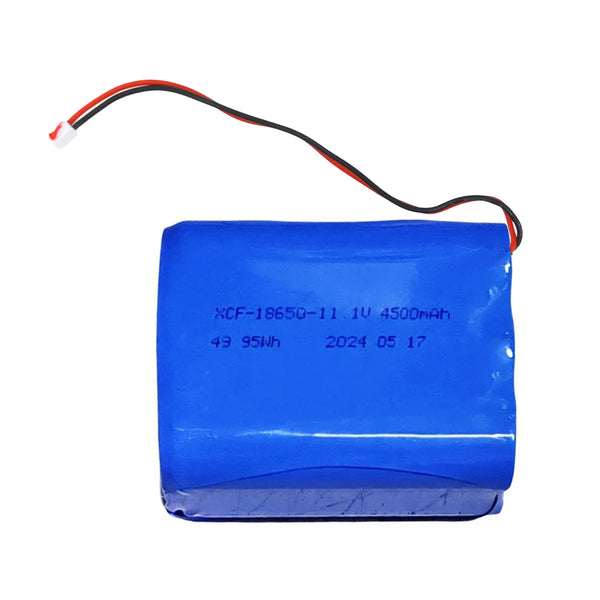
1. Check the Equipment
-
Make sure you’re using a sewer camera with an IP68 waterproof rating.
-
Fully charge the battery to avoid interruptions during the inspection.
-
Power on the device to ensure the system starts up normally and runs smoothly.
2. Inspect the Camera and Display
-
Ensure the camera lens is clean and free of dirt or smudges for a clear image.
-
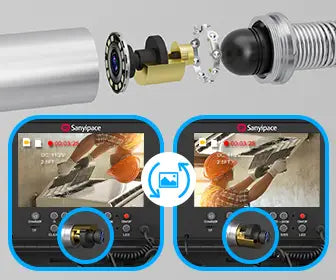
Turn on the monitor and check that the display is sharp, and the camera controls (e.g., rotation or zoom) respond properly.
3. Confirm Storage Capacity
If your camera system supports video recording, check that the memory card or internal storage has enough space for your needs.
4. Prepare Safety Gear
Wear proper protective equipment such as gloves, safety glasses, and waterproof boots to ensure your safety and hygiene during the inspection.
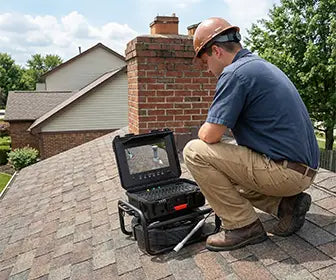
Step 2: Locate a Suitable Access Point

Before starting the inspection, you’ll need to find an entry point that allows easy access to the main sewer line. Common access points include outdoor cleanouts—usually located in the yard, along exterior walls, or underground and covered with a screw cap. If a cleanout isn’t available, you can try accessing the line through floor drains or indoor plumbing fixtures in the kitchen, bathroom, or basement.
Make sure to wear proper protective gear before opening any access point, as you may encounter wastewater or strong odors. It’s also a good idea to have cleaning tools on hand. To improve efficiency, choose an access point as close to the suspected problem area as possible—this reduces the length the camera needs to travel and helps locate issues faster.
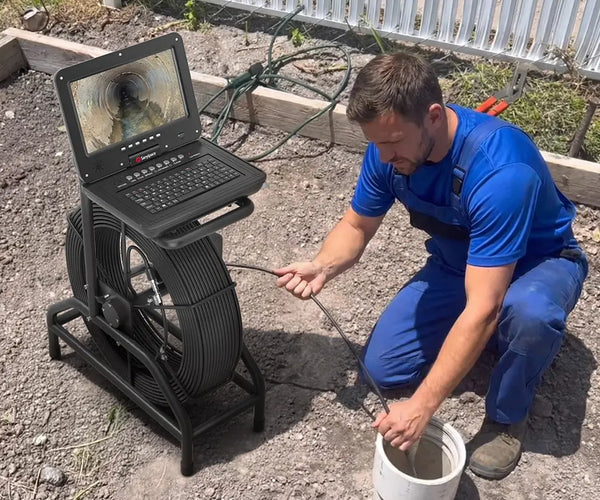
Step 3: Insert the Camera Cable

Before inserting the camera, you can do a quick focus test by pointing it at your hand to ensure the image is clear. Then, slowly feed the camera into the pipe at a steady pace—about 1 foot every 3 seconds. Try to keep the cable as straight as possible to avoid tangles or getting stuck.
Watch the monitor closely as you insert the camera to make sure the video feed stays clear.
Tip: If you feel resistance, don’t force it. Gently twist or pull back slightly, then try again. The blockage could be due to sharp bends, root intrusion, or debris in the pipe.
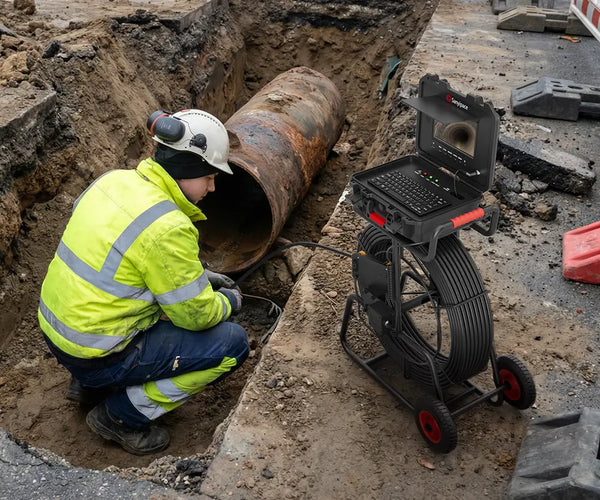
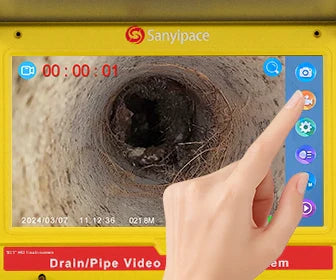
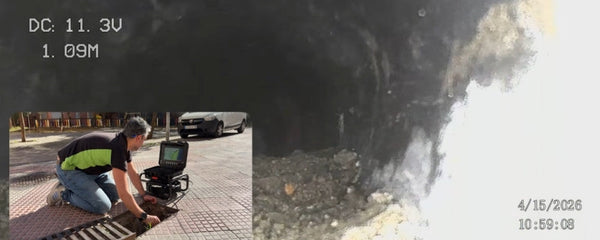
Step 4: Monitor and Record the Inspection

As you feed the cable through the pipe, keep an eye on the live feed from the camera. Watch for common issues such as:
-
Cracks in the pipe (often jagged dark lines)
-
Tree roots (look like fine white strands)
-
Sagging or collapsed sections
-
Grease buildup or clogs (cloudy or uneven pipe walls)
Most sewer cameras include a recording function—be sure to use it. Save the footage for later review or to share with a plumber or client.
Step 5: Mark Problem Areas

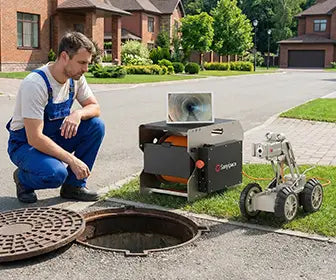
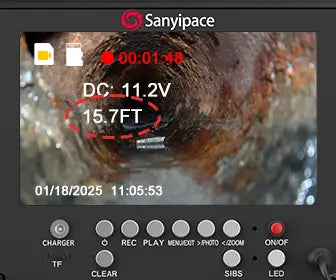
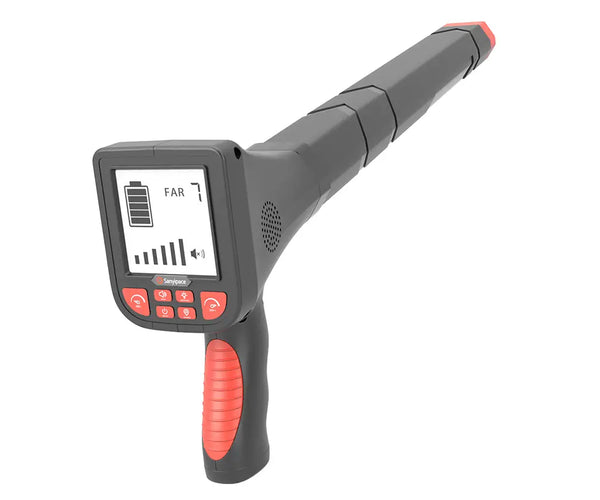
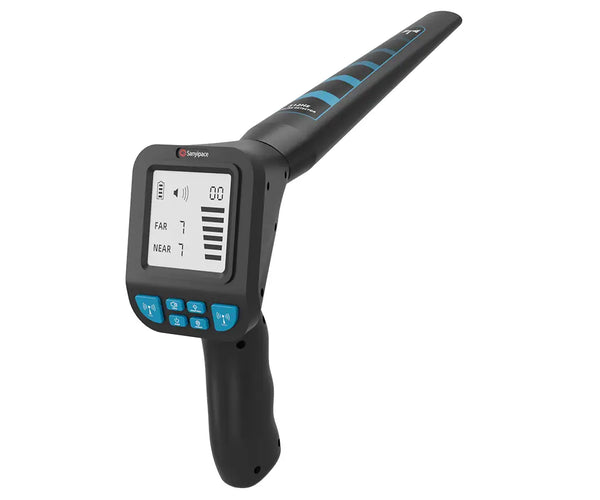
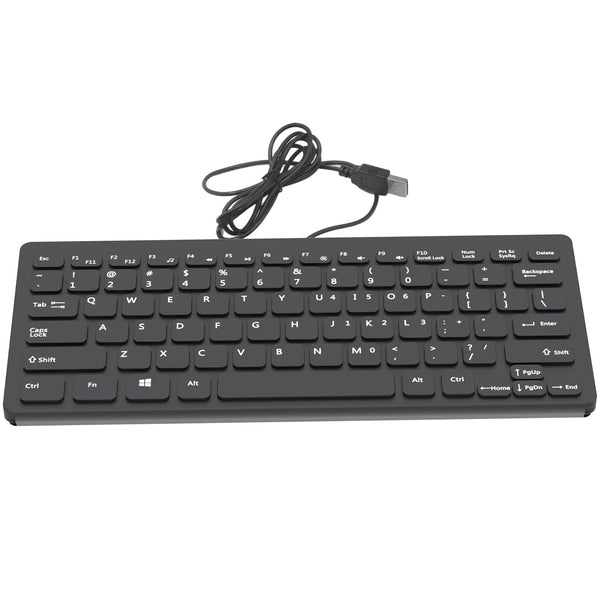
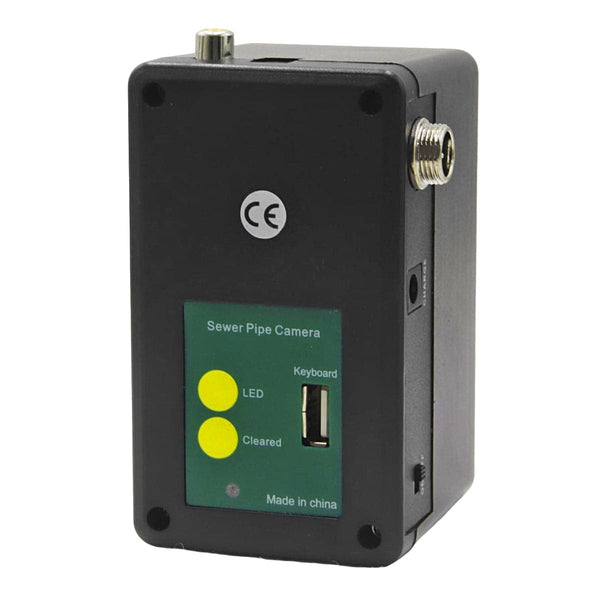
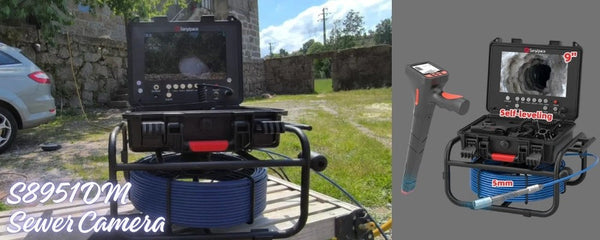
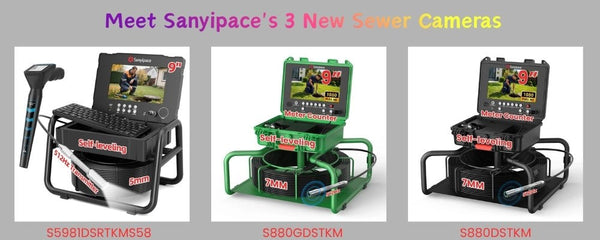
Professional sewer cameras like those from SANYIPACE often come with built-in distance counters or sonde transmitters for location tracking. Some models also include a keyboard so you can add notes in real time.
Use these features to mark the exact depth and location of any issues you find. If your camera doesn’t have these features, estimate the cable length and use timestamp notes in the recording for reference.
Step 6: Remove and Clean the Camera
Once you’ve inspected the necessary section, slowly retract the camera. Clean the cable thoroughly with disinfectant wipes or a hose, especially if it came into contact with untreated wastewater.
Step 7: Review and Plan Next Steps
Go through the recorded footage to identify issues and plan your next actions:
-
Minor clog? Try using a drain auger or a high-pressure water jet (hydro jetting).
-
More serious damage? Consider contacting a licensed plumber for repair or replacement.
Troubleshooting Quick Reference
|
Problem |
Solution |
|
Blurry image |
Clean the lens with a microfiber cloth |
|
No signal |
Check all connection points |
|
Cable stuck |
Gently twist while pulling back |
|
Low light |
Increase LED brightness gradually |
Final Thoughts
At first, using a sewer camera might seem complicated, but with the step-by-step guidance in this article, you should now have a solid grasp of the basic operation.
In reality, using a sewer camera isn't difficult—it just requires patience and attention to detail. Take your time, monitor the screen carefully, and don’t forget to clean the equipment after use. When done properly, a sewer camera can quickly identify issues and help prevent small problems from turning into costly repairs.
For many homeowners, owning a sewer camera can be a cost-effective and convenient solution, giving you the flexibility to inspect your pipes anytime without relying on a professional every time.
Cilik to learn: Is Sewer Camera Inspection Worth It?


Leave a comment