


It usually takes 30 minutes to an hour. The time depends on how long the pipes are and how tricky the problem is. If there are many issues, it might take longer.
Is Sewer Camera Inspection Worth It?
When it comes to home maintenance, most people focus on the visible aspects of the house—such as the roof, windows, HVAC systems, and paint. One of the most overlooked areas is the sewer line, a crucial part of your home’s plumbing system.
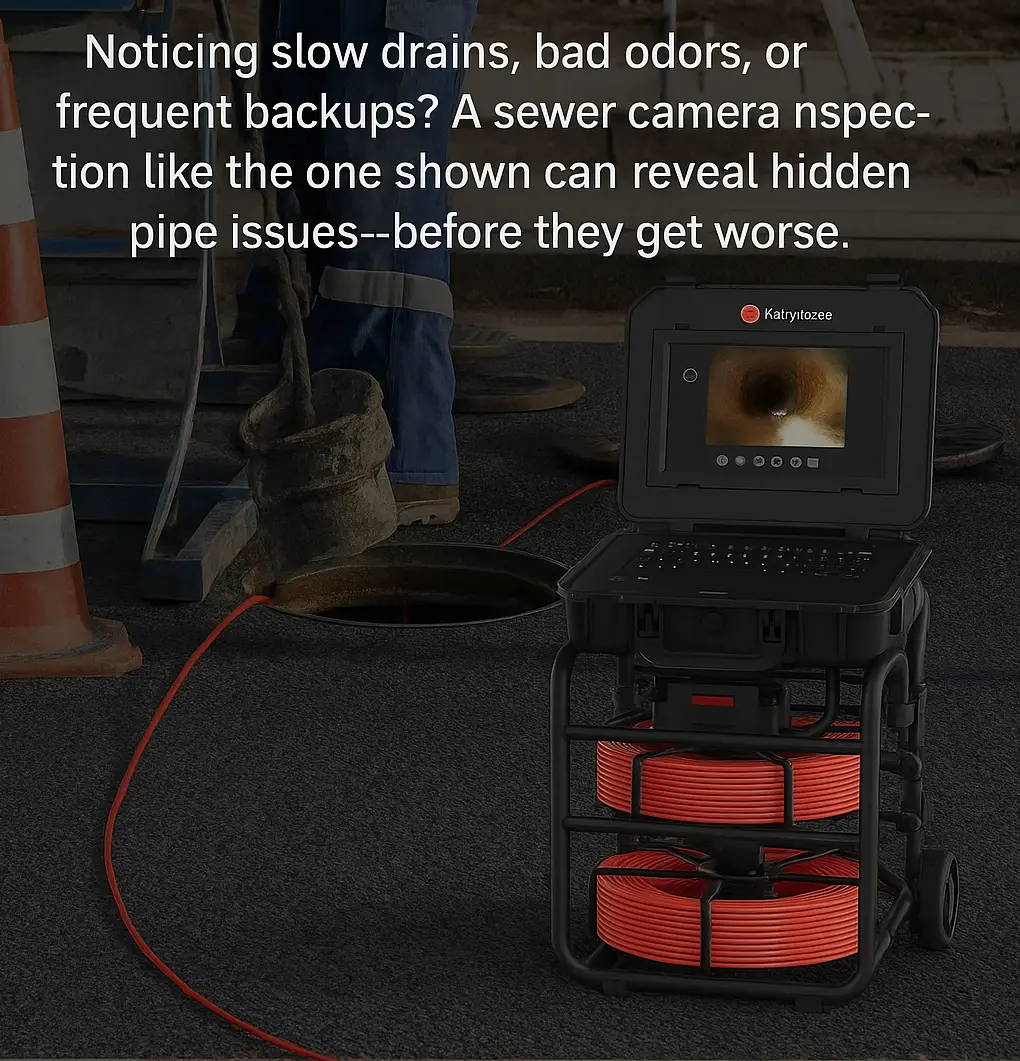
If you’ve ever experienced slow drainage, clogs, frequent backups, or unpleasant odors, you may be wondering: Is a sewer camera inspection worth it?
The answer is a definite yes!
In this blog post, we’ll examine the benefits of sewer inspection camera inspections, how they work, and when you might need one—so you can decide whether it’s the right solution for your plumbing concerns.
What is Sewer Camera Inspection?
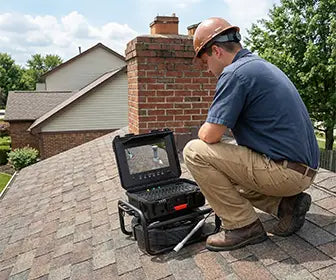
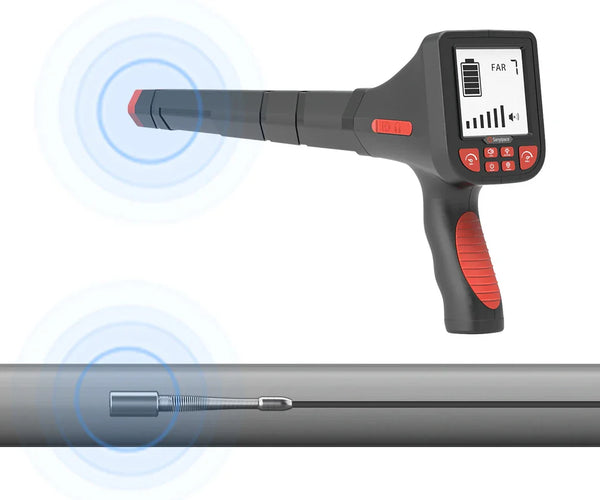
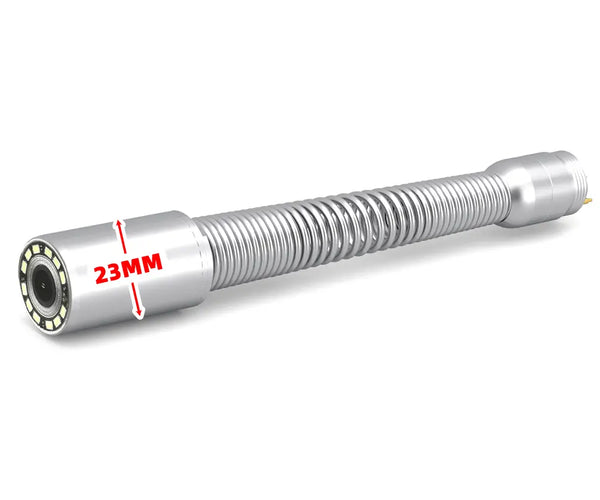
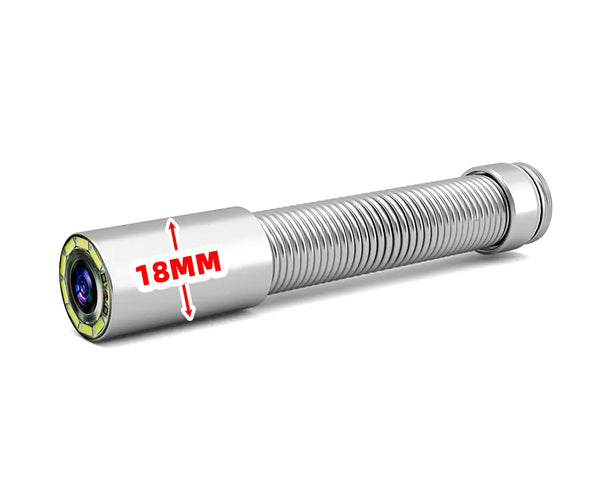
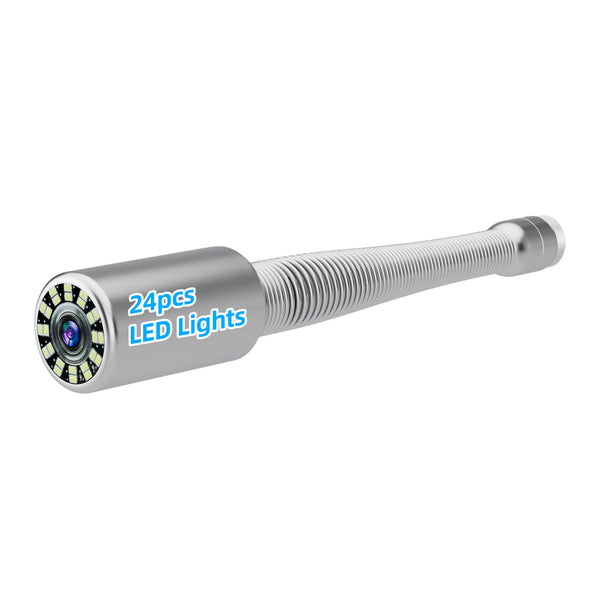
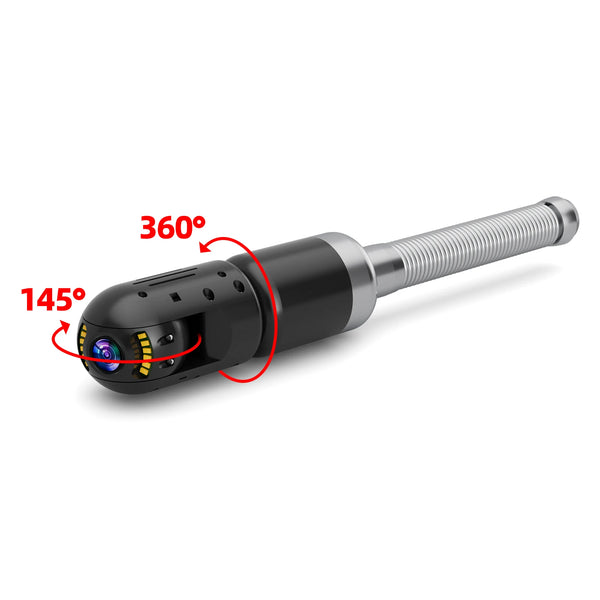
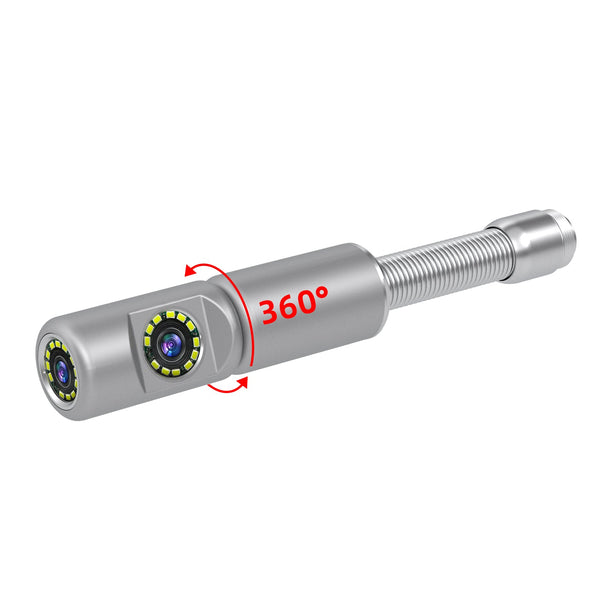
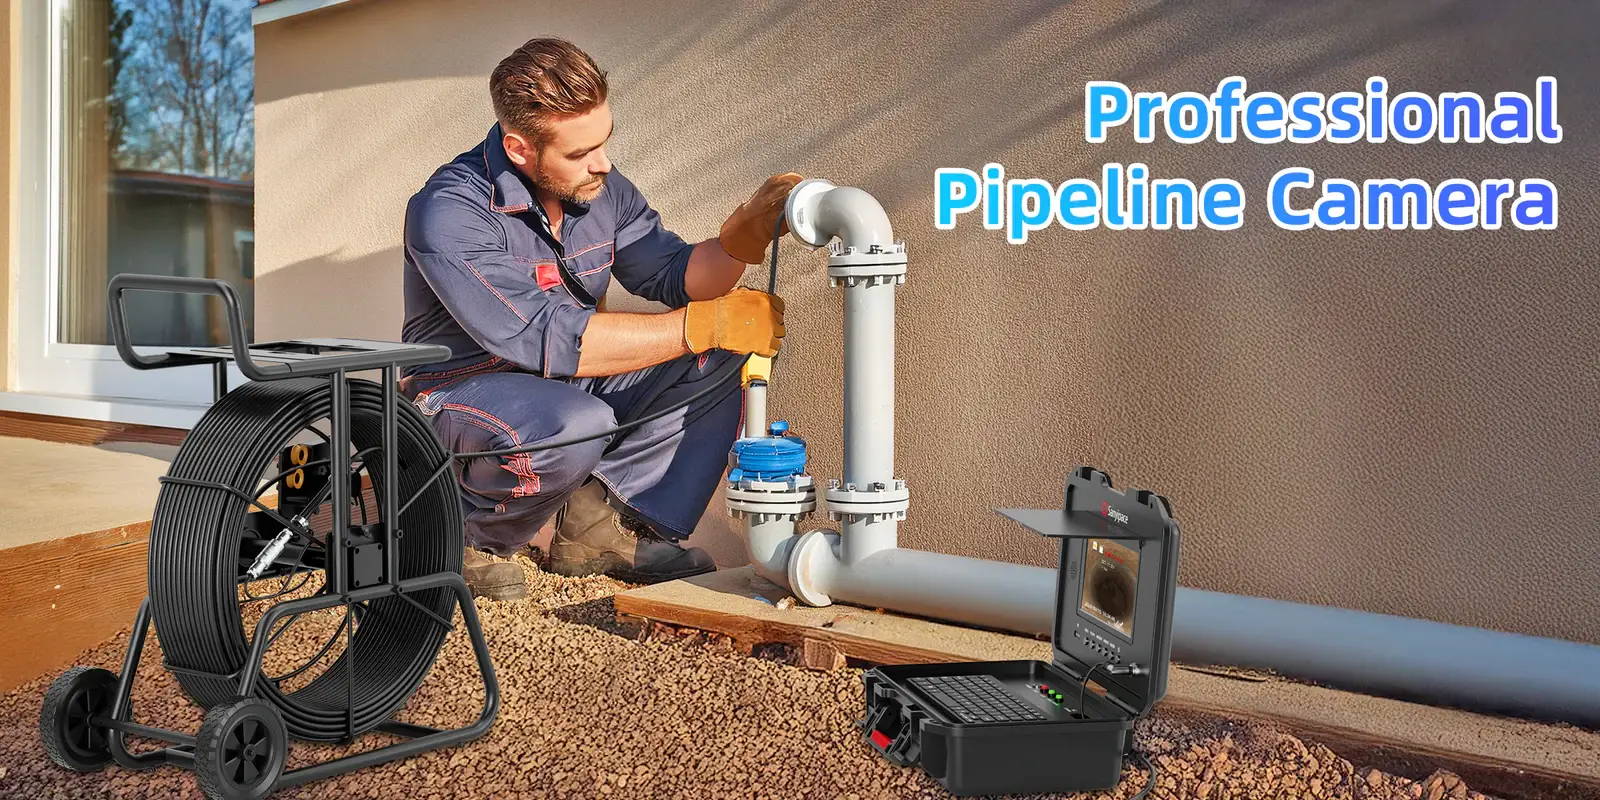
A sewer camera inspection is a non-invasive diagnostic method used to examine the interior condition of your sewer lines. It involves inserting a waterproof, high-definition video camera mounted on a flexible rod into your drain or sewer line.
As the sewer camera travels through the pipes, it sends real-time footage to a monitor, allowing a plumber to see the inside condition of the pipes in detail.
The technology helps identify issues like:
- Tree root intrusion
- Pipe misalignment or collapse
- Grease buildup or clogs
- Corrosion and cracks
- Foreign object blockage
- Slow drainage and backups
Is Sewer Camera Inspection Worth It?
Yes, regular sewer camera inspections can help us detect potential issues and save dollars in the pipeline system early, such as blockages, tree root damage, cracks, or corrosion.
By identifying these problems before they escalate into costly emergencies, you can save thousands of dollars in expensive repairs and yard restoration costs caused by excavation. It is a wise preventive investment that provides long-term peace of mind.
Benefits of Sewer Camera Inspections
Regularly checking sewers and various pipes in the home can help detect problems such as blockages or leaks early, which can effectively save high repair costs later.
Here are the benefits of using a sewer camera inspection:
✅ 1. Early Problem Detection
Stop plumbing issues before they get worse. Sewer camera inspections help spot clogs, cracks, or leaks early—preventing costly damage to your home or yard. Regular checks also give you peace of mind and help with long-term maintenance planning.
Tip: Routine inspections turn small issues into simple fixes—not expensive repairs.
✅ 2. Save on Repair Costs
No one likes surprise repair bills. Early detection means small, low-cost fixes instead of major pipe replacements. Studies show plumbing camera inspection tools can reduce city maintenance costs by 30% and increase inspection efficiency by 75%. Homeowners save too—early fixes protect both your home and wallet.
✅ 3. Non-Invasive and Accurate
Forget tearing up your yard or walls. Sewer cameras deliver clear, high-res footage from inside the pipes—no damage needed. You'll know exactly what and where the issue is, enabling faster, more precise repairs.
Note: Non-invasive methods also help protect the environment while saving time and money.
✅ 4. Ideal for Buyers and Sellers
Buying or selling a home? A sewer camera inspection can reveal hidden issues before they become nightmares. For buyers, it ensures the plumbing is in good shape. For sellers, it boosts buyer confidence and speeds up the sale.
Many inspections now include sewer checks—proof of their growing value in real estate.
Tip: A small investment upfront can save you thousands later—whether you're buying or selling.
How Do I Know if I Need a Sewer Camera Inspection?
If you don’t know when to get your sewer inspected, check your home’s sewer lines for the following signs:
- Slow Drains: If water drains slowly in sinks, tubs, or showers, it could mean a blockage or damage in the line.
- Frequent Clogs: Recurring clogs, especially in multiple drains, suggest a deeper issue in the main sewer line.
- Sewage Backups: If wastewater backs up into your home, especially in the basement or lower-level fixtures, you need an inspection right away.
- Unpleasant Odors: Smelling sewage indoors or near drains could mean there’s a crack or leak in the system.
- Lush or Soggy Patches in Yard: Unexpectedly green or wet spots could signal a leaking underground pipe.
- Old or Large Trees Nearby: Tree roots are a common cause of pipe damage. If you have mature trees near your sewer line, it’s smart to check for intrusion.
Bonus Tip: If you’re buying an older home (especially 20+ years old), a sewer camera inspection is a must—even if there are no obvious issues yet.
If any of the above problems occur in your home, you can check whether there is a problem with the sewer to avoid more repair costs in the future!
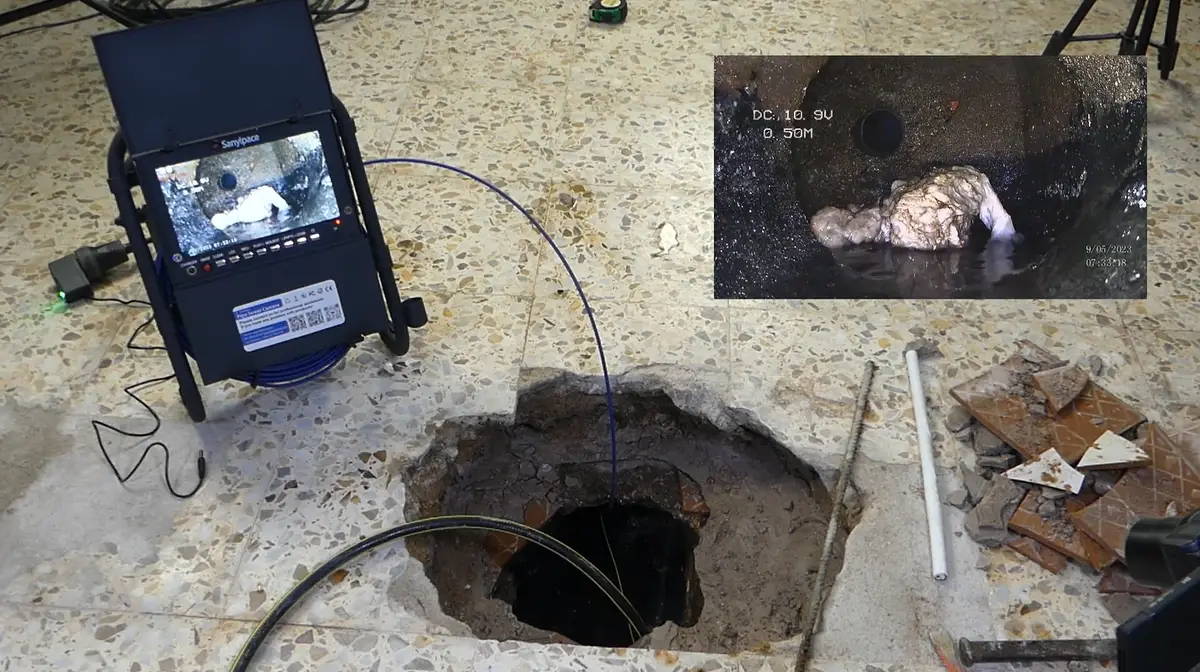
How to Perform a Sewer Camera Inspection
You don’t need to be a professional to inspect your sewer. As long as you have the equipment set up and access to an entry point, you can perform a basic inspection yourself. Here are the main steps to follow:
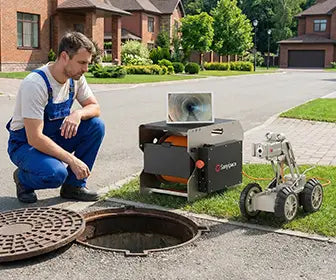
1. Locate the Access Point
Find the cleanout access—this is usually a capped pipe located outside your home, in a crawlspace, or the basement.
It connects directly to your main sewer line and is the ideal place to insert the camera.
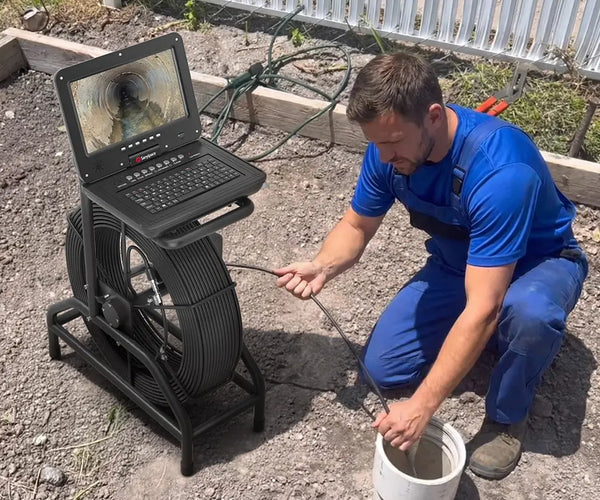
2. Insert the Camera
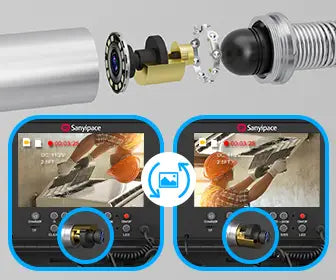
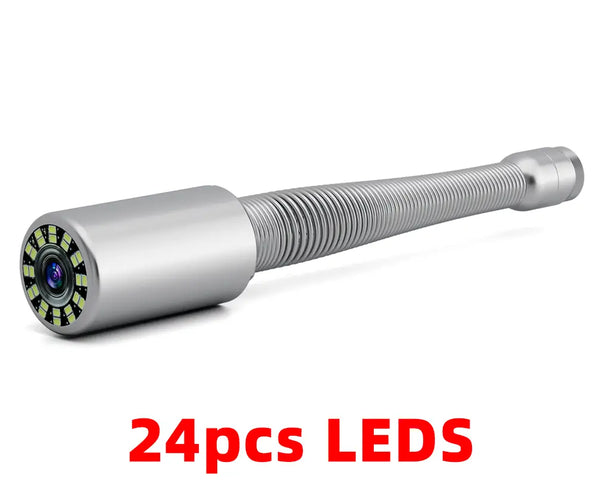
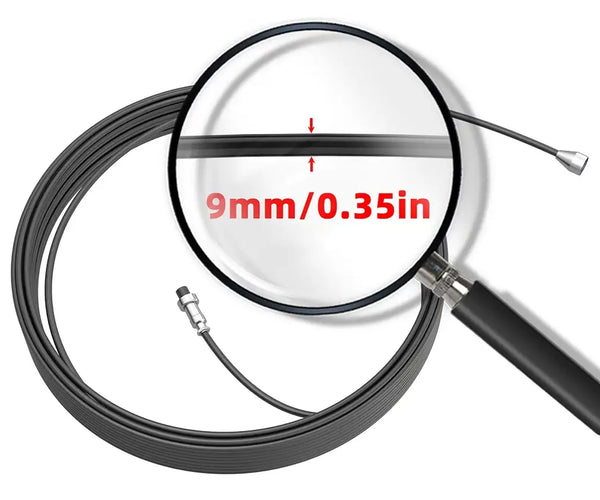
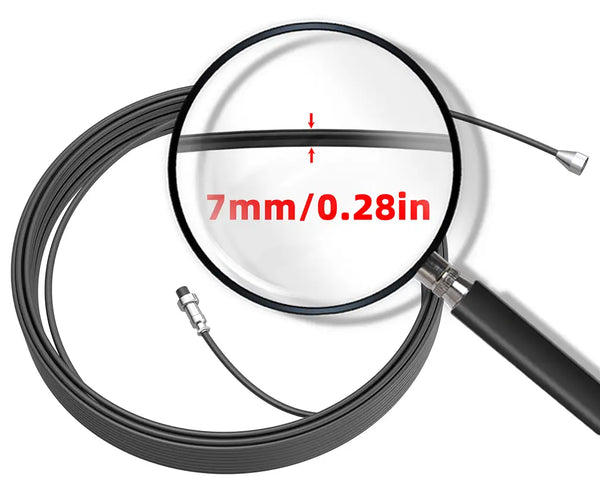
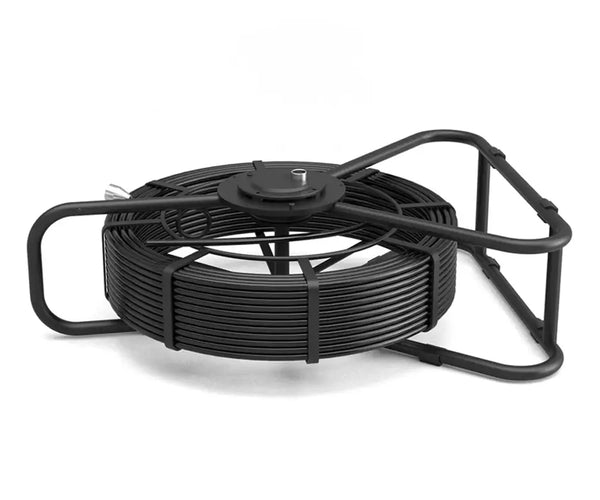
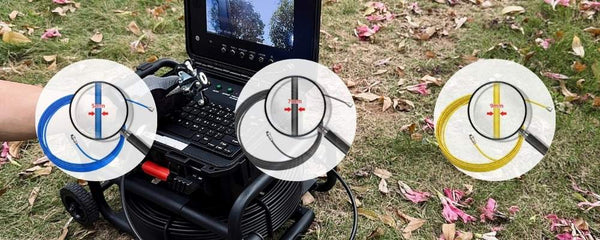
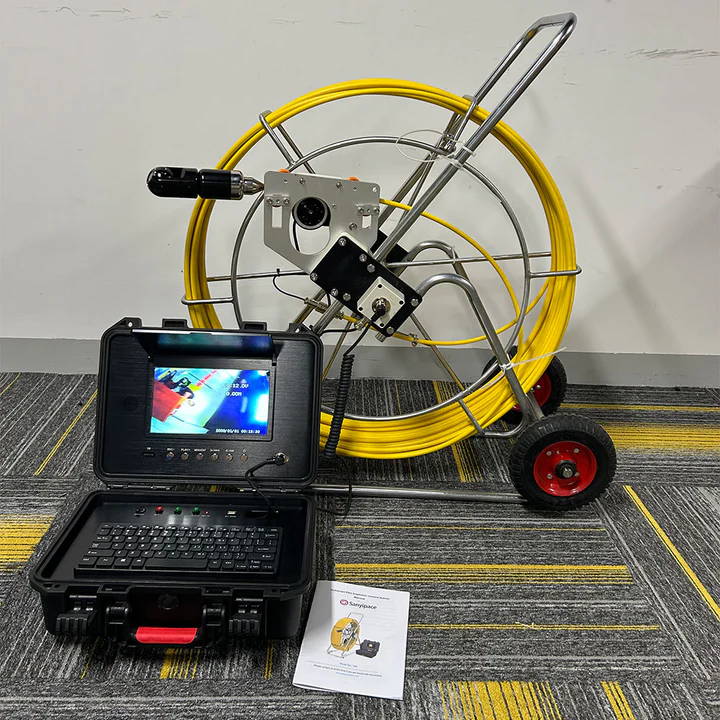
Attach a high-resolution, waterproof sewer camera to a flexible push cable. Slowly feed the camera into the pipe.
This allows you to inspect the interior of your sewer line without any digging or structural damage.
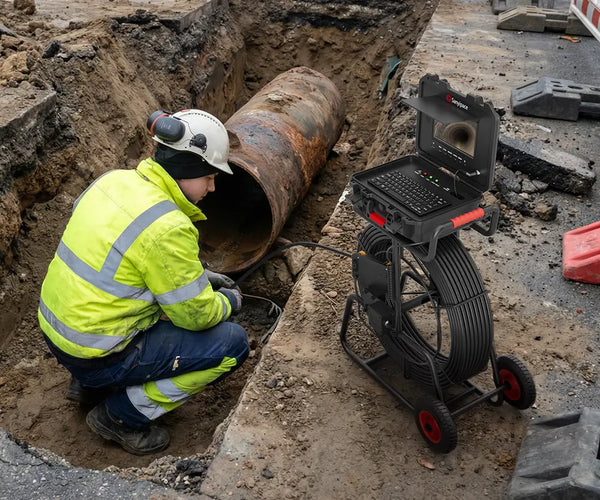
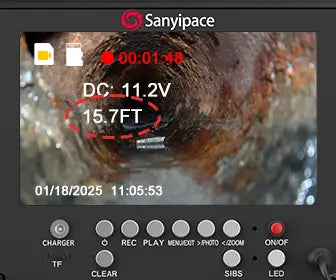
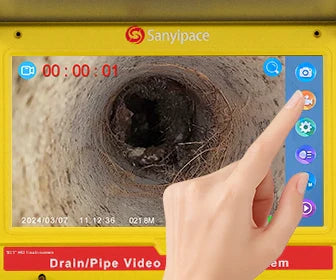
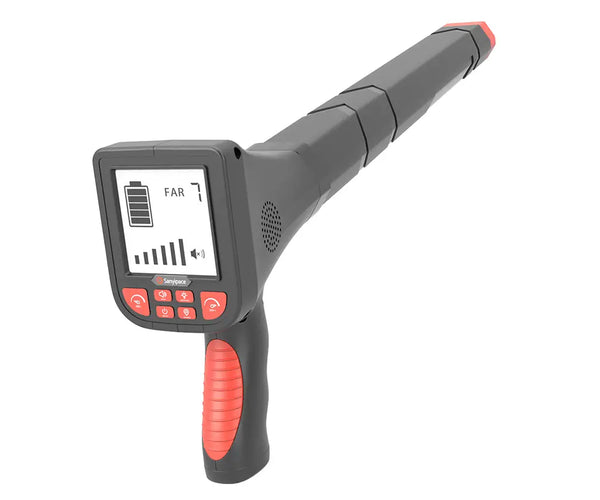
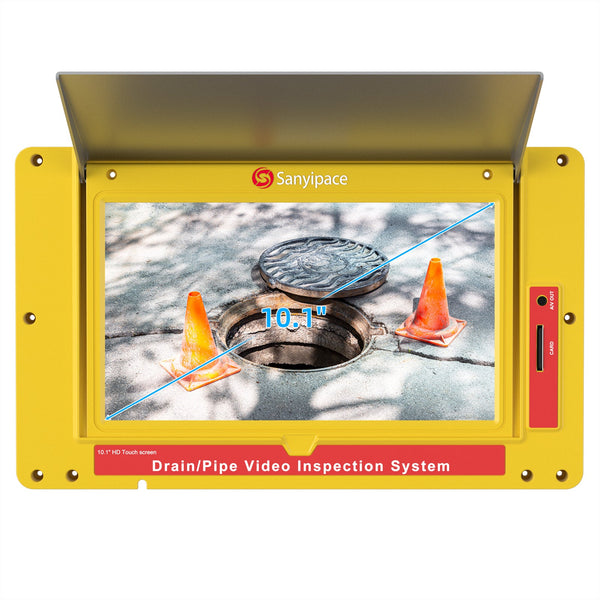
3. Inspect the Pipe in Real Time
As the camera moves through the sewer line, it sends live video footage to a monitor. You’ll be able to spot common issues such as blockages, tree root intrusions, corrosion, cracks, or misaligned joints.
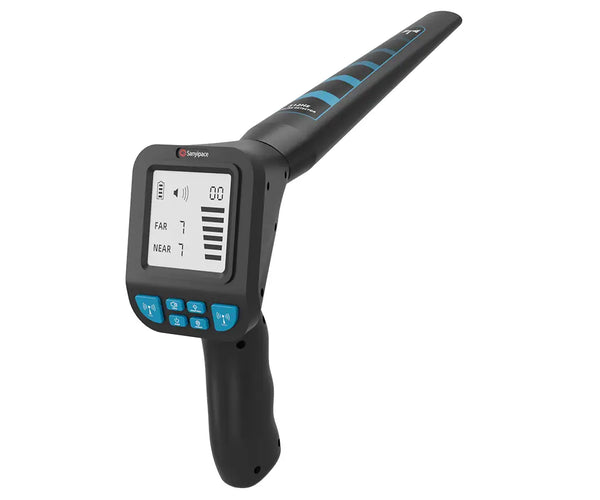
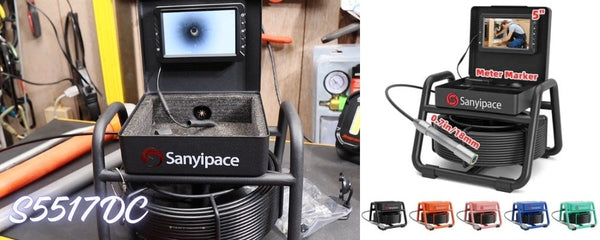
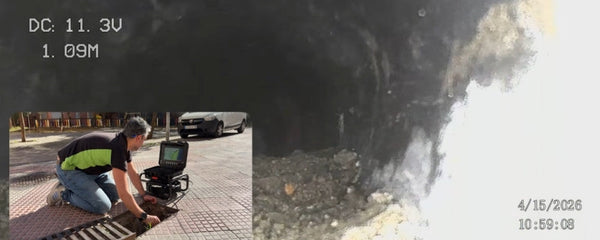
4. Use the Meter Counter to Track Distance
Most sewer inspection cameras come equipped with a meter counter (also known as a distance counter). This feature displays how far the camera has traveled inside the pipe, helping you pinpoint the exact location of any problems.
If your counter isn’t showing distance properly or stops working during inspection, check out our guide: Why Isn’t My Sewer Camera Meter Counter Working?
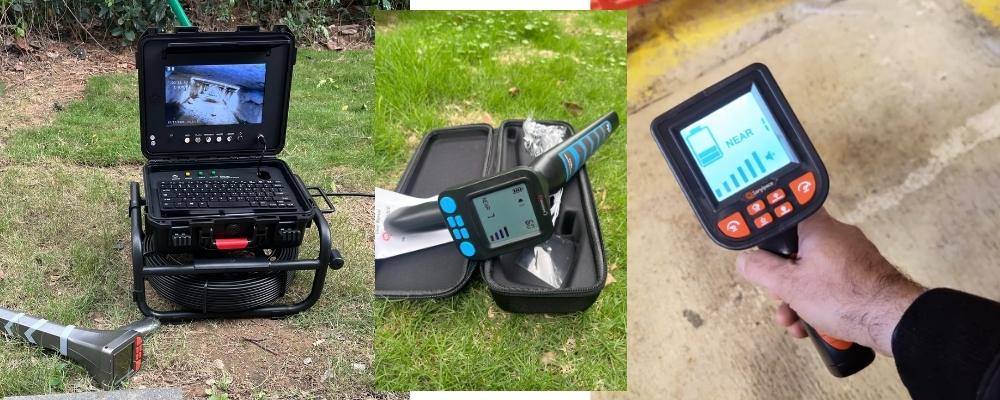
5. Identify and Mark Problem Areas
If any issues are detected, use a locator tool together with the meter counter reading to determine the exact depth and location of the issue. Mark these areas above ground to make repairs easier and more precise.
6. Review and Recommend
After completing the inspection, save the video recording. This footage is extremely helpful when consulting with a plumber or contractor, as it provides visual proof of the issue and speeds up the repair process.
Finally
Yes, it’s worth getting your sewer camera inspected regularly. A sewer camera inspection is an effective and cost-effective preventative measure that helps homeowners detect problems such as pipe blockages, leaks, or structural damage early, avoiding costly repairs and unexpected situations in the future.
Whether it’s negotiating a home purchase, maintaining aging pipes, or responding to early warning signs such as abnormal drainage, the results of an inspection can provide critical evidence to ensure the safety of your investment and peace of mind.
Frequently Asked Questions
1. How Long Does a Sewer Camera Inspection Take?
2. Can I Do a Sewer Camera Inspection Myself?
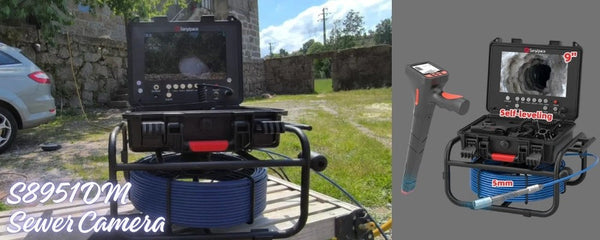
Yes, you can! Tools like the SANYIPACE Sewer Camera are easy to use and great for DIY projects. But if the problem is hard to fix or you’re unsure, it’s better to call a professional for accurate results.
3. How Often Should Sewer Lines be Inspected?
Yes, they should! Even new homes can have hidden problems like leftover construction debris or poorly installed pipes. A quick inspection makes sure everything is working well and gives you peace of mind.
4. Should New Homes Get a Sewer Camera Inspection?
Yes, they should! Even new homes can have hidden problems like leftover construction debris or poorly installed pipes. A quick inspection makes sure everything is working well and gives you peace of mind.
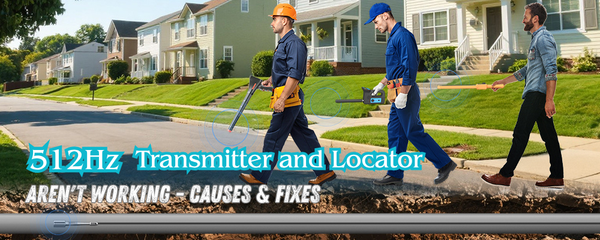
A 512 Hz sewer camera locator works with a 512 Hz transmitter, also known as a sonde, built into or...

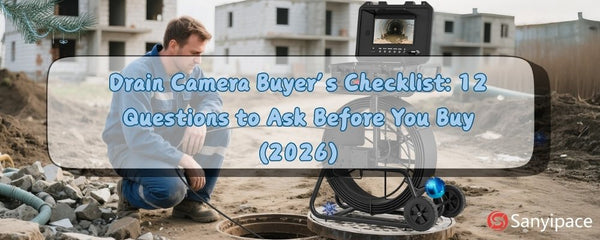
A reliable sewer camera priced under $500 is the ideal choice for most homeowners and DIY enthusiasts. In this guide,...
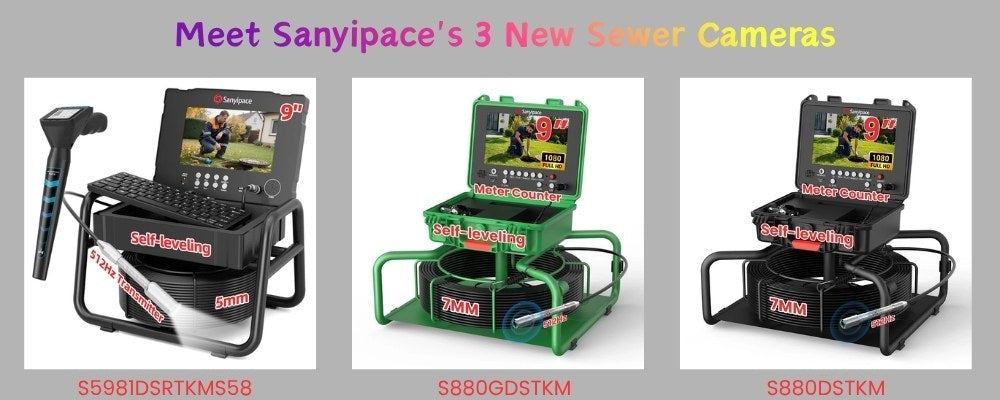
Recently, Sanyipace launched three new sewer inspection cameras, each featuring upgrades and improvements in both design and functionality. All three...


