


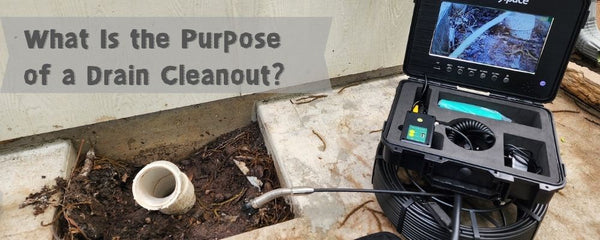


How to Repair a Sewer Camera: Step-by-Step Guide to Fix Common Issues
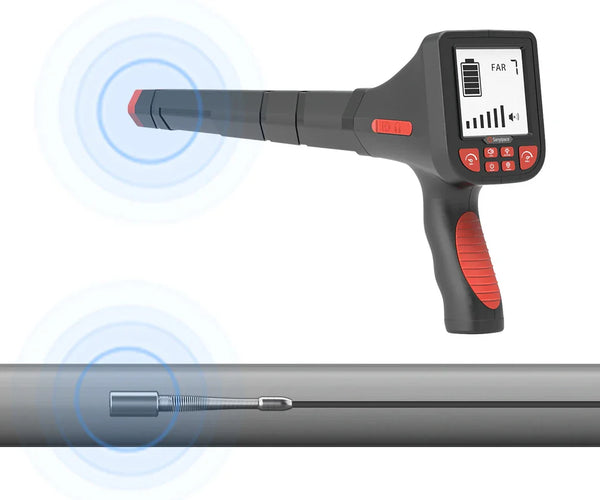
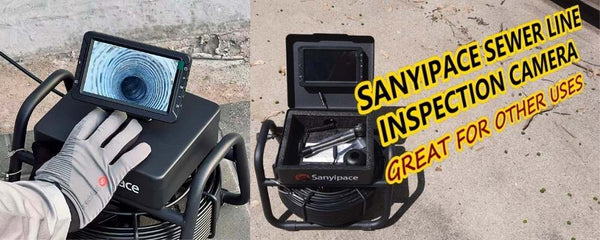
A sewer camera is essential for every repairer, and every repairer wants their sewer camera to be available 24 hours a day. This is where a modular sewer camera becomes very important, as it only needs to be replaced with accessories to make the sewer camera work again. Sanyipace has always adhered to this design principle, as all sewer cameras are modular and easy to use. Each customer can check and complete the repair work independently.
When you have a problem with your sewer camera, how should you do some self-inspection work? How should you determine where the problem is occurring? Follow the article and read on.
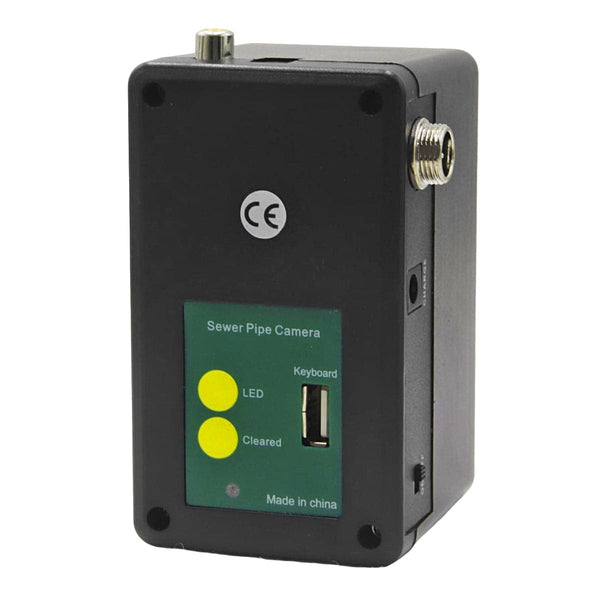
What should you do when your sewer camera suddenly becomes a blue or black screen? Please don't worry and be anxious. Trust Sanyipace's customer service will patiently explain and provide solutions for you. Please patiently follow the steps below to troubleshoot the problem.
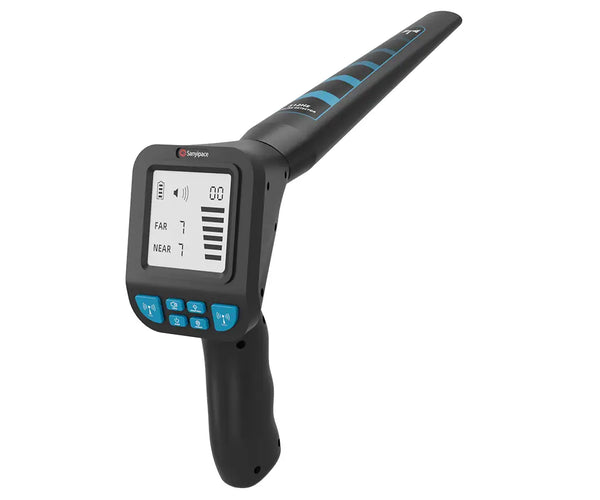
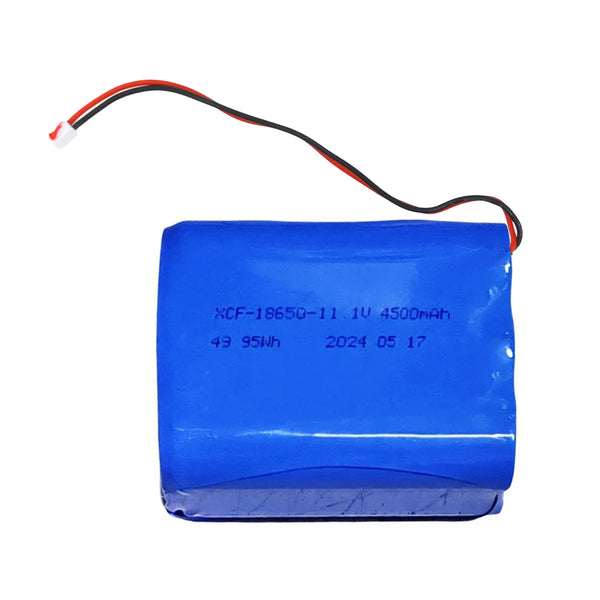
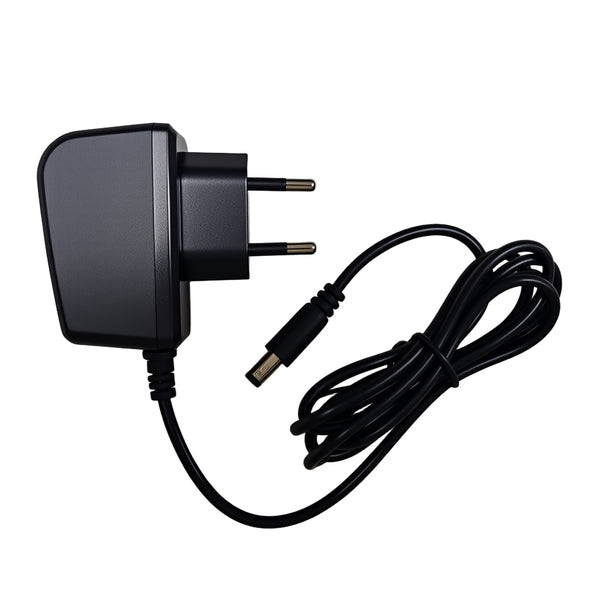
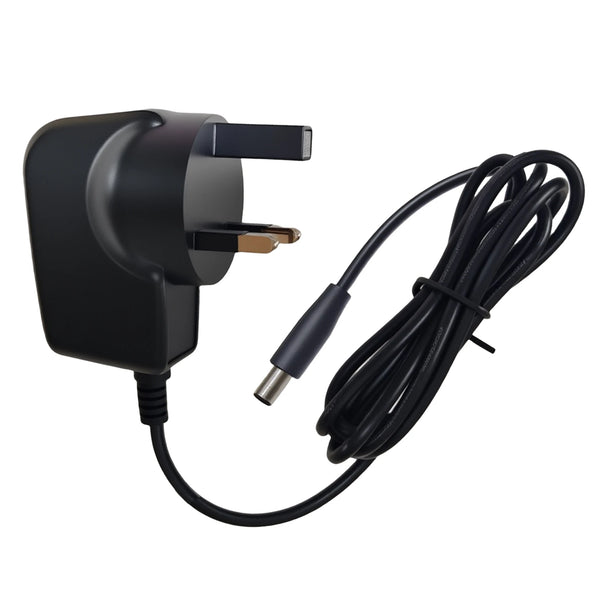
1. Check the power supply
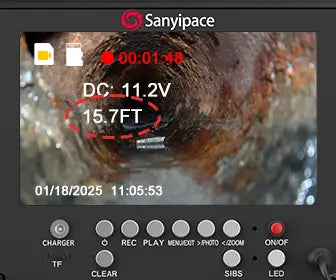
Check whether the electric volts on the screen are lower than 10V. When lower than this value, please charge on time. Because below this value, the device's power can not power the whole machine. It will make some functions appear abnormal or blur the screen.
Note: Do not use the device while charging.
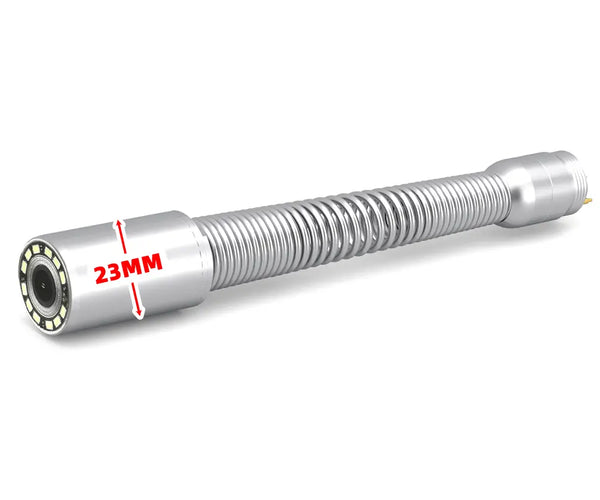
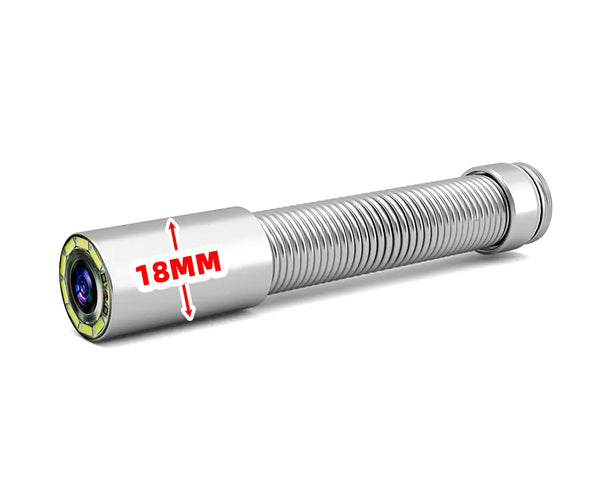
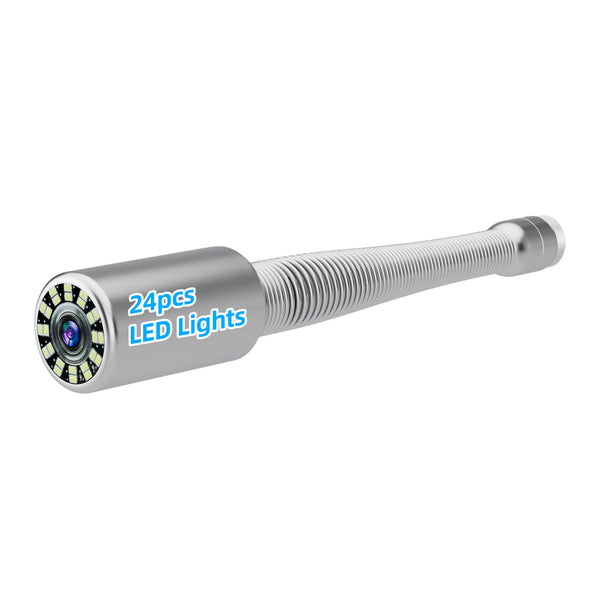
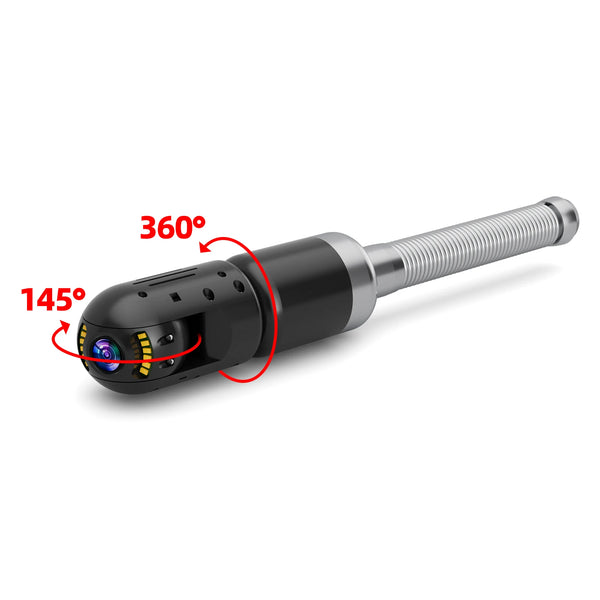
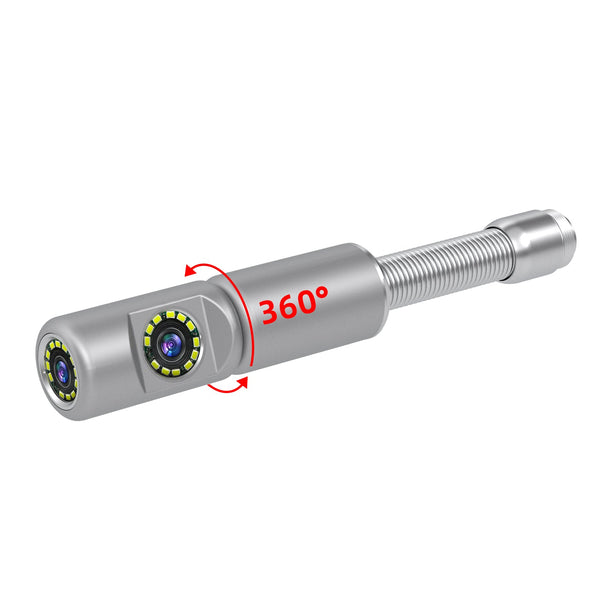
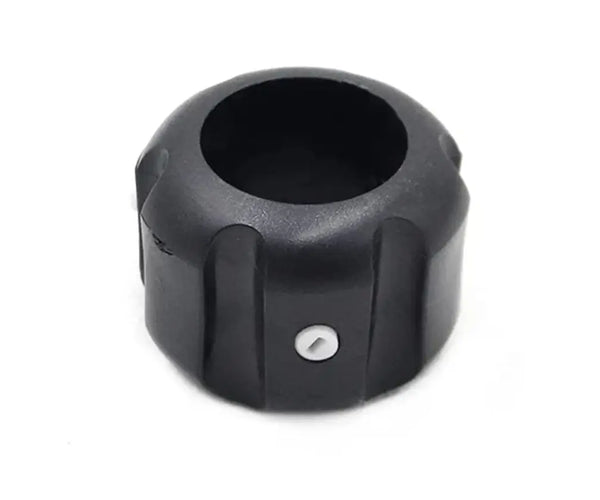
2. Check the Sewer camera
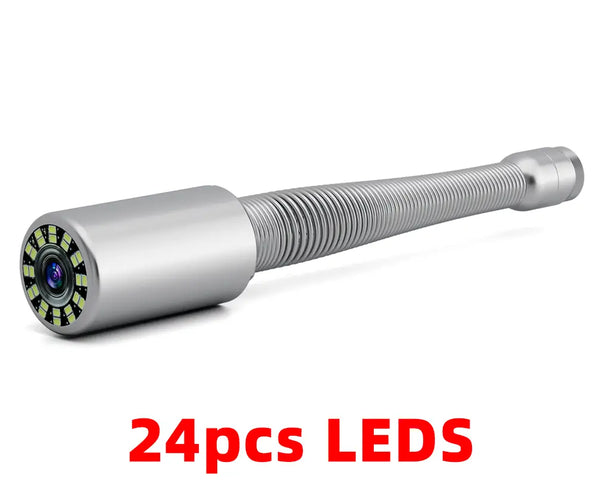
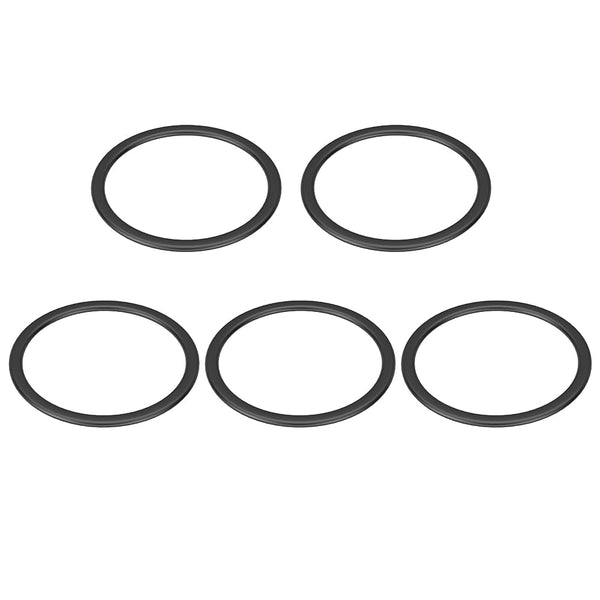
- Check whether the sewer camera is in water or has water droplets

- Check whether the camera lens has fallen off

- Check whether the waterproof rubber ring of the camera has been lost

- Check whether the camera thimble is broken and no longer flexible

When your camera has any of the above situations, you can judge that it is time to replace the new camera.
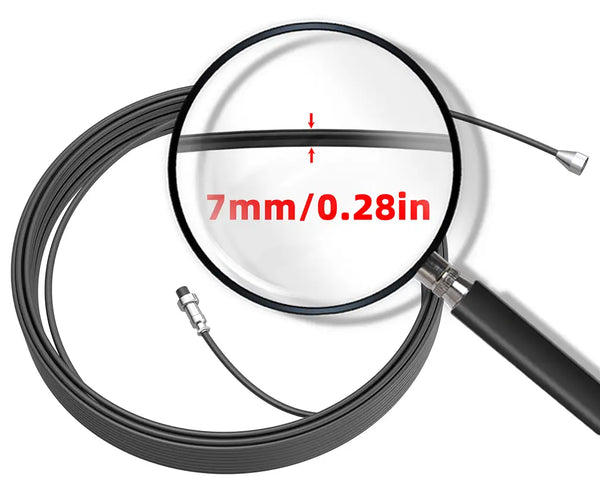
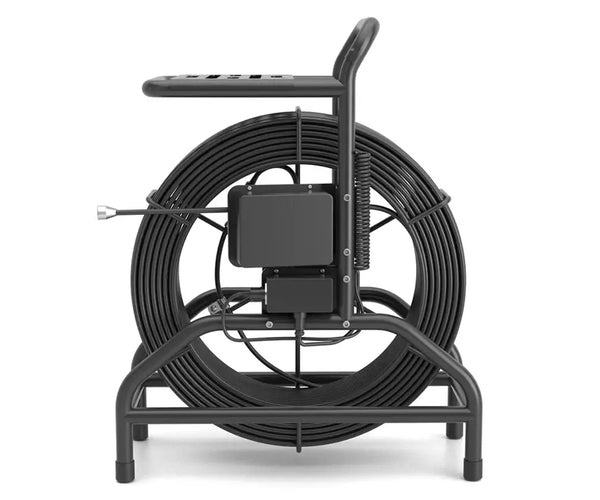
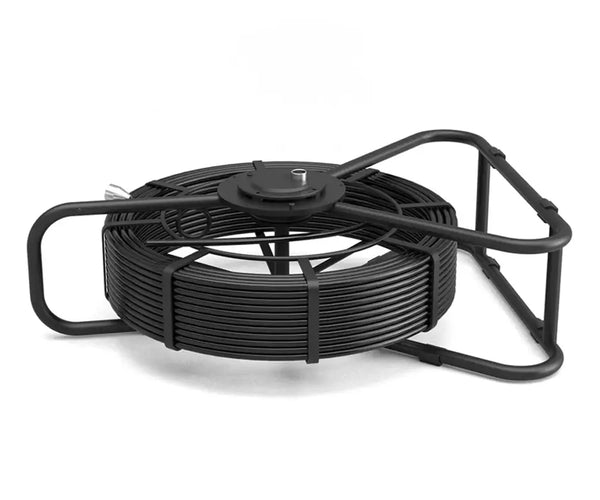
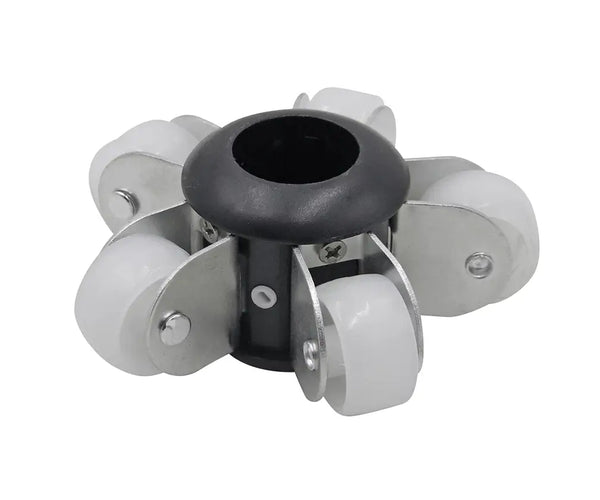
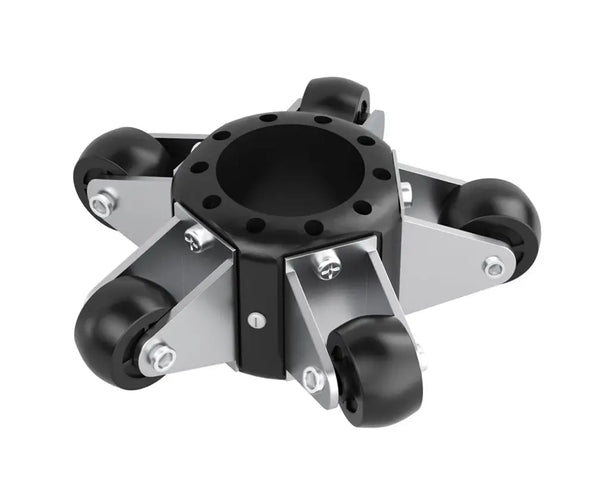
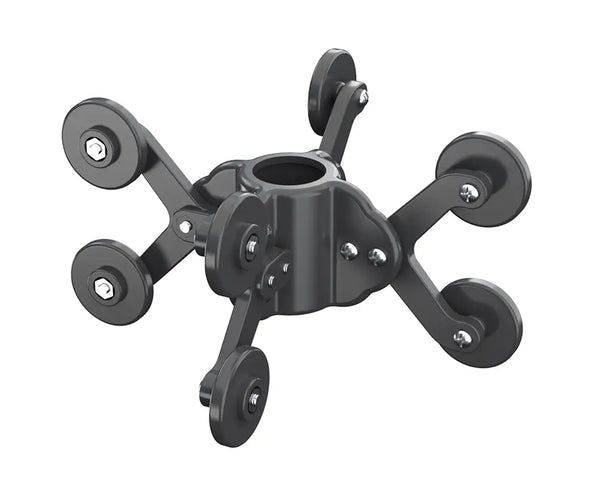
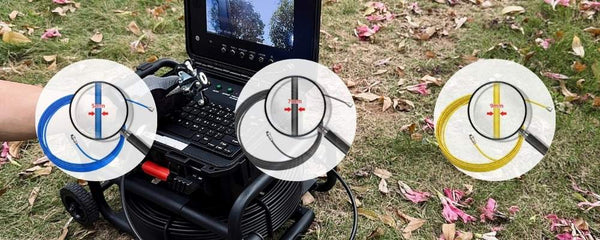
3. Check the sewer coil
Check whether the metal ring of the coil is scratched. When the thimble of your sewer camera is broken, 90% of the metal ring will be scratched.
Check whether the sewer coil is broken or is breaking.

When your coil has any of the above conditions, you can judge that it is time to replace the coil.
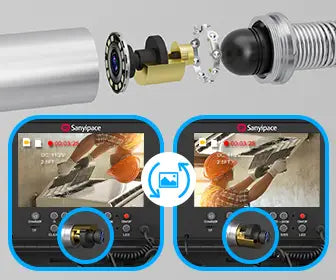
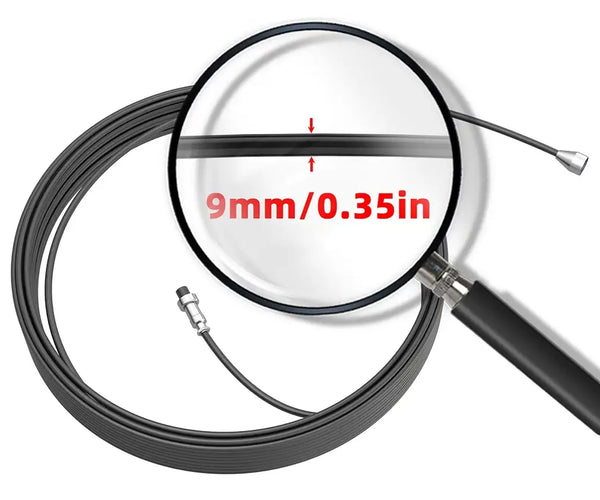
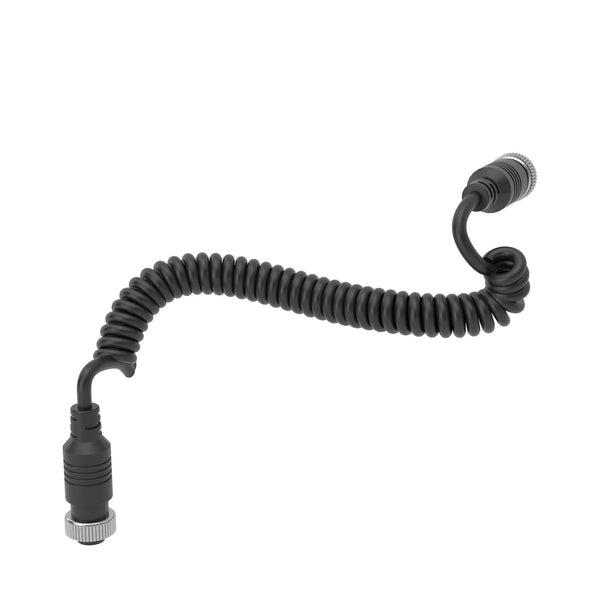
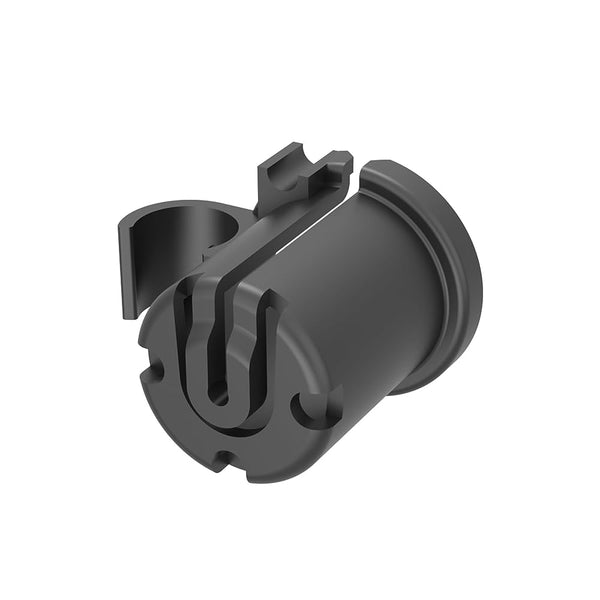
4. Check the connection cable
Check whether all the sewer camera cables are connected, and try to shake the cable to check if there is a picture on the screen.
If the image appears, it proves that you are not connected to the cable or the cable is broken, so you can replace it with a new one.

If the above 4 cases have been checked without problems, this time, you need to further check the connector of each accessory. Please follow the tutorial below to check which part appears using a multimeter. Of course, I believe you are patient enough to complete each step of the self-checking work because you are a good pipe inspector!
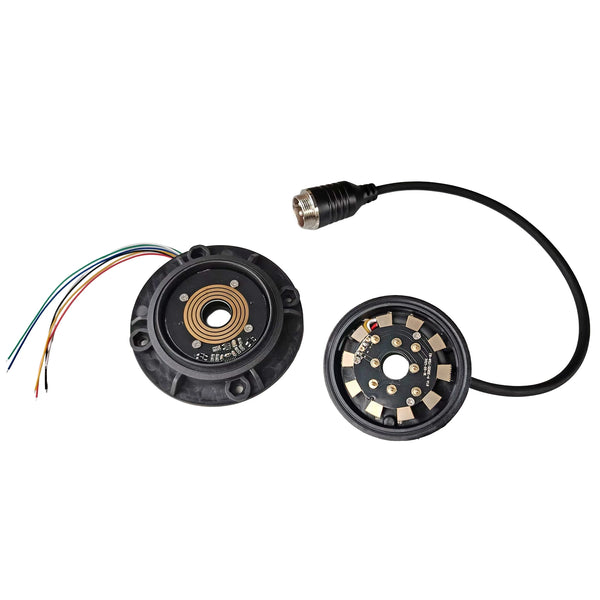
5. Check coil circuit
First, find the connectors and metal ends of the coil. Second, take out your multimeter and point the red pen to the coil connector and the black pen to the metal end. Please follow the instructions in the picture below to test whether the current of each hole is connected.
The multimeter will emit a "beep beep" sound if it is connected. Here you need to test 4 holes; all of them can make sound, which proves that the coil is okay. But there is no sound in one of them, proving a problem with the coil.

6. Check the meter counter's circuit board
Find the circuit board of the meter counter from the coil; it is located on the central axis of the coil; it is a disc. Get out your multimeter and the red pen points to the board in the disc, and the black pen points to the other end of the wire.
This time you need to test 3 holes, when they all can make a "beep beep" sound, the meter counter circuit board is fine. But if one fails to make a sound, it proves something is wrong.
Problems with the meter counter generally manifest as the calculated distance being inaccurate or not being reset, and the LED light not being on.

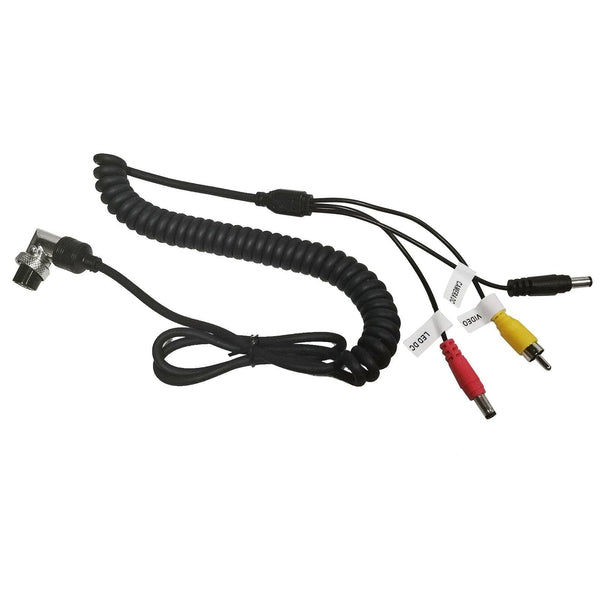
7. Check the connection cable
If the connection cable is bad, it will also affect the connection between the coil and the screen. The red pen points to the end of the daughter screw cap, and the black pen points to the end of the female screw cap.
This time you need to test 5 holes (5mm diameter coil) or 6 holes (7mm diameter coil). When all can make a "beep beep beep" sound, prove that the connection cable is okay. But one does not make a sound, proving there is a problem.

If you follow the above tutorial step by step, you can surely find out where the problem is. Then, tell Sanyipace customer service the check result, or buy the corresponding model from the website parts list as a replacement.
If you have more questions, don't hesitate to contact us for more information.
Click to learn: Top 4 Critical Sewer Camera Problems and Pro Maintenance Ways
Frequently Asked Questions About Sewer Camera Repair
How Do I Know If My Sewer Camera Needs Repair?
Common signs include blurry or flickering images, LED lights not working, signal interruptions, damaged push rods, or the camera failing to power on. If inspection quality drops or the system becomes unreliable, it may be time for repair or replacement parts.
Why Is My Sewer Camera Showing a Blurry Image?
A dirty lens, moisture inside the camera head, damaged LEDs, or lens scratches usually cause a blurry image. Start by cleaning the lens and checking for visible damage. If the issue continues, the camera head may need repair or replacement.
Can I Repair a Sewer Camera Myself?
Basic repairs, such as cleaning the camera head, checking loose connections, or replacing damaged cables, can often be done yourself. However, internal electrical faults, water damage, or circuit board problems are best handled by professionals to avoid further damage.
How Much Does Sewer Camera Repair Typically Cost?
Repair costs depend on the issue. Minor fixes, such as replacing connectors or cleaning damaged components, are usually affordable, while replacing camera heads or internal electronics may cost more. In some cases, repairing the system is more cost-effective than replacing the entire unit.
What Are the Most Common Sewer Camera Problems?
The most common issues include:
* Blurry or distorted video
* Broken LED lights
* Cable or push rod damage
* Power failures
* Water intrusion into the camera head
* Intermittent video signal
When Should I Replace Parts Instead of Repairing Them?
If components such as the camera head, push rod, or connectors show heavy wear or repeated failure, replacement is often the better long-term solution. Timely replacement can help prevent unexpected downtime during inspections.
How Can I Prevent Sewer Camera Damage in the Future?
To reduce repair needs:
* Clean the camera after every inspection
* Avoid excessive pulling on cables
* Store equipment in a dry environment
* Inspect connectors and push rods regularly
* Replace worn parts before failure occurs
Do You Offer Sewer Camera Replacement Parts or Repair Support?
If your sewer camera needs replacement parts or professional repair assistance, contact our team for compatible components and expert support to help get your equipment back in working condition quickly.


Leave a comment