


Don’t Call the Plumber Yet! A DIY Sewer Camera Can Solve 90% of Your Drain Problems
Most homeowners know the feeling: your sink drains more slowly, your toilet gurgles, or there’s a strange smell coming from the bathroom. You try plungers, chemical cleaners, even a snake—but nothing seems to solve it.
At this point, many people pick up the phone and call a plumber. But here’s the catch: before a plumber even starts fixing, they’ll often charge $300–$500 just to run a camera inspection.
The truth is, you don’t have to pay that anymore. Affordable sewer cameras designed for homeowners make it possible to look inside your own pipes, figure out the real problem, and decide if it’s something you can handle—or if it’s time to call for backup.
Why a Sewer Camera Belongs in Every Homeowner's Toolbox?

Why Every Homeowner Should Have a Drain Camera: Save Money and Gain Peace of Mind—See Pipe Issues Clearly!
💡 Instant Savings: Avoid paying plumbers $300–500 just for an inspection—check your pipes anytime yourself. Buy once, save long-term.
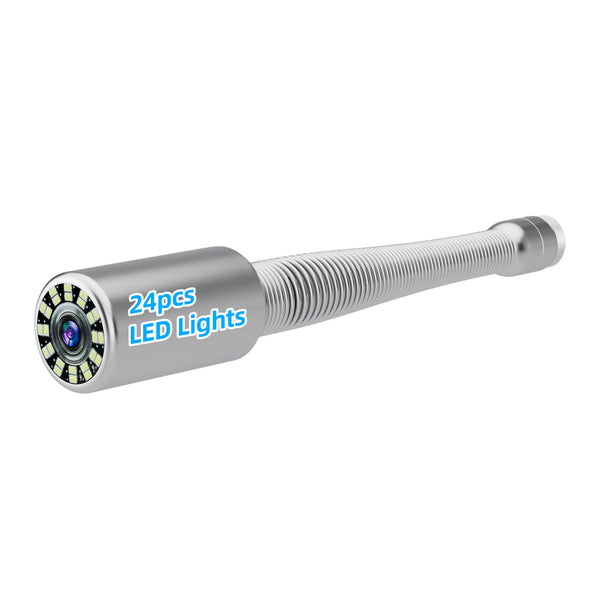
🔍 Pinpoint Problems Instantly: No more guessing whether clogs are from grease, hair, or foreign objects. The HD camera shows exactly what’s inside your pipes.
⚠️ Prevent Major Repairs: Catch small cracks, root intrusions, or buildup early—stop minor issues from turning into costly disasters, saving thousands.
🏠 Essential for Home Buyers: Quickly scan pipes before closing to avoid hidden plumbing nightmares. Ensure a safer and smarter purchase.
📲 Smart Home Essential: Perfect for regular maintenance and pre-purchase pipe inspections.
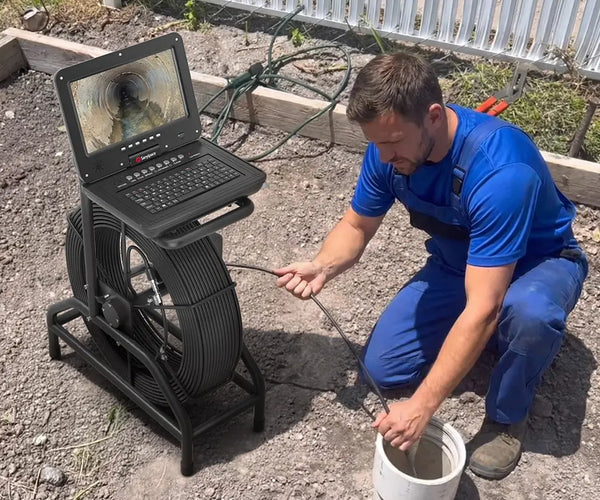
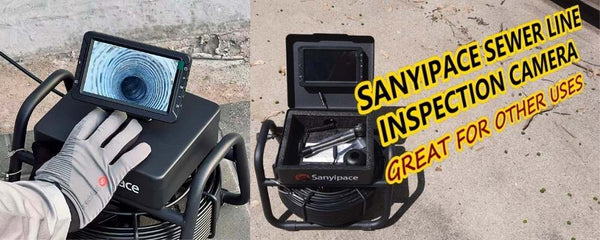
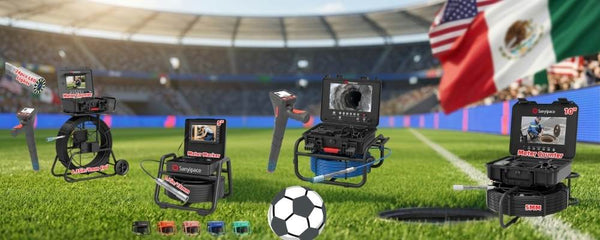
Homeowners can get compact drain cameras—affordable, space-saving, and ready to use anytime.
A Real Example: My Kitchen Drain Disaster
Last winter, my kitchen sink started draining more slowly until it was almost completely clogged. I tried every DIY hack I could find online—pouring hot water, baking soda and vinegar, even plunging like crazy—nothing worked.
Finally, I called a plumber. The first thing he said was: “Just the camera inspection will be $350.” And that didn’t even include any actual repair!
So I made a quick decision: I bought my own drain inspection camera online for less than $300.

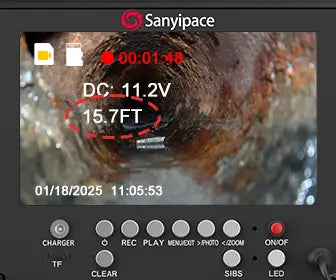
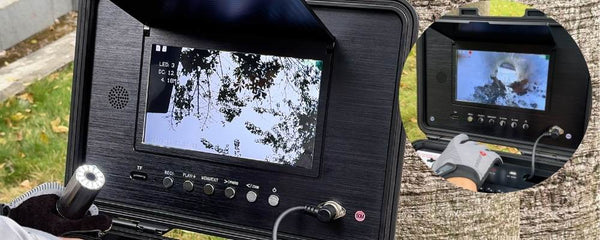
When I fed the plumbing camera into the pipe for the first time, I saw that the walls were coated with a thick layer of grease. It wasn’t fully blocked yet, but it was bad enough to slow the drainage to a crawl.
Once I knew the truth, I didn’t call the plumber back. Instead, I took two steps myself:
-
Flushed the pipe repeatedly with hot water and baking soda
-
Used a hand auger to scrape off the greasy buildup
The result? The drain was flowing smoothly again, just like new! The camera paid for itself on its very first use.
That’s why checking yourself doesn’t just save you money—it helps you see the problem clearly and fix it correctly. Empowerment and savings, all in one.
When Should You Use a Sewer Camera Yourself?
-
Slow drains in the kitchen or bathroom
-
Recurring clogs that come back even after cleaning
-
Mysterious odors from your drains
-
Buying a new home and want to make sure the pipes aren’t hiding problems
-
Suspected foreign objects, like toys or jewelry, dropped into the drain
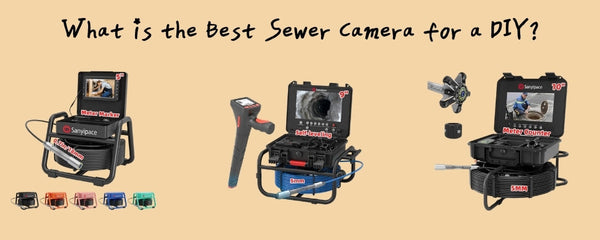
How to Choose the Right Drain Camera for Homeowners?

If you’re looking to purchase a sewer camera for DIY inspections anytime you need, here are the key features to focus on:
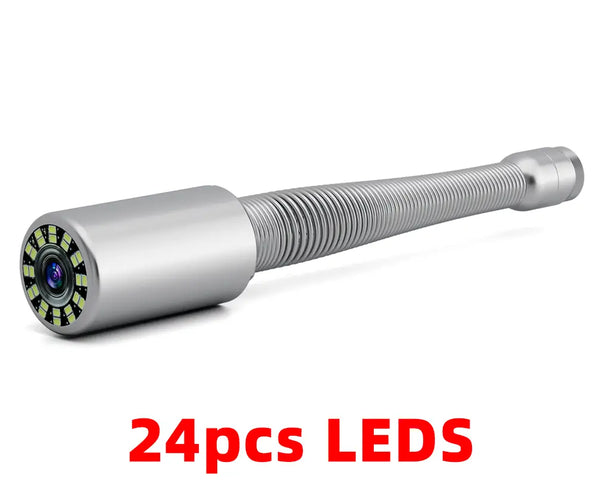
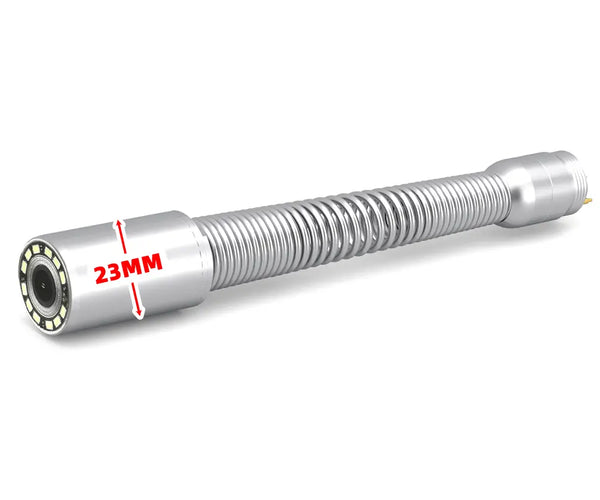
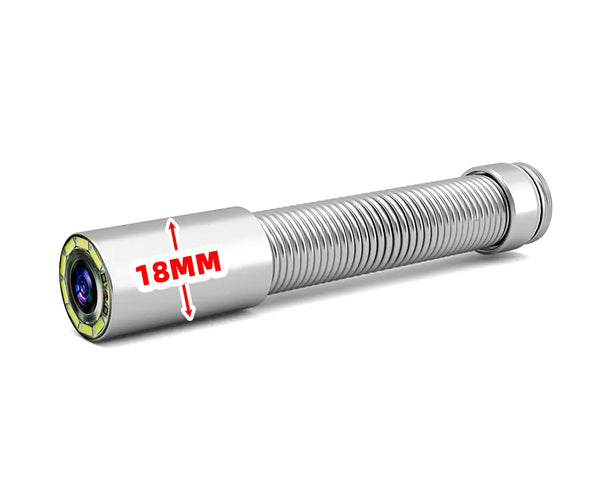
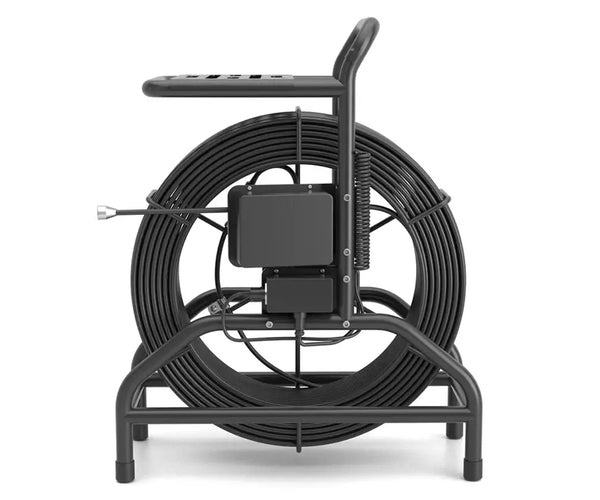
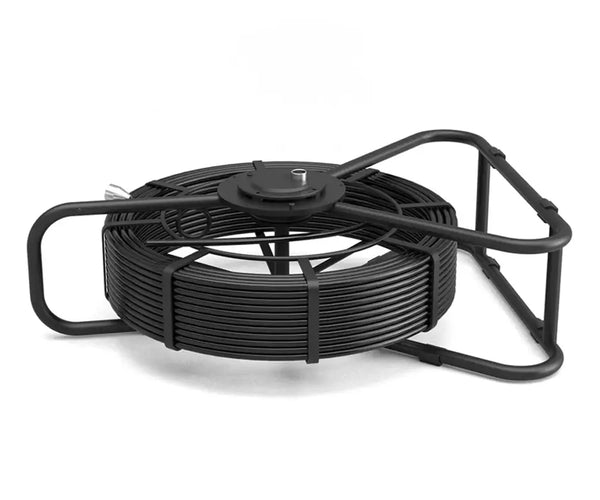
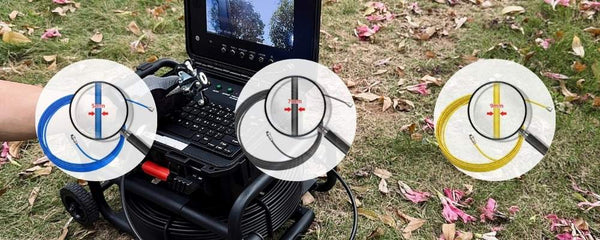
First, choose the cable length based on your home’s actual needs. Generally, 50–65 feet (15–20 meters) is sufficient for most sinks and bathtubs, while a 100-foot (30-meter) version is recommended for main sewer lines or longer pipes to ensure full coverage. Also, opt for a camera with at least 1080p image clarity so you can clearly distinguish between grease buildup, hair clogs, cracks, or root intrusions.
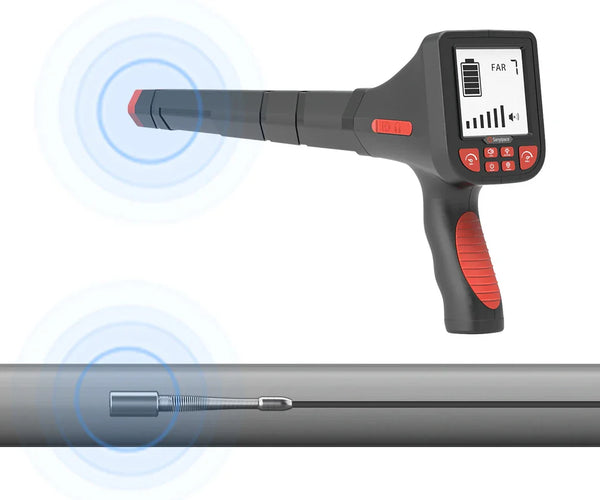
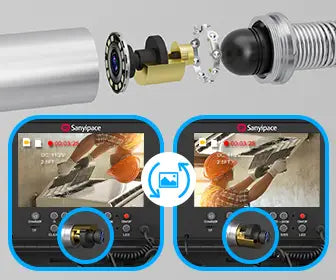
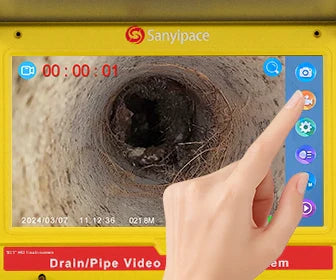
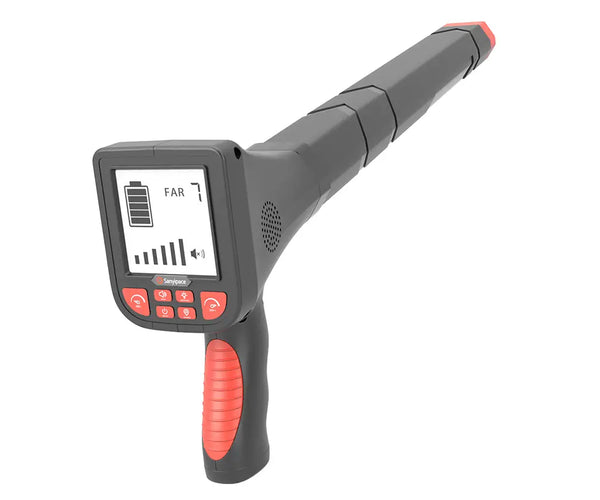
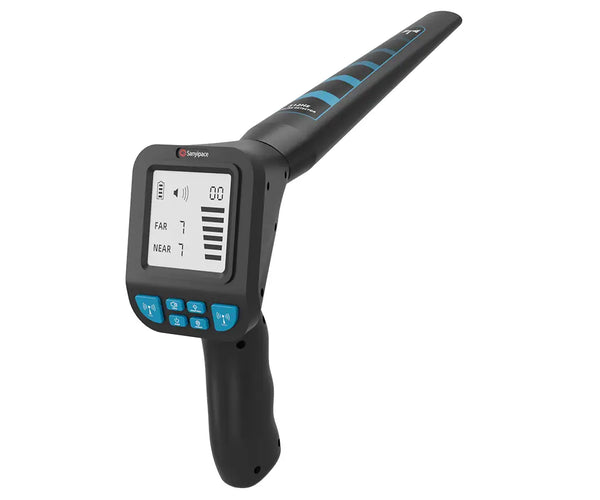
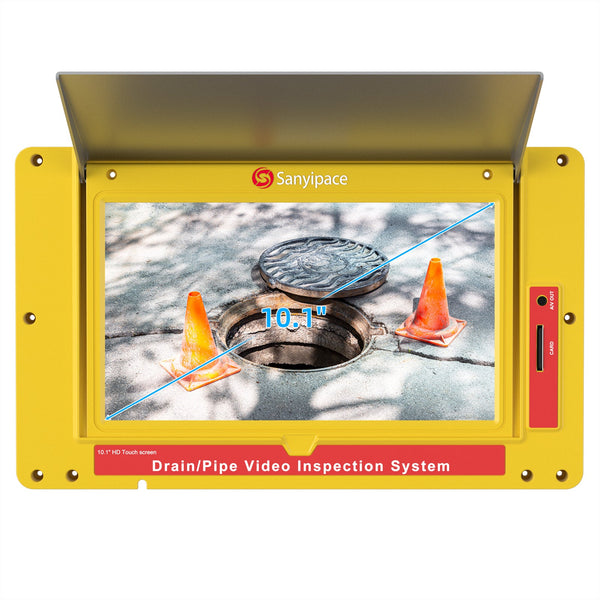
Beyond length and clarity, practicality and durability are equally important. Look for an all-in-one plug-and-play design with a built-in screen, allowing real-time viewing without connecting to a phone for simpler operation.
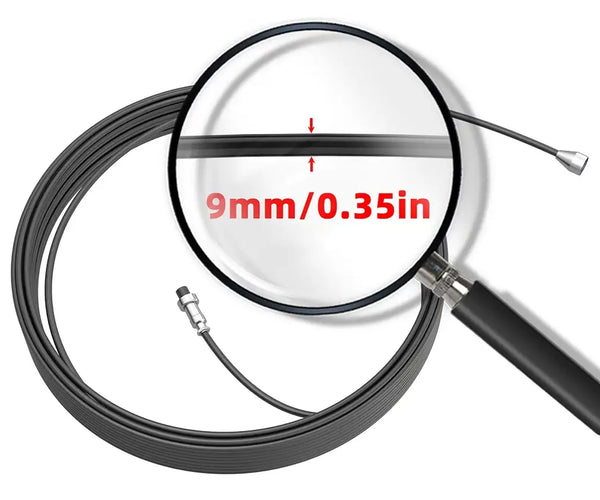
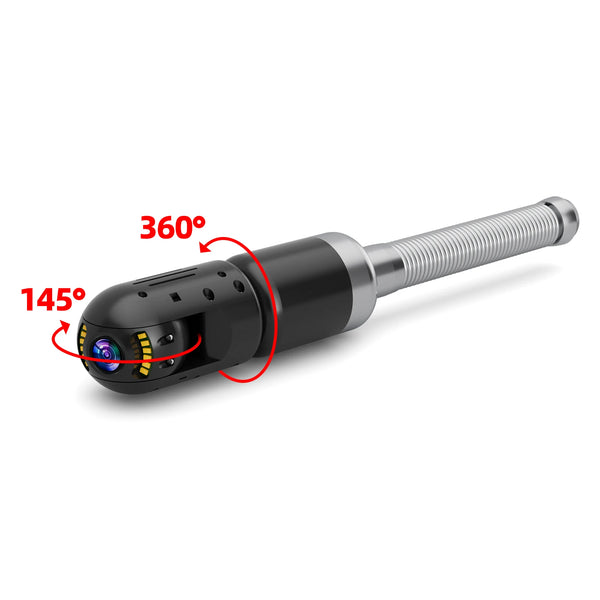
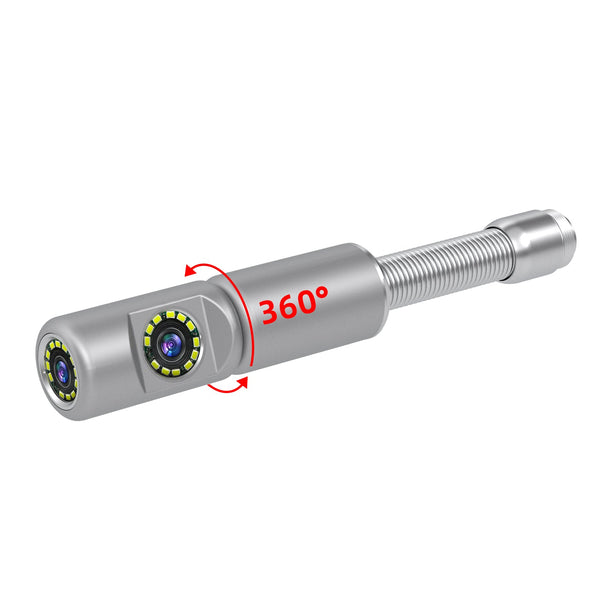
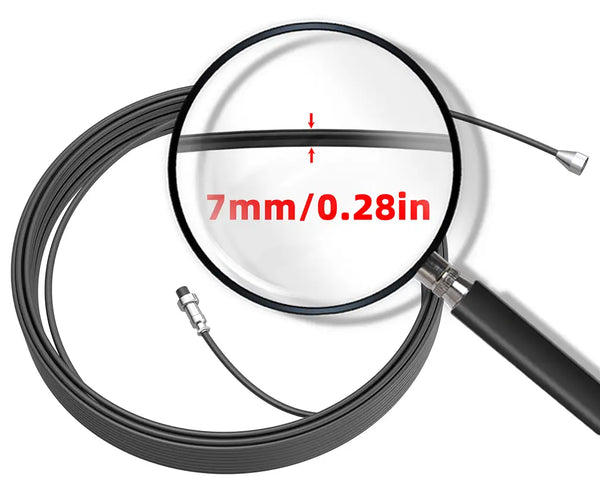
It’s best to choose a model that supports video recording, making it easy to save inspection footage and share it with a professional plumber if further diagnosis is needed. Additionally, ensure the drain camera is waterproof, corrosion-resistant, and comes with a flexible cable that can easily navigate pipe bends, handling complex plumbing conditions with ease.
Step-by-Step: How to Use a Sewer Camera

Using a sewer camera isn't difficult. As long as you follow these steps, you can complete the pipe inspection yourself:
-
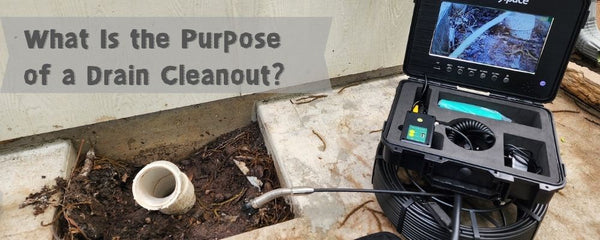
Pick the right entry point: A clean-out or the drain closest to the problem.
-
Insert gently: Feed the camera in slowly. Don’t force it.
-
Watch carefully: Look for buildup, blockages, or cracks.
-
Use running water: It helps clear the view and shows flow.
-
Mark or record: Save the video or note how far you pushed the cable.
-
Clean up: Wash the cable and disinfect the lens after each use.
💡 Pro Tip: If you see standing water inside the pipe, it could mean the pipe is sagging or partially collapsed.
What Problems Can You Actually Detect?
🔍 Clog Identification
-
Hair and grease buildup → Can often be cleaned with DIY tools.
-
Foreign objects → Toys, jewelry, or other items blocking the pipe.
⚠️ Early Warning Signs
-
Root intrusion → Tree roots beginning to push into the pipe.
-
Small cracks → Early-stage cracks that could worsen over time.
-
Pipe sagging → Sections of pipes starting to droop, potentially leading to blockages.
🌊 Hidden Issues
-
Internal corrosion and wear → Thinning, rusting, or aging pipe walls.
-
Construction debris → Residual cement, hardened paint, or other materials left behind during building or renovation.
-
Leaks at connections → Loose or poorly sealed pipe joints causing minor seepage.
A quality sewer camera not only helps you address immediate clogs but also uncovers hidden "ticking time bombs" buried underground or behind walls—allowing you to take preventive action before major damage occurs.
When to Call a Professional?

While a DIY inspection camera is powerful, it’s not a magic solution. You should contact a plumber if you observe any of the following:
-
Root intrusion into your main line
-
Large cracks or collapsed sections of pipe
-
The camera gets stuck and can’t advance further
👉 The real value of a sewer camera is clarity. Sometimes that means solving the problem yourself — and sometimes it means pinpointing the issue accurately for a professional, so you avoid vague (and costly) repair estimates.
Related reading: Is Sewer Camera Inspection Worth It?
Final Thoughts
Owning a sewer inspection camera isn’t just about fixing clogs — it’s about being in control. No more guessing what’s going on or paying a plumber just to take a look. You have the power to see inside your pipes anytime you want.
In my case, that $300 investment has already saved me hundreds more. What’s more, it gives me peace of mind knowing I’ll never be in the dark again about what’s happening behind my walls.
So the next time your drain starts gurgling or slowing down, don’t panic — and don’t immediately call for help. Grab your camera first.
You might just solve a $350 problem with nothing more than a quick DIY effort over the weekend.
Click to learn: Rental Vs Buy Sewer Camera: Which Is Better Value?


Leave a comment