





Sewer Scope Inspection: What It Is, How It Works, and When You Need One
A drain may appear to work normally even when a buried sewer line has a developing problem. Tree roots, displaced joints, or low sections where wastewater collects can remain hidden underground. A sewer scope inspection uses a camera to examine the inside of an accessible pipe, helping homeowners identify potential issues.
You don’t always need to hire a professional for an initial visual check. With a suitable sewer inspection camera and a safe, accessible cleanout, homeowners can look for visible warning signs and record footage for future reference. However, a camera only shows the areas it can reach and see. Some conditions require further evaluation, and a single image cannot always confirm the cause or severity of a problem.
This guide explains how a sewer scope inspection works, how to perform a basic camera check yourself, what common pipe problems may look like on screen, and how to document your findings. You’ll also learn when a DIY inspection may be sufficient for an initial assessment and when it’s worth seeking professional help.
What Is a Sewer Scope Inspection?

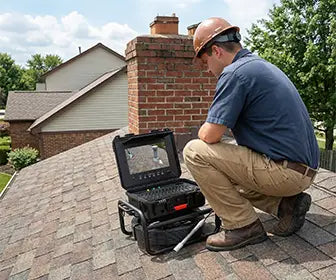
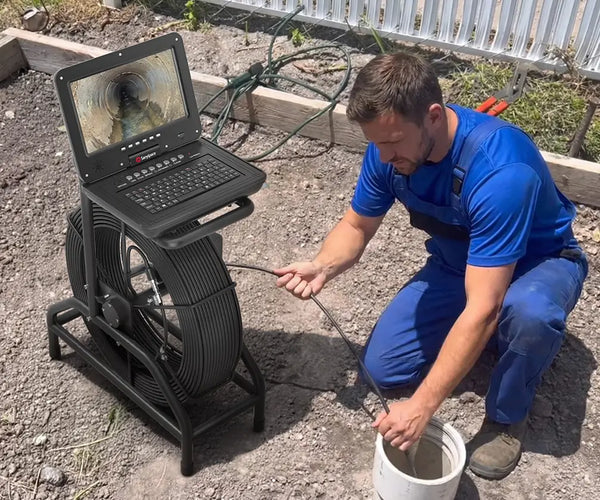
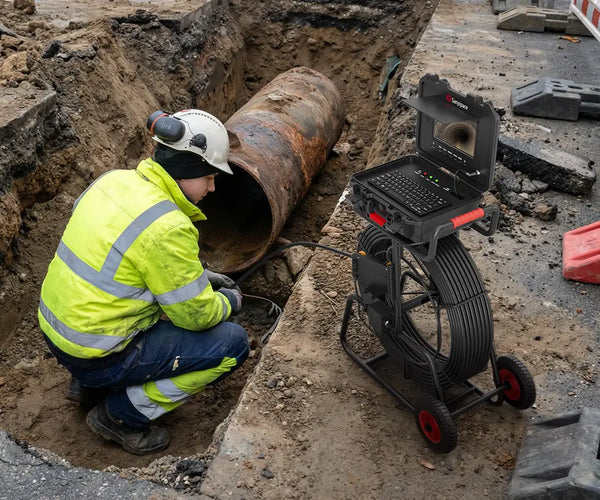
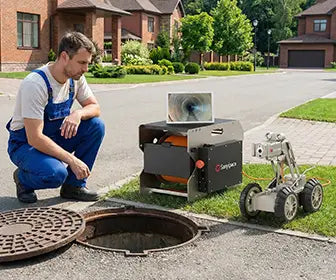
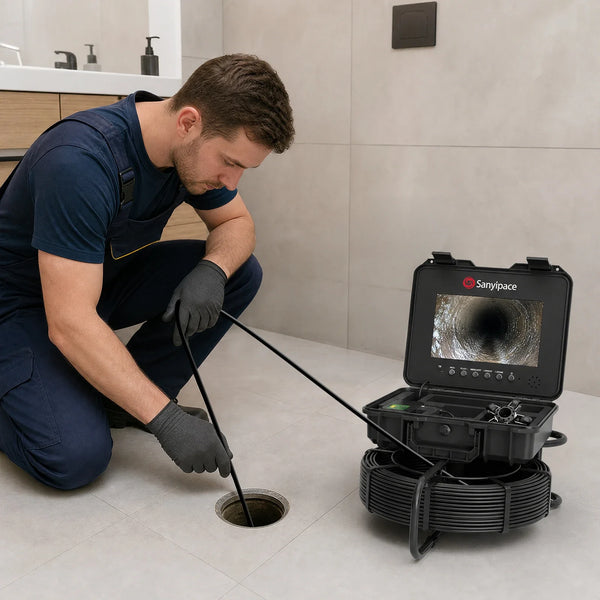
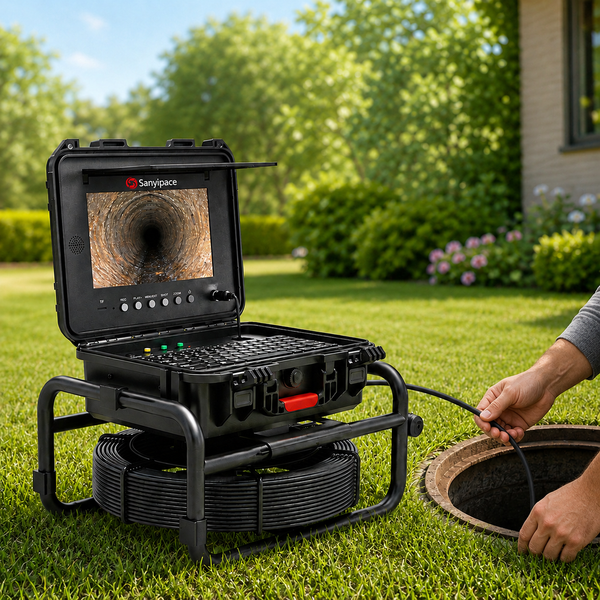
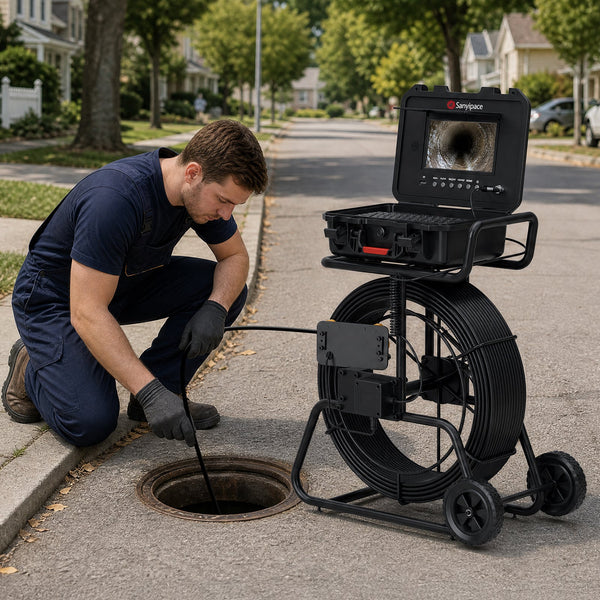
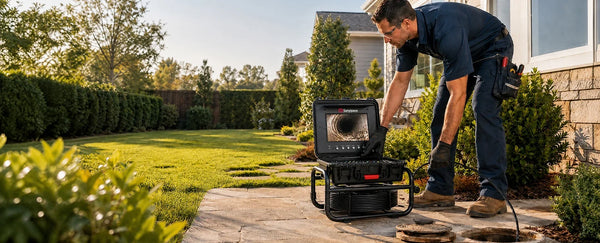
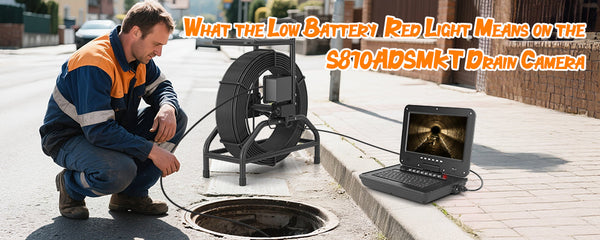
A sewer scope inspection—also called a sewer camera inspection or sewer line video inspection—is a visual examination of the inside of a drain or sewer pipe using a waterproof camera attached to a push cable or another camera transport system. In a typical residential inspection, the operator accesses the private sewer lateral: the pipe that carries wastewater from the building toward a public sewer main or a private wastewater system.
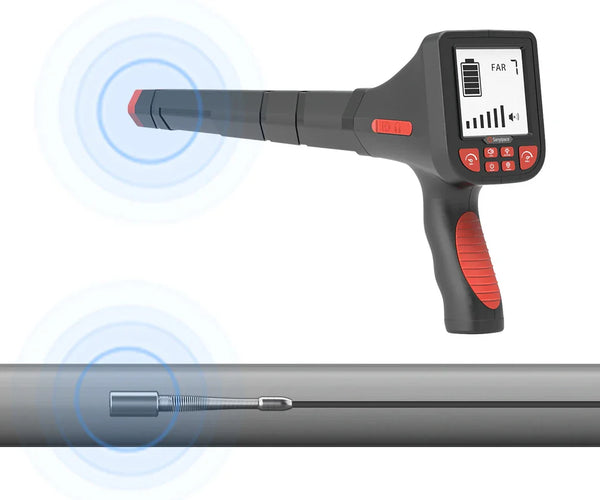
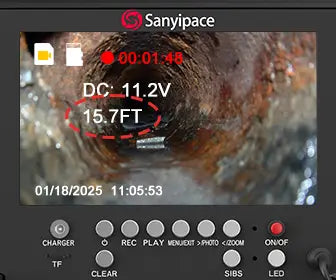
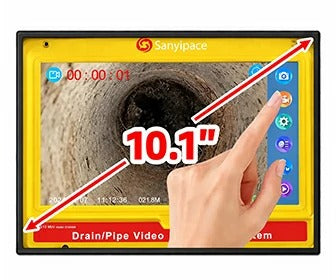
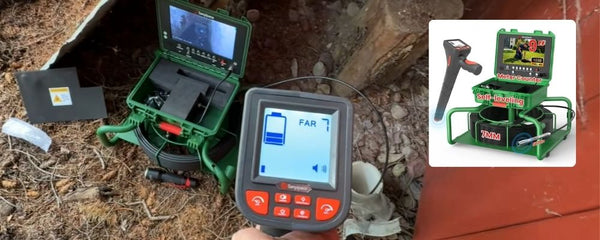
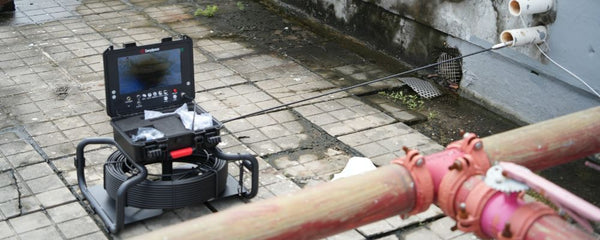
The camera sends live images to a monitor. The operator advances it through the pipe, adjusts the speed and lighting, and records visible conditions such as roots, deposits, cracks, standing water, or misaligned joints. A distance counter may help estimate how far the sewer camera has travelled from the entry point. If the system includes a compatible locating sonde and receiver, the camera head’s position may also be traced from above ground.
A sewer scope is different from a standard home inspection. A general home inspection typically focuses on accessible, visible components; underground sewer lines usually require a separate camera inspection. If you want to check the line yourself, first confirm that you have a suitable camera and a safe, accessible cleanout. A DIY recording may not satisfy local requirements for a property sale, permit, or municipal inspection, so check what documentation is needed. DIY or professional inspection? A basic homeowner check can help you collect visual evidence when the cleanout is safe and accessible. If you need a formal report, cannot identify the access point, or suspect a serious defect, use a qualified professional.
Before You Start: Safety and Access Checklist

Only attempt a camera pass when the access point is clearly identified, safely reachable, and in sound condition. If you are unsure which cleanout serves the sewer line, ask a plumber to identify it rather than forcing access.
- Use a designated cleanout where possible. Do not remove a toilet, open an unfamiliar vent, or enter a municipal manhole as a DIY shortcut.
- Do not open a cleanout if sewage is standing behind the cap, wastewater is backing up, or the cap or fitting is cracked or leaking.
- Wear gloves and eye protection. Keep monitors and electrical connections dry and follow the camera manufacturer’s instructions.
- Keep children and pets away and prepare a safe way to handle contaminated equipment.
- Never enter a sewer, septic tank, or manhole. Dangerous gases and oxygen-deficient atmospheres can be fatal.
- Inspect the sewer camera head, cable, and connectors before use. Do not use damaged equipment or force the cable around sharp edges.
- Inspect only a private line you are authorized to access. Local rules may require permission before entering public sewer infrastructure.
- For a septic property, do not insert the camera into the tank or disturb septic components.
If the access point is unsafe, difficult to identify, or affected by a backup, do not attempt to open it. Have a qualified plumber assess the situation.
How to Inspect Your Sewer Line with a Camera: Step by Step

1. Identify the Cleanout and Inspection Route
A sewer cleanout is a capped fitting intended to provide access to a drain line. It may be outside near the foundation or in a utility area. Confirm that it is the correct access point and establish which direction the line runs. If the cap is stuck, damaged, leaking, or difficult to identify, do not apply excessive force.
2. Record the Starting Point
Take a photo of the cleanout and note its location, such as “exterior cleanout beside the garage wall.” If your camera has a distance counter, reset it according to the manufacturer’s instructions at a consistent starting position and begin recording.
The counter measures cable deployed, not straight-line distance across the yard. Treat it as a reference for reviewing footage, not an exact surface coordinate.
3. Start Recording and Move the Camera Slowly
Turn on the monitor and camera lighting, start recording, and carefully guide the camera head into the pipe. Avoid scraping the cable against sharp edges or bending it beyond its recommended limits. Advance in short, controlled movements.
Pause at joints, bends, changes in pipe material, standing water, deposits, or anything unusual. Moving slowly gives you more time to inspect the pipe and capture useful footage. Adjust lighting or camera position if the image is difficult to interpret and your equipment allows it. If the view remains unclear, record that limitation instead of guessing what the image shows.
4. Stop if the Sewer Camera Meets Resistance
If the camera stops moving, do not force it forward. Resistance may be caused by debris, roots, a sharp bend, a displaced joint, pipe damage, or a route the equipment cannot navigate. Ease the camera back gently if safe, then review the last clear section.
Record the distance reading and where the camera stopped. If the line is backed up, the camera becomes stuck, or you suspect a collapsed section, stop and contact a qualified plumber. Forcing the cable may damage the equipment or pipe. A hard stop does not prove that the pipe has collapsed; it means the camera could not safely continue and the cause needs to be checked.
5. Document What You See
When you encounter a possible defect, pause and capture a clear view. Record the distance-counter reading and video timestamp, then describe what is visible without jumping to a diagnosis. For example, note “dark line visible at approximately 18 ft from the exterior cleanout” rather than “the pipe is broken” unless the damage is clearly established.
For example, write “dark line visible approximately 18 ft from the exterior cleanout” rather than “the pipe is broken” unless the damage is clearly established. Camera angle, lighting, deposits, and water conditions can affect how a pipe appears.
Save the original video as well as screenshots. A complete recording provides more context than a single image and is easier to review or share with a plumbing professional.
6. Review the Return Path and Secure the Cleanout
When you reach the safe limit of the inspection, withdraw the camera slowly. Continue recording during the return pass if practical; it may reveal details that were less visible on the way in.
Follow the manufacturer’s instructions for cleaning the camera head and cable. Keep contaminated equipment away from clean surfaces and protect electrical connections from moisture.
If you opened the cleanout, secure it correctly. Do not continue using the line if the fitting is damaged, the cap leaks, or wastewater appears around the access point. Seek professional assistance if you cannot safely restore the fitting.
What Can a Sewer Camera Inspection Reveal?
Closed-circuit television (CCTV) inspection is widely used to document visible pipe conditions. The US Environmental Protection Agency’s report on wastewater collection-system assessment lists findings such as debris, roots, pipe sags, deflection, offset joints, cracks, and signs of leakage among conditions that CCTV may reveal.
The camera shows the portion of the pipe that is visible to it; it does not automatically reveal every condition outside the pipe wall. For a homeowner, the goal is to recognize signs worth documenting—not to make a final structural diagnosis from one image.
|
Possible finding |
What it may look like on screen |
What to do next |
|
Root intrusion |
Fine strands entering through a joint or opening; thicker roots may occupy part of the pipe. |
Record the location and extent. Ask a qualified contractor whether cleaning is sufficient and whether the entry point needs repair. |
|
Crack or fracture |
A dark line, split, or opening in the pipe wall. The appearance varies with material, angle, deposits, and lighting. |
Capture a still image and distance reading. Have a plumber assess severity; do not choose a repair from one frame alone. |
|
Offset joint |
The edges of two pipe sections do not line up, creating a lip or visible step. |
Document the direction and degree of displacement if it can be assessed. Determine whether it restricts flow or indicates movement. |
|
Belly or low spot |
Water and sediment remain pooled in a section when the camera pauses or after flow settles. |
A single image cannot establish the full profile. Review the footage and ask whether further assessment is needed to confirm the extent. |
|
Grease, scale, or debris |
A coating or mass narrows the visible opening or obscures the pipe wall. |
Ask whether cleaning is needed before the condition of the underlying pipe can be judged. |
|
Collapse or severe deformation |
The pipe opening appears significantly narrowed, distorted, or blocked; the camera may be unable to pass. |
Stop forcing the camera. Record the last confirmed position and arrange professional evaluation. |
|
Corrosion or surface deterioration |
Pitting, rough surfaces, flaking, or material loss may be visible, particularly in some older pipe materials. |
Ask the inspector to distinguish visible deterioration from a confirmed structural failure and recommend the appropriate follow-up. |
How to Read the Footage Without Jumping to Conclusions?
Use the video as evidence, not as a stand-alone repair prescription. A dark mark might be a crack, a joint edge, a deposit, or a shadow caused by the camera angle. Standing water can suggest a low section, but flow conditions and the camera’s position affect what appears on screen. Roots may indicate an entry point, but the footage alone may not show the full extent of damage outside the pipe. As a homeowner, separate what you can see from what you think it means, and note any uncertainty in your inspection log.
For each finding, ask four practical questions:
- Where is it? Record the entry point, distance-counter reading, direction of travel, and any above-ground location marking.
- What is visible? Describe the observed condition in neutral terms before assigning a cause.
- How much of the line was inspected? Note any sections hidden by water, deposits, a blockage, or an inaccessible bend.
- What confirms the diagnosis? Ask whether cleaning, a second pass, a locating check, a plumbing assessment, or another test is needed.
The camera generally shows the inside surface above the waterline. It cannot, by itself, verify the condition of surrounding soil, quantify every leak, or prove the structural integrity of the entire pipe wall. The EPA’s technology review notes these limits of CCTV inspection. If the report suggests a serious defect, get a qualified contractor’s assessment before authorizing major work.
When Should You Consider a Sewer Scope Inspection?

1. Before buying a home
Consider a separate sewer scope during the inspection period, particularly when the property has mature trees, older sewer piping, a history of backups, or an unclear repair history. Seattle Public Utilities recommends that property owners consider having the side sewer inspected before purchasing a property. Confirm which section belongs to the property and whether any portion is shared, because ownership and maintenance responsibilities vary by location.
2. When several drains are slow or backing up
A single slow sink may have a local trap or branch-line problem. When toilets, tubs, and multiple fixtures show symptoms at the same time, the main drain or sewer lateral becomes one possible cause. Stop using affected fixtures if sewage is backing up, and contact a plumber promptly. A camera inspection may help identify the obstruction or visible pipe damage after safe access is established.
3. After repeated blockages or unexplained yard changes
Repeated clogs after cleaning, persistent sewer odors, or a patch of unusually wet ground can justify further investigation, but none proves a broken sewer line on its own. Weather, irrigation, roof drainage, and other plumbing issues can produce similar symptoms. Use the signs to decide when to investigate, not to diagnose the defect without evidence.
4. After construction or repair work
A post-work camera inspection can document the accessible interior after a repair or renovation. Agree in advance on the section to be inspected and the records you need, especially if the footage will be used for a permit, municipal review, warranty discussion, or future maintenance.
How Much Does a Sewer Scope Inspection Cost?

In the United States, a standard residential sewer camera inspection typically costs around $125–$500 when booked as a standalone service. If you add a sewer scope to a general home inspection, the additional cost may be lower, often around $100–$250. More complex inspections can cost $500–$800 or more, particularly when the sewer line is long, access is difficult, or additional work is required.
These figures are practical budgeting estimates based on published US cost guides, rather than fixed national prices. The final cost depends on the property, the length and condition of the pipe, and what the inspection service includes. A basic camera pass should not be compared directly with a package that includes additional locating, cleaning, or access work.
1. What Affects the Cost of a Sewer Scope Inspection?
Several factors can influence the final quote:
- Inspection length and coverage: Checking a short, accessible section may cost less than inspecting a longer sewer lateral or multiple pipe branches.
- Access to the sewer line: An existing, accessible cleanout can simplify the inspection. If the technician needs to remove a toilet or create another access point, additional labor may increase the cost.
- Pipe condition and visibility: Heavy deposits, standing water, or a blockage may prevent the camera from progressing or clearly showing the pipe wall. Cleaning or a return visit may cost extra.
- Camera and locating equipment: Basic visual inspection is different from a service that also traces the camera head from the surface or provides additional location information.
- Documentation and additional services: Video recordings and written reports may be included in the base price or charged separately. Cleaning, blockage removal, and repairs should be treated as separate services unless the quote explicitly includes them.
2. What Should You Check Before Accepting a Quote?
When comparing sewer scope inspection prices, make sure each quote covers a similar scope of work. Ask the provider:
- Does the inspection cover the full accessible sewer lateral or only part of the line?
- Are the video recording and written findings included?
- Are distance readings or above-ground locating available, and do they cost extra?
- Is cleaning included if a blockage prevents the camera from passing?
- Will there be an additional charge if the camera cannot reach the end of the line?
- Are access work, a return visit, and any necessary repairs priced separately?
If you plan to inspect your own sewer line, compare the cost of renting or buying a suitable camera with the price of a professional inspection. A DIY camera check may help you identify visible warning signs and document the condition of an accessible pipe. However, difficult access, unclear footage, or suspected structural damage may still require professional assessment.
The most useful quote is not necessarily the cheapest one. Choose a service—or a DIY setup—that gives you the access, footage, and information needed to understand the pipe’s visible condition and decide on the appropriate next step.
What Should You Do If the Camera Finds a Problem?

Get the evidence. Save the full video, still images, the distance-counter reading, and any surface marks or sketch showing the suspected location.
- Ask for a plain-language explanation. Have the inspector explain what is directly visible, what is only suspected, and which parts of the line could not be assessed.
- Confirm the finding. Depending on the issue, a plumber may recommend cleaning and a second camera pass, above-ground locating, or a more detailed evaluation.
- Compare repair options. A root blockage, a damaged joint, and a collapsed pipe do not necessarily require the same treatment. Ask for the reason behind the proposed method and whether a localized repair, lining, or excavation is appropriate for the specific pipe and site.
- Get a written estimate before authorizing work. The estimate should identify the repair location, the work included, restoration of disturbed surfaces, permits where required, and any warranty.
- Keep the records. Video, reports, invoices, and repair documentation help establish a baseline for future inspections or property transactions.
If you are buying a home, share the report with your real-estate agent and an appropriately qualified contractor before the inspection or negotiation deadline. The report can support a repair request or further investigation, but the contract and local rules determine what options are available.
How to Choose the Right Sewer Inspection Camera?

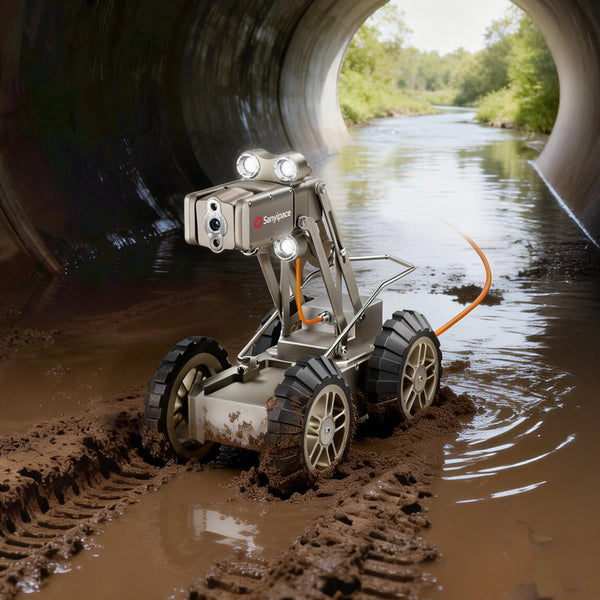
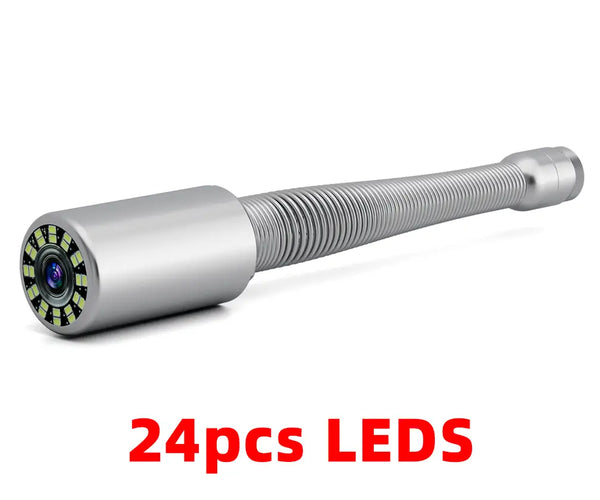
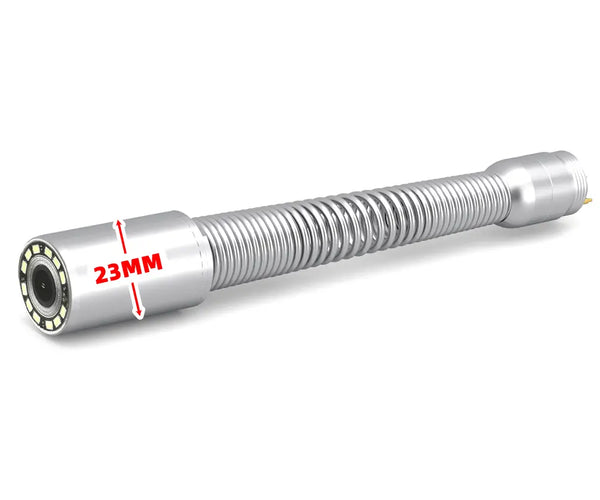
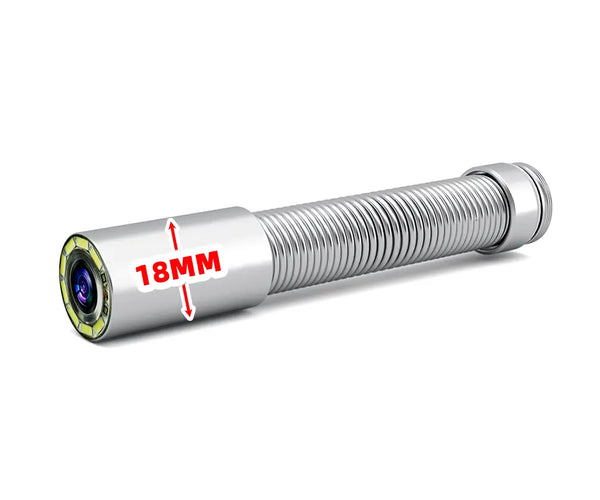
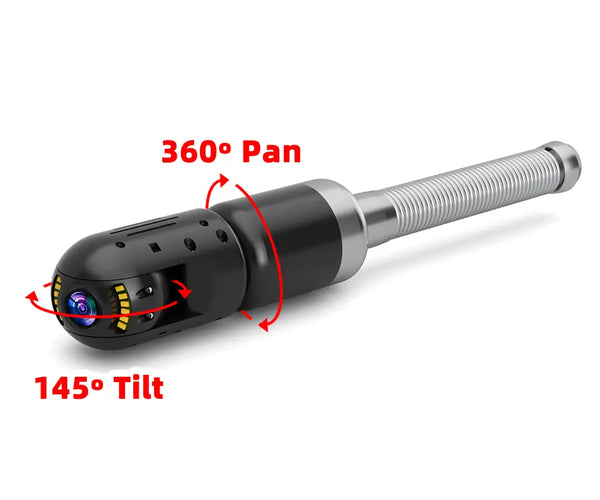
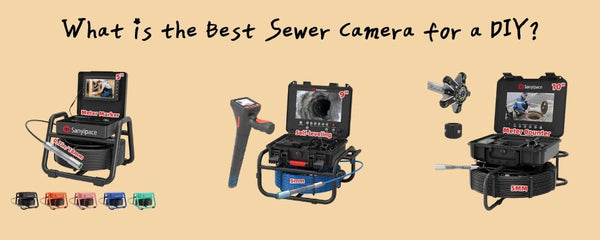
Equipment choice affects whether a camera can reach the intended section and whether the footage is useful. For homeowners who plan to perform basic checks themselves, match the system to the pipe diameter, access conditions, and likely inspection distance rather than choosing by cable length alone.
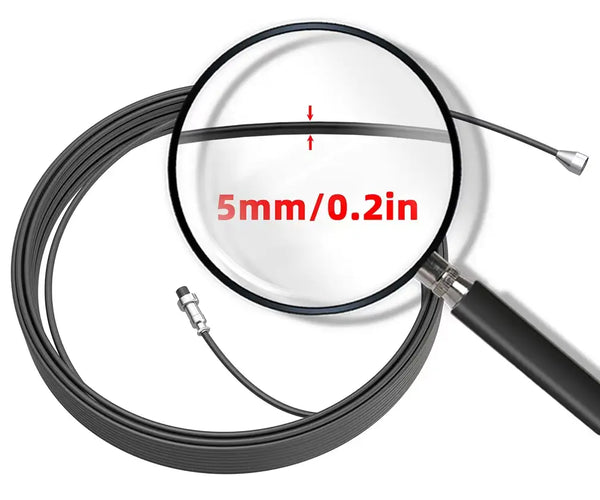
- Camera-head diameter and length: compare the complete head assembly with the pipe’s internal diameter, bends, and access opening. A head that fits a straight section may struggle at a tight elbow.
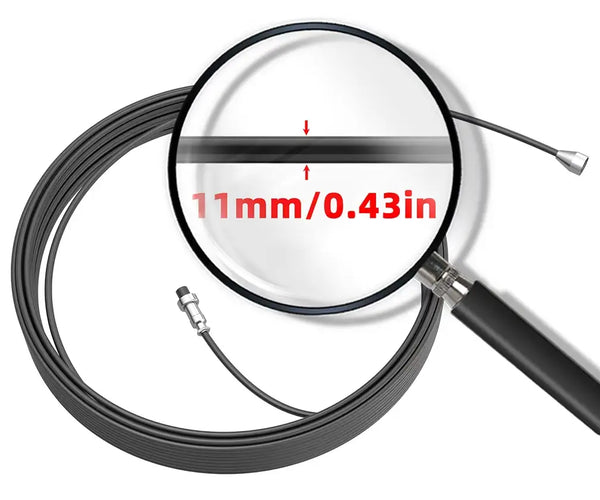
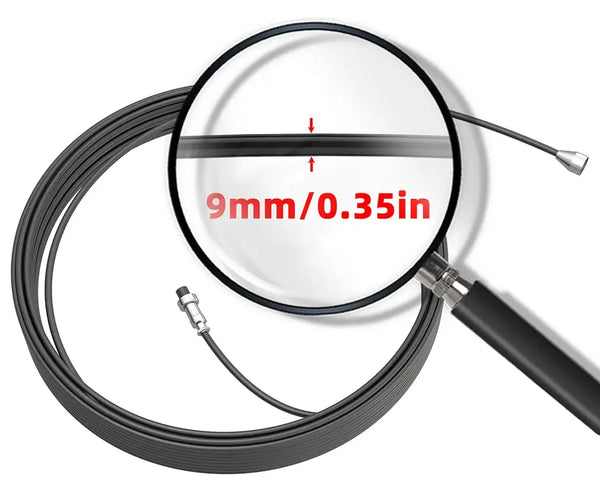
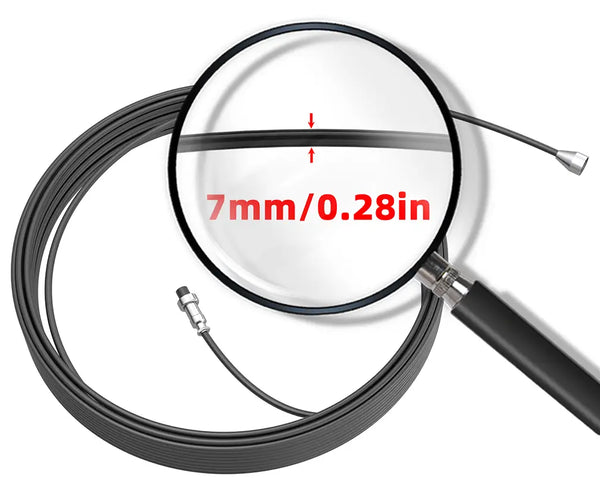
- Push-cable stiffness and length: a stiffer cable can help advance through suitable longer runs, while a more flexible setup may be better suited to bends. More cable does not guarantee that the camera can negotiate every route.
- Lighting and image quality: the pipe interior is dark, and water, grease, and deposits can reduce visibility. Adjustable lighting and stable, well-focused footage help the operator examine the pipe wall.
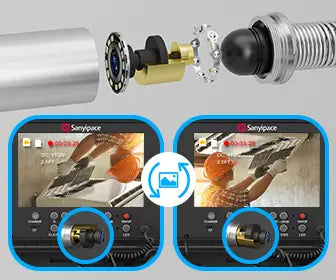
- Image orientation: self-leveling can keep the image upright as the camera rotates, making footage easier to interpret. It does not identify defects automatically.
- Distance counter: a counter helps document how much cable has been deployed. Treat it as a reference measurement and understand how the system accounts for cable movement and routing.
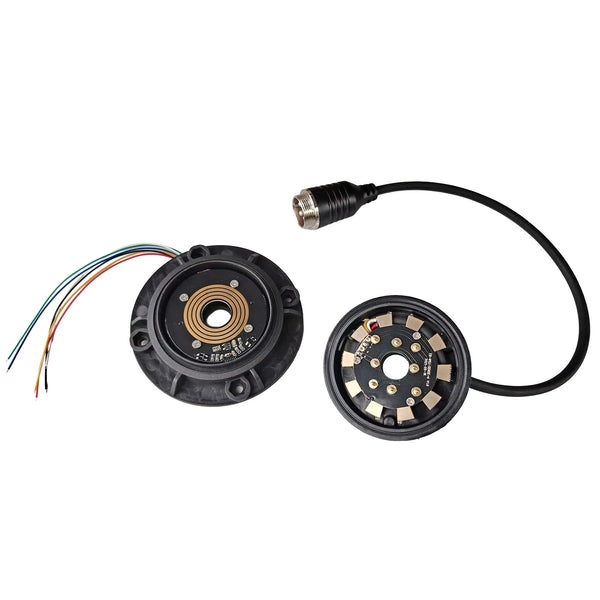
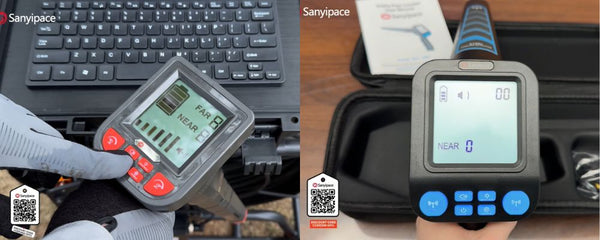
- Sonde and receiver compatibility: a built-in sonde can help a compatible receiver trace the camera head from the surface. Check whether the receiver is included, which frequency is supported, and whether the locating function is suitable for the job.
- Recording and reporting: choose a system that allows footage to be reviewed and shared, and establish a consistent method for documenting defects and their approximate positions.
The most useful setup is the one that fits the pipe, reaches the intended inspection section, and produces footage that is clear enough to review. If you expect to inspect only once, compare the cost of renting equipment with hiring a professional; repeated use may make ownership more practical, but it does not remove the need for expert help with serious or unclear findings.
For a basic homeowner setup, prioritize a camera head that fits the pipe, controllable lighting, stable video recording, a cable suited to the route, and a distance counter. Add a compatible sonde and receiver only if you need to trace the camera head from the surface.
Frequently Asked Questions

1. How Long Does a Sewer Ccope Inspection Take?
The time depends on the length and layout of the line, access conditions, visibility, and whether the camera encounters a blockage. Ask the provider for an estimated appointment window and confirm whether cleaning or locating would require additional time.
2. Can a Sewer Camera Inspect Every Type of Pipe?
No single camera setup is suitable for every pipe diameter, bend, access opening, or condition. Confirm the camera-head dimensions and cable characteristics against the actual line. A blockage, severe offset, collapse, or tight bend may prevent the camera from passing.
3. Can a Sewer Camera Locate a Blockage?
It can often show the visible obstruction and provide a distance-counter reading from the entry point. To mark the approximate location above ground, the system generally needs a compatible sonde and receiver, and the operator must perform a locating procedure.
4. Does the Camera Show the Exact Location and Depth of a Defect?
Not automatically. A distance counter estimates the distance travelled by the cable, while a compatible locating system may help trace the camera head at the surface. Actual accuracy depends on the equipment, pipe route, operator technique, and site conditions. Ask whether any reported depth is measured or estimated.
5. Does a Sewer Scope Inspection Include Cleaning or Repairs?
Usually, these should be treated as separate services unless the quote explicitly includes them. A camera may reveal a blockage, but cleaning or repair may be necessary before the full pipe condition can be assessed.
6. How Often Should a Sewer Line Be Inspected?
There is no single interval that suits every property. Consider the pipe’s age and material, previous blockages, nearby trees, repair history, and local recommendations. A pre-purchase inspection or an inspection after recurring symptoms may be more useful than following a fixed schedule without considering the property.
7. Can a Sewer Camera Prove that a Pipe is Structurally Sound?
It can document visible conditions along the portion inspected, but it cannot prove that every part of the pipe is defect-free or evaluate all conditions outside the pipe wall. The report should identify visibility limits and any sections that the camera could not reach.
The Bottom Line
A sewer scope inspection turns a hidden pipe into a visual record, helping homeowners, buyers, and contractors make decisions based on evidence rather than symptoms alone. With a suitable camera and safe access, homeowners can carry out an initial visual check, document warning signs, and keep footage for future comparison. Define the inspection route in advance, move the camera slowly, record distance references, and note any section that could not be inspected clearly.
Treat the video as one part of the assessment. When a possible defect appears, document what is visible and what remains uncertain. Use a DIY inspection to gather evidence and make better-informed decisions—not to replace professional diagnosis when the problem is serious, access is unsafe, or the footage is inconclusive.


Hagyj megjegyzést