





Testing the Sanyipace S880DSTKM: A 165-Foot Self-Leveling Sewer Camera
This article is based on the personal opinions and hands-on experience shared on the YouTube channel Last Best Tool.
A New Sewer Camera in Bright Green
Howdy, folks. Doc here with Last Best Tool.
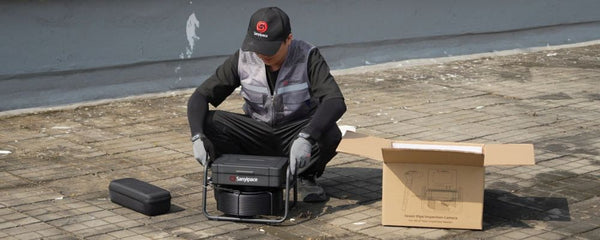
Sanyipace, a company that makes sewer inspection cameras, reached out and asked if I wanted to take one of their newer models for a spin. My first question, of course, was: “Does it come in green?”
Fortunately, they said yes.

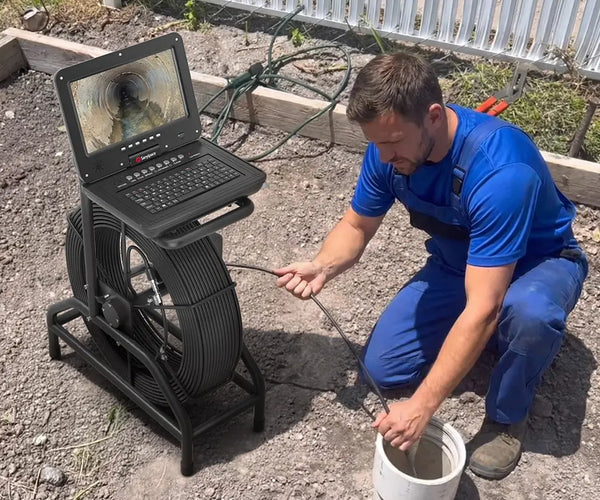
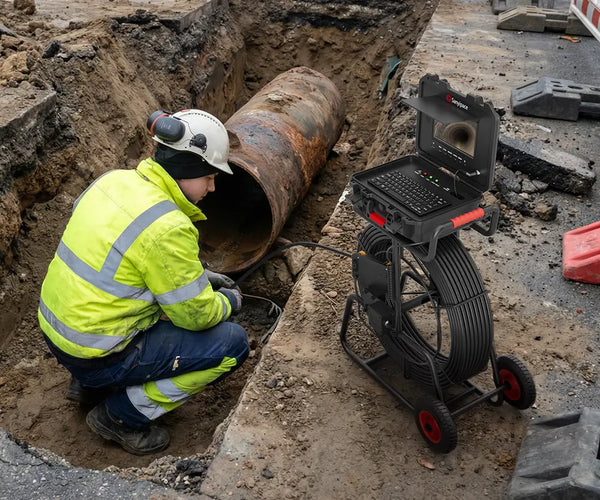
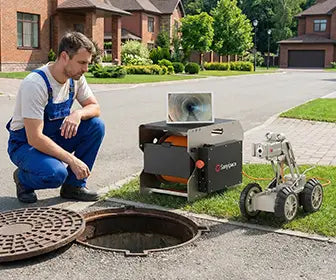
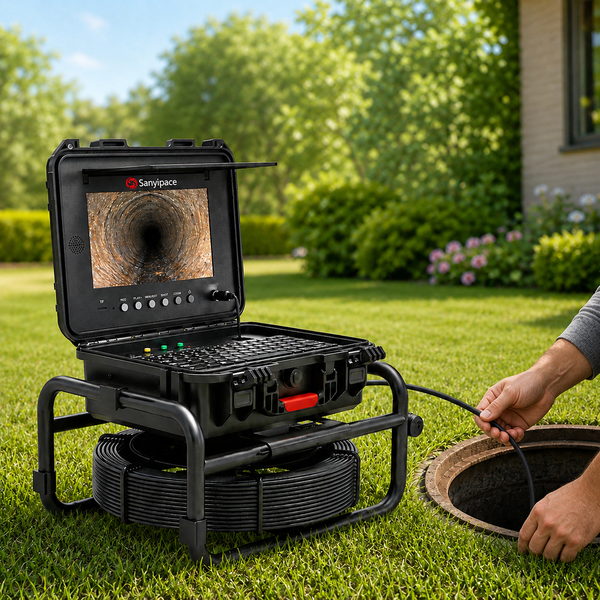
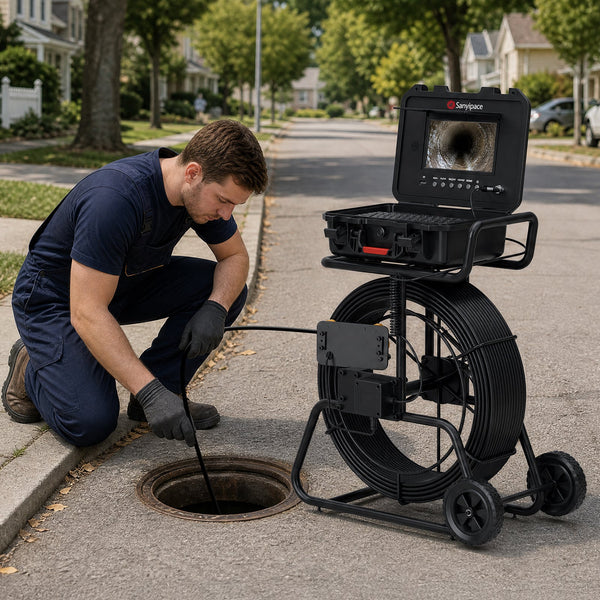
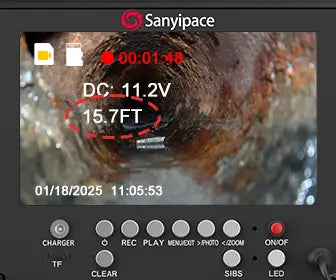
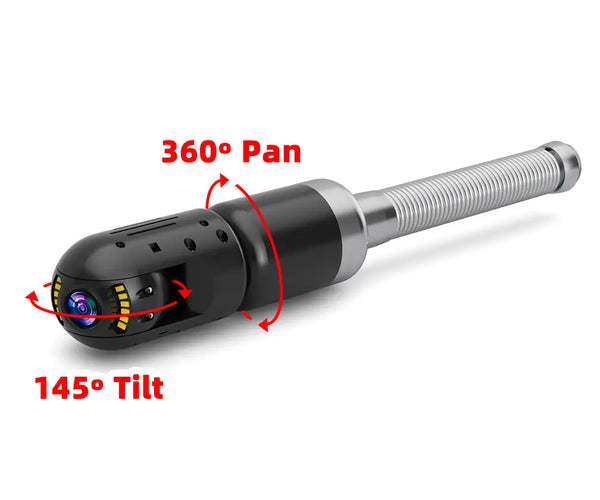
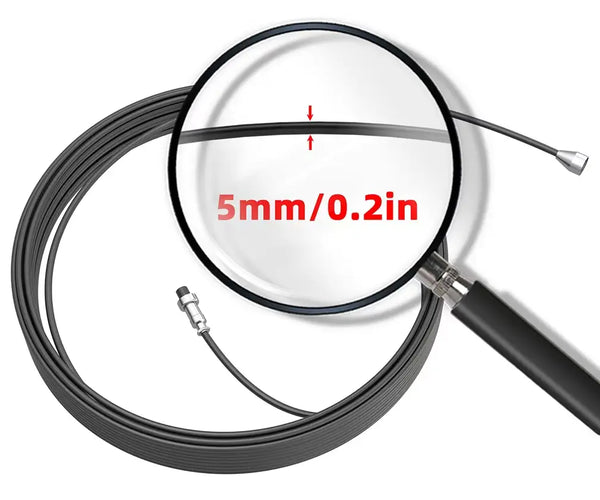
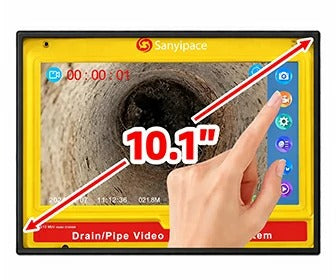
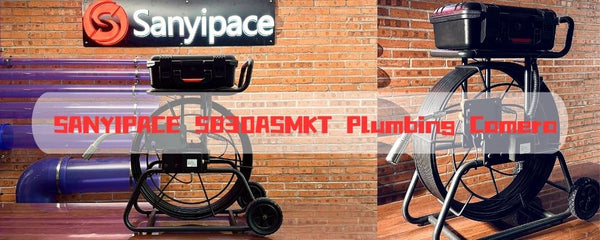
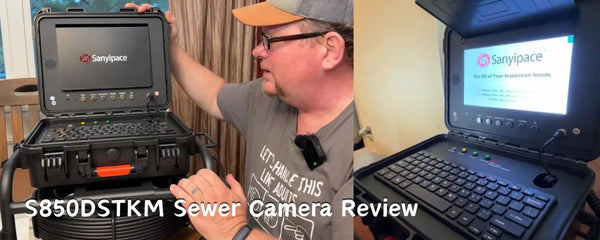
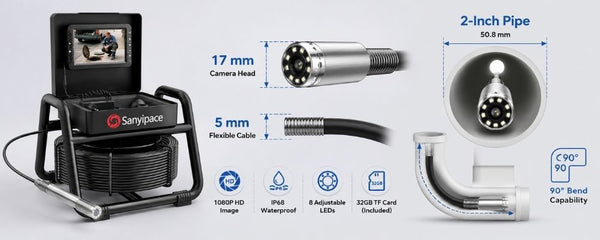
The model they sent me is the Sanyipace S880DSTKM, a bright green sewer inspection camera with 165 feet of cable. It comes with a 1080p recorder, 5× zoom, a long-lasting battery, a waterproof case, and several other useful features.
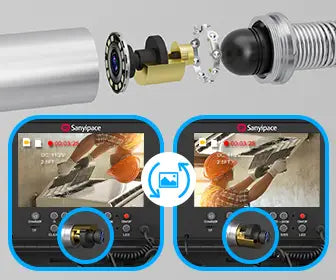
One feature that immediately stood out to me was the self-leveling camera. As the camera moves through a pipe, it automatically keeps the image upright relative to gravity. That can make a significant difference when you're trying to understand what you're actually seeing inside a pipe.
512 Hz Transmitter and Pipe Locator
Another feature that makes this system particularly useful is the 512 Hz transmitter built into the camera head.
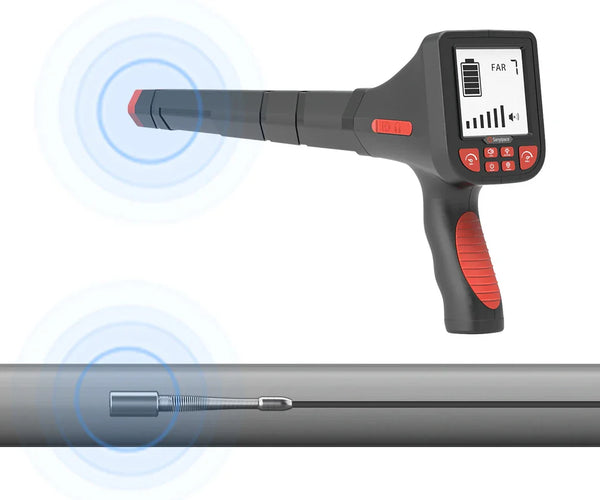
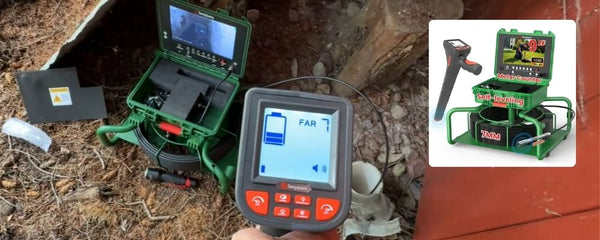
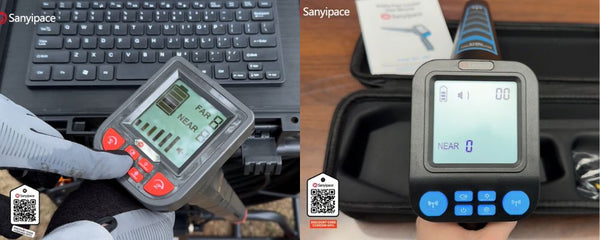
The system also includes a 512 Hz pipe locator. Once the camera is inside an underground pipe, the locator allows me to determine where the camera head is located from above ground.

The locator has a built-in rechargeable battery with around six hours of operating time, and it uses USB-C charging. There is also a QR code on the unit that provides access to support if needed.
My goal was to test the system in a controlled environment first and then use it to locate a septic tank on my property. I had previously mentioned that septic tank in another video, but I wasn't exactly sure where the underground lines were going.
Testing the Camera in PVC Pipes
Before taking the camera into an actual underground system, I wanted to understand how it behaved inside a pipe that I could see.
I set up a couple of pieces of pipe and dropped some small dinosaurs inside as test objects. Then I fed the camera through the pipe while using another camera to watch how it moved.

I wanted to see how smoothly it traveled, whether it picked up debris, and how well it stayed centered inside the pipe.
The camera moved through the pipe fairly well, although I noticed something interesting when I installed the wheel set designed for larger-diameter pipes. The camera tended to point upward, so I may need to adjust the wheel position slightly.
The star-shaped wheels are designed to help keep the camera centered inside larger pipes, but in my test setup, I found that a small adjustment could improve its positioning.
Learning to Use the Pipe Locator
Next, I wanted to get familiar with the 512 Hz pipe locator before using it underground.
I placed the camera and its transmitter inside a section of PVC pipe and then walked around with the locator. I experimented with the distance, sensitivity, and response time.
The locator has both Far and Near settings. I started with the Far setting, which is useful for getting into the general area of the transmitter. Once I was closer, I switched to the Near setting for more precise positioning.
Each mode also has different sensitivity levels. By adjusting these settings, I could narrow down the location of the transmitter more accurately.

The process reminded me somewhat of using a metal detector. The response changes depending on distance, sensitivity, and how quickly you move the detector. Keeping the locator vertical and close to the ground also seemed important for getting a reliable signal.
For more information about pipeline camera locators, please refer to relevant materials: 512 Hz Sewer Camera Locator Guide
Taking the Camera Into the Septic System
Once I understood the basic operation, it was time for the real test.
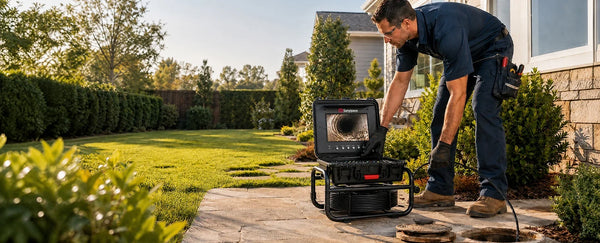
I had an access port that functions as a vent and leads down into the underground system. I wasn't sure which direction the pipe traveled after entering the access point—whether it went toward the septic system or back toward the house. I dropped the camera down into the opening and started feeding it through the pipe.
Almost immediately, I could see that the pipe made a turn. There was also water inside. I had previously flushed a couple of toilets to see which direction the water was flowing, and it appeared to be moving away from the house, which confirmed that I was heading in the right direction. As I continued feeding the cable, the camera traveled farther into the system.
Why Self-Leveling Makes a Difference
This was where the self-leveling feature really became useful. As the camera moved through the pipe and changed orientation, the image stayed upright. I didn't have to constantly rotate my head or mentally compensate for a tilted camera view.
Eventually, I reached the septic system itself. Looking into the tank was definitely an interesting experience. There was plenty of material inside, and the view was not exactly something I'd want to stare at for too long.

Still, the camera gave me a clear look at what was happening inside the system.
Locating the Septic Tank From Above
Seeing the septic tank through the camera was useful, but I still needed to determine exactly where it was located underground.
That's where the 512 Hz pipe locator came in. I knew roughly which direction the camera had traveled, but I didn't know exactly how far away it was or where the underground line was positioned.
I switched the locator to the Far setting and began walking around the area. As I moved closer to the transmitter, the signal became stronger. Once I was in the general area, I switched to the Near setting and adjusted the sensitivity to narrow down the location.
The process required some trial and error. I moved back and forth across the area, watching how the signal changed. By creating an approximate X-shaped locating pattern, I was able to narrow down the area where the camera was located. This gave me a much better idea of where the septic tank was underground.
A Closer Look Inside the Septic Tank
I also decided to take the camera a little farther into the septic tank to see what I could find. That turned into a messy experiment pretty quickly. Some material stuck to the camera lens, making it difficult to see clearly.

I tried using the zoom function, hoping I could get a closer look at something interesting, but the result was mostly a larger, fuzzier image.
Still, the camera did exactly what I needed it to do: it gave me a visual inspection of an area that would otherwise be difficult to access.
Testing the Camera in Other Environments
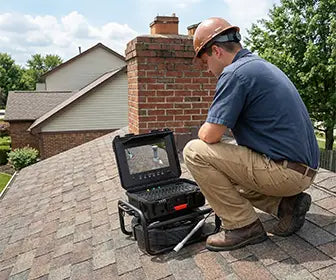
After pulling the camera back out of the septic system, I wanted to try it in another application. I decided to feed it upward through the chimney of my wood stove. My goal was to get a closer look at the condition of the chimney and potentially inspect the creosote buildup, since the chimney needs a serious cleaning.
Going upward presented a different challenge. The camera lens naturally picked up debris as it moved through the chimney.
Ideally, I would have gone onto the roof and lowered the camera down from above, but it was raining at the time, and the metal roof was extremely slippery. So instead, I experimented from below. Even though the conditions weren't ideal, the camera still provided a useful view inside the chimney.

Clear Images and Good LED Performance
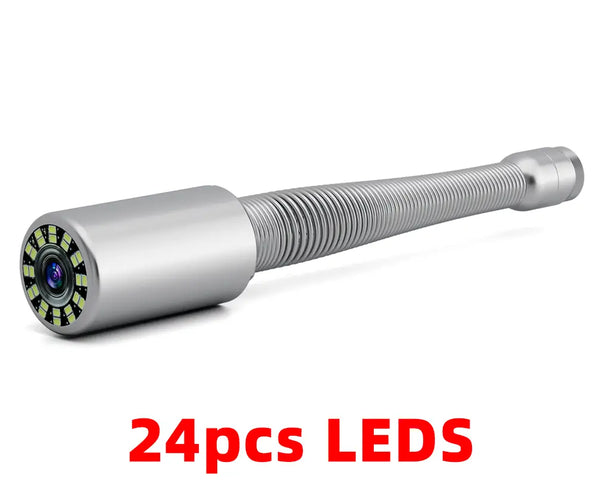
One thing I particularly liked about the S880DSTKM was the image quality. The camera provides a good, clear picture, and the LED lighting can be adjusted for different conditions.
I've used inspection cameras where the LEDs were positioned too close to the lens, causing glare and flare that made it difficult to see what was actually in the pipe.
I didn't experience that same problem here. The lighting provided a good balance, allowing me to see the interior of the pipe without completely washing out the image. The self-leveling feature also continued to be useful as the camera changed direction.

My Overall Impression
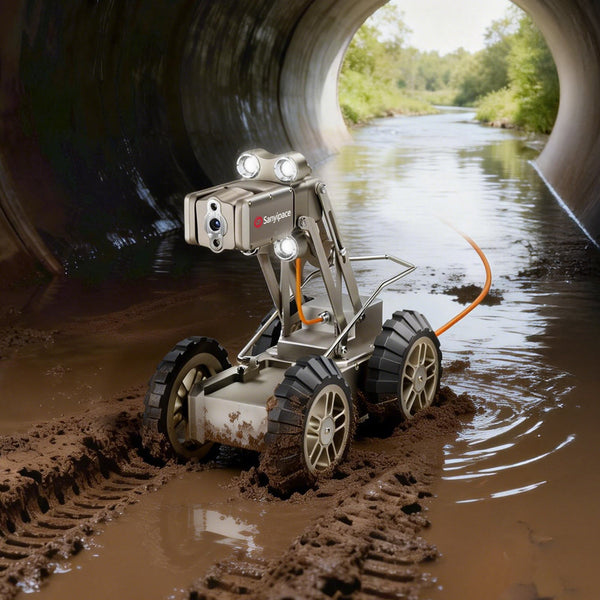
After using the Sanyipace S880DSTKM in several different situations, I came away very impressed. The camera was useful for inspecting underground pipes, locating the camera head with the 512 Hz transmitter, examining the septic system, and even exploring a chimney.
For me, this is the kind of tool that can potentially pay for itself after just one serious use. Being able to see what's happening inside a pipe or locate an underground problem without immediately having to dig everything up can save a significant amount of time and effort.
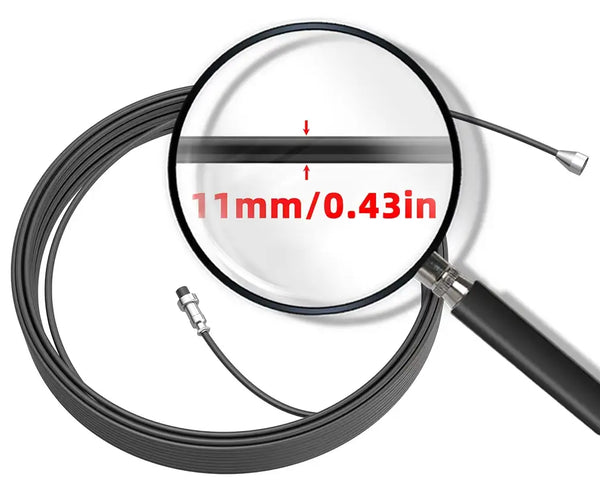
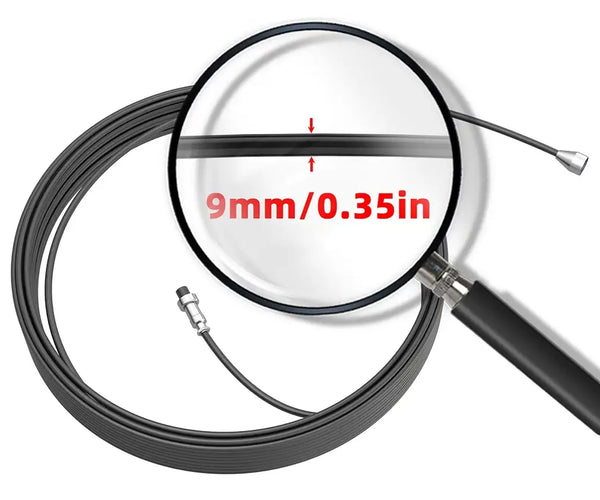
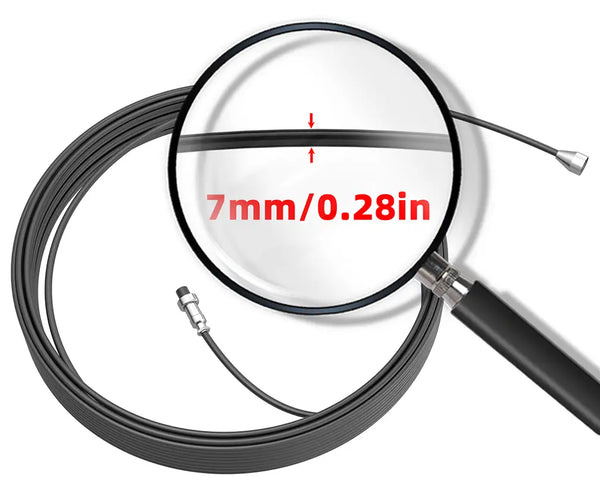
I tested the 165-foot version, but Sanyipace offers the system in different cable lengths depending on your needs. Overall, I found the S880DSTKM to be a capable and versatile inspection tool, particularly for anyone who regularly deals with plumbing, septic systems, underground pipes, or other hard-to-reach spaces.
Thanks to Sanyipace for sending this unit over and giving me the opportunity to put it through its paces.
Until next time, Doc out.


Hagyj megjegyzést