


Backed-Up Drain Line Inspection – Sanyipace Sewer & Plumbing Camera
Culvert Pipe Inspection – Diagnosing a Backed-Up Drain Line
Hi, this is Sean with Gate City Foundation Drainage. Today we’re on a job in Greensboro, and I’ll walk you through what’s happening.
The house sits at a low point in the neighborhood. The landscape slopes toward it, and recent changes uphill — like adding a pool, removing trees, and regrading — have affected drainage for the lower properties.
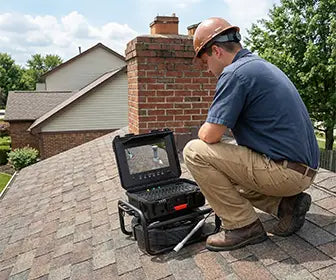
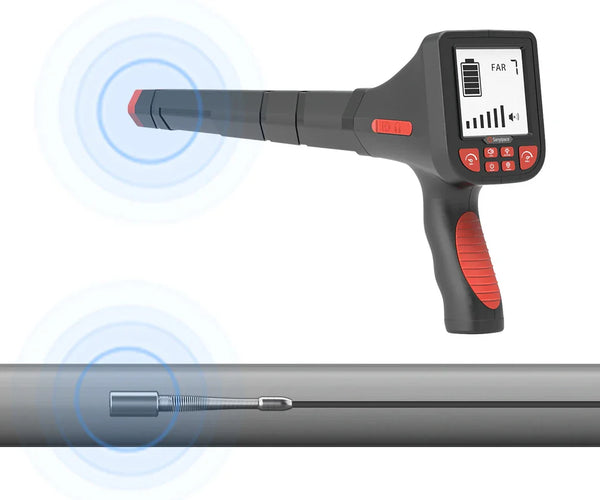
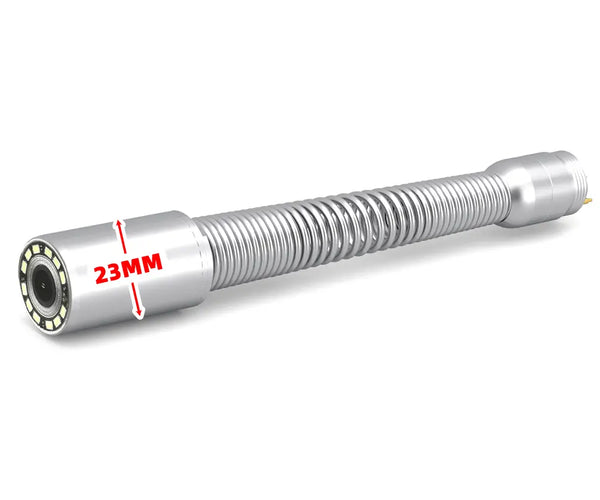
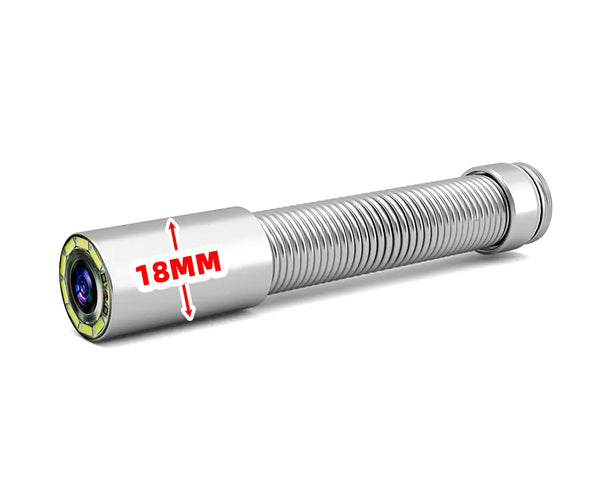
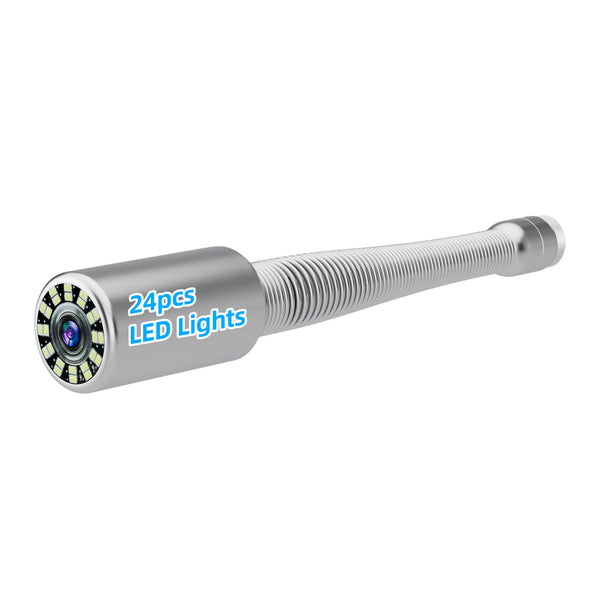
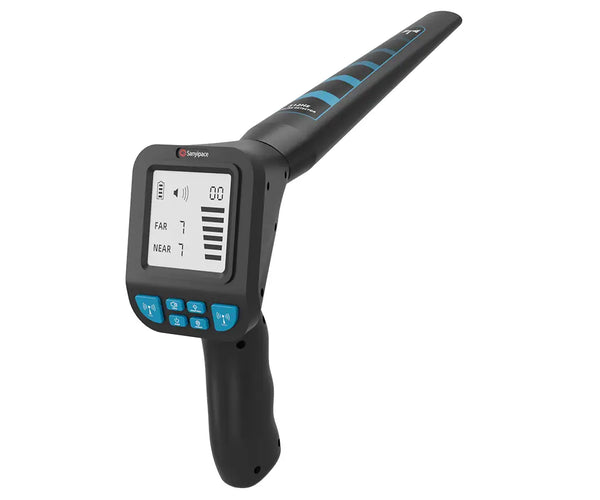
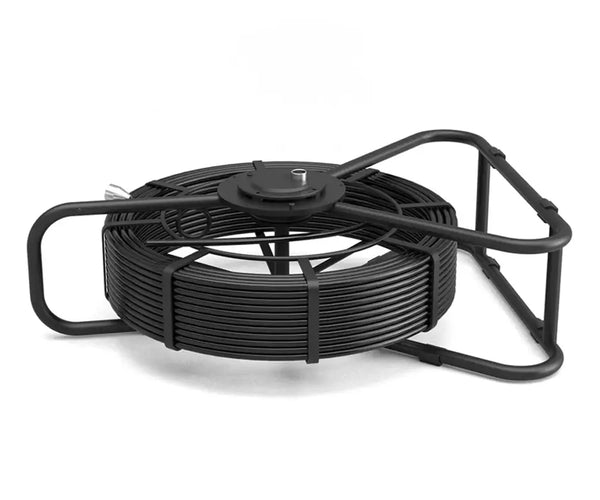
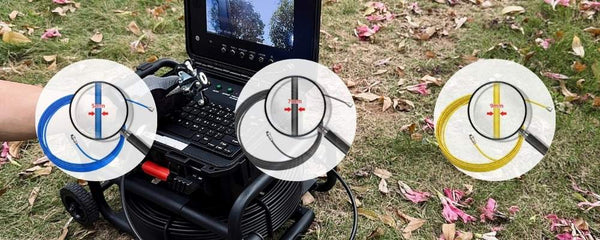
Here, we have a drainage basin with a pipe leading out. The 6-inch pipe seems clogged or back-graded, causing the area to fill up repeatedly and flood the garage and side door. Today, we’ll clean it, jet it, and inspect it with a Sanyipace S850DSTKM sewer camera.

Initial Assessment – Checking the Drainage Setup
The 8-inch pipe runs under the pool deck, from the basin across the yard to the other side. It shouldn’t clog easily, but we want to check for sags or trapped water.
Our plan: run the jetter through the pipe, clean it out, then insert the Sanyipace plumbing camera to see inside. If the pipe is back-graded or holding water, replacement might be necessary — even if that means cutting into part of the pool deck.

Testing the Flow – Identifying Blockages
We started by running water into the drain. Earlier tests showed the pipe filled halfway before barely trickling at the outlet — a sign of an obstruction or belly.
Normally, water should appear at the outlet almost immediately. Here, it just sits, losing momentum in low spots. After eight minutes, only a weak trickle emerged, confirming a serious flow problem.
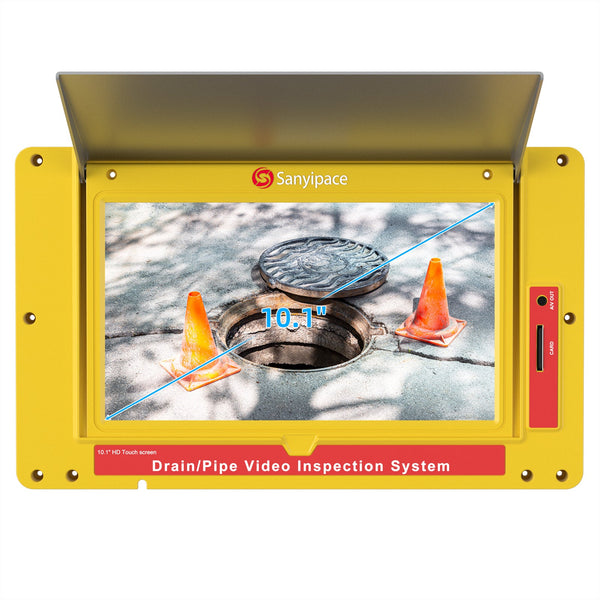
Running the Sanyipace Drain Inspection Camera
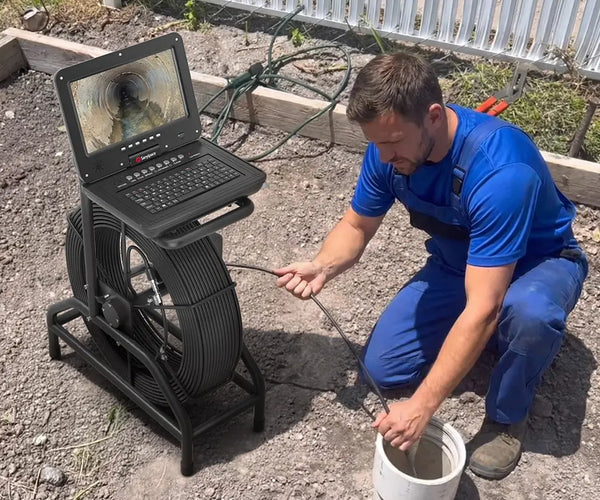
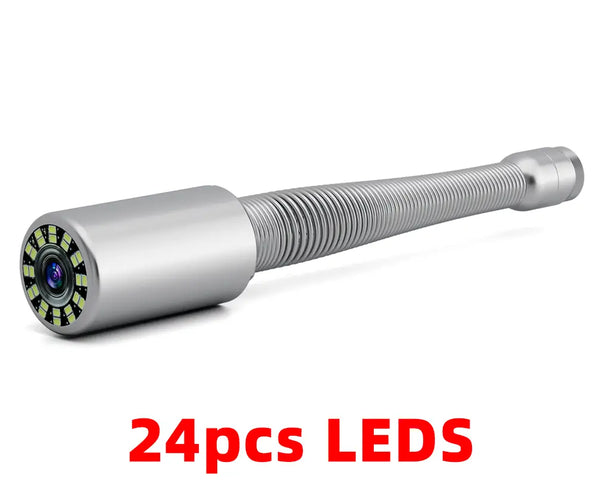
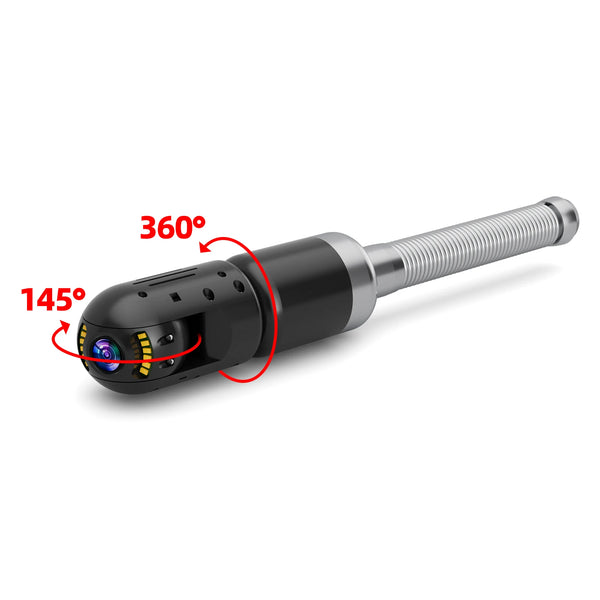
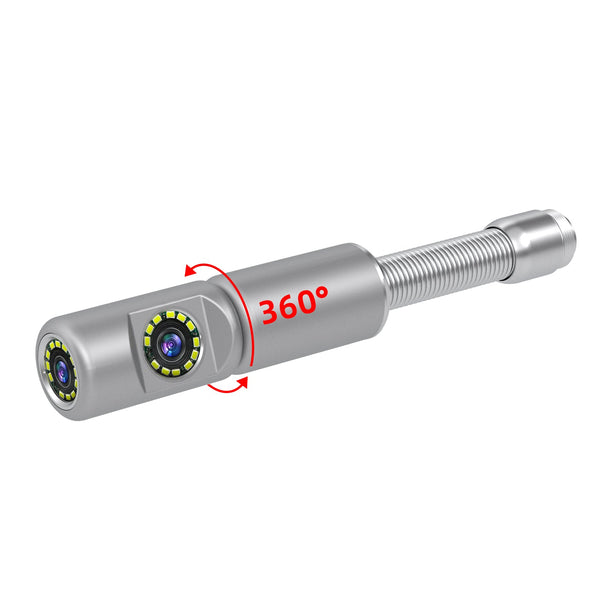
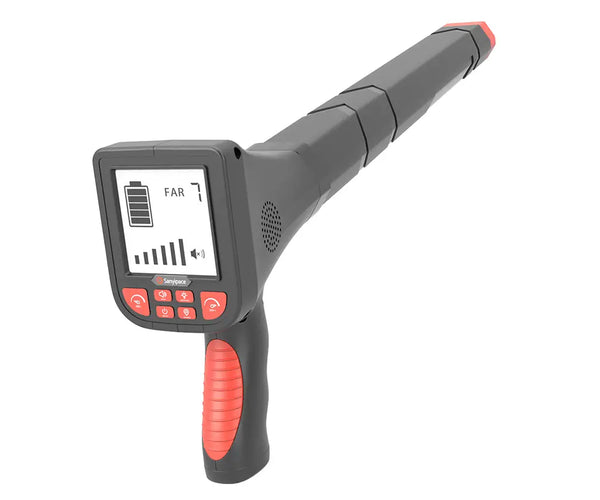
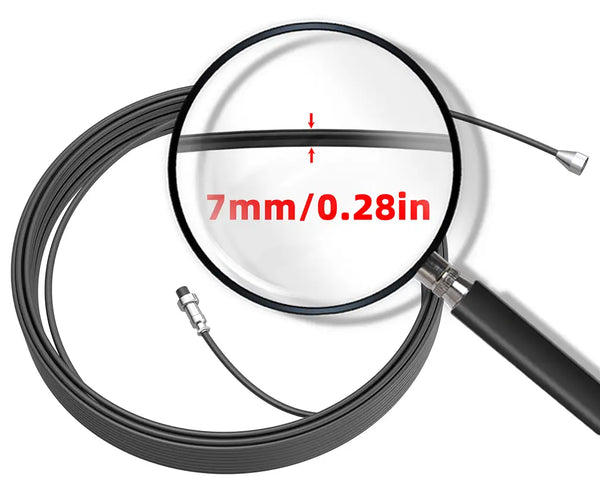
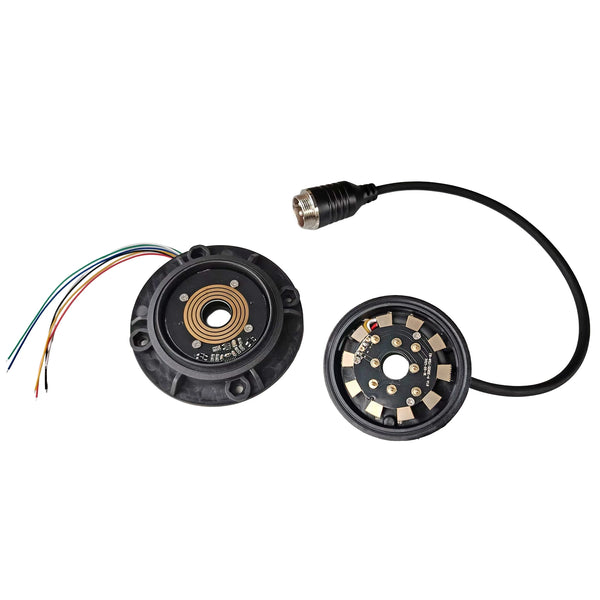
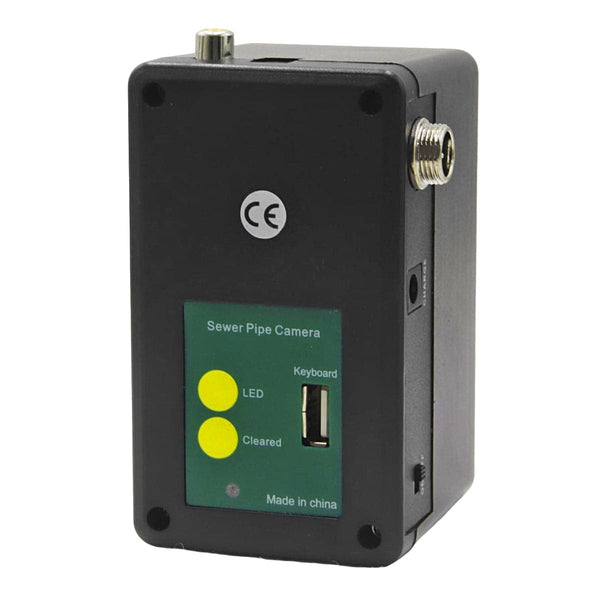
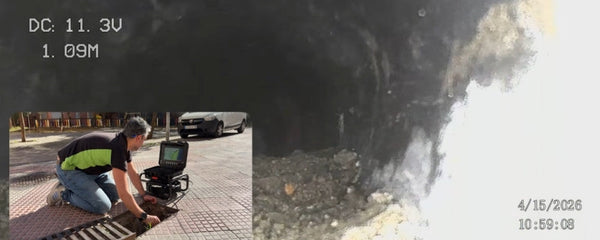
Next, we inserted the Sanyipace S850DSTKM sewer camera.
We immediately noticed water backing up. The pipe drained poorly, so we jetted it again and reinvestigated with the camera.
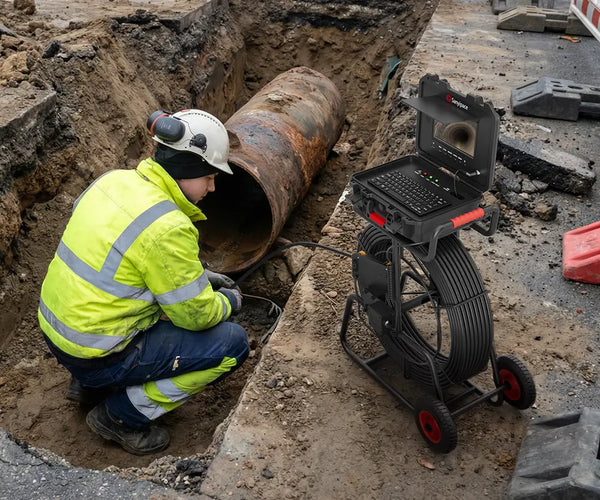
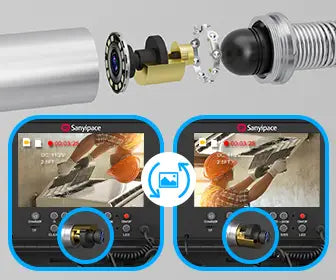
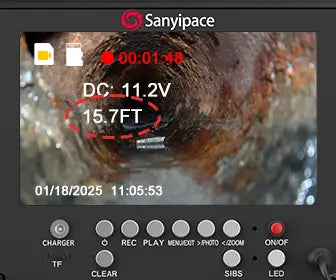
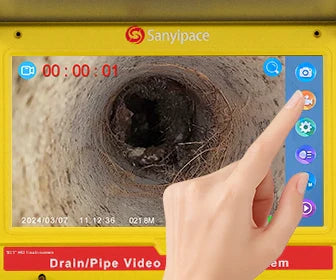
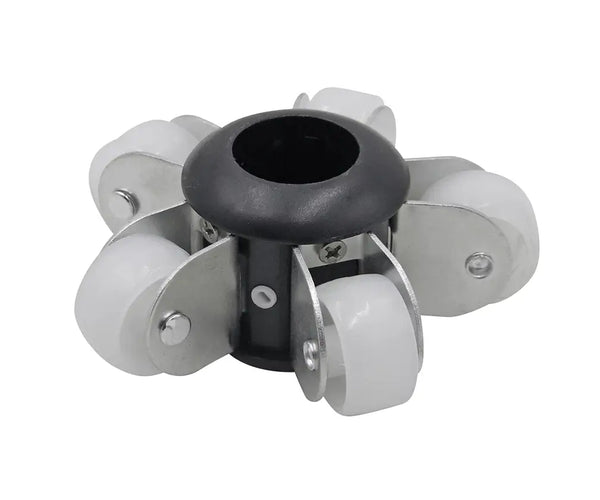
The footage revealed sections holding water and visible damage. Around 66 feet in, the drain camera was fully submerged. After draining and removing the roller head, we inspected again from the bottom.
We found a bell joint or 45-degree bend with the wrong slope. Waterline indicated back-grading. At about 32 feet in, the problem worsened, likely two low spots where water collects instead of draining.

Findings from the Plumbing Camera
The Sanyipace plumbing camera clearly identified the main issues:
-
Back-graded pipe in possibly two sections
-
Visible damage along the line
-
Pipe holding water even after jetting
Replacement seems necessary.
Next Steps – Repair or Pump Installation Options
We discussed two solutions with the homeowner:
Option 1: Dig up the section and replace the pipe. This involves part of the pool deck and possibly pool plumbing. It’s a big, messy, expensive job, but it fixes the problem long-term.
Option 2: Install a pump in the drainage basin. The pipe handles normal flow, and when water backs up, a float switch activates the pump to move excess water. Cheaper and less disruptive, but if the power fails or the pump stops, the problem returns.
The choice depends on the homeowner’s preference: a permanent fix or a simpler, budget-friendly solution.

Final Thoughts
The Sanyipace plumbing camera helped us clearly identify the main issues (Check our full guide on using a plumbing camera for drain inspections.)
These drainage problems likely worsened after landscaping changes uphill. With a damaged, back-graded pipe, flooding has become a recurring issue.
If flooding happens with every rain, pipe replacement is recommended. For occasional flooding, a pump could be a practical temporary solution.
What would you do — replace the pipe for a long-term fix, or try a pump first? Let us know in the comments.
Thanks for watching! This is Sean with Gate City Foundation Drainage, and we’ll see you in the next inspection.
Popular Articles:
Can a Sewer Camera See Through Water?
How Do I Choose a Sewer Camera?
How Far Can a Sewer Camera Go?
How to Maintain Sewer Cameras?


Leave a comment