


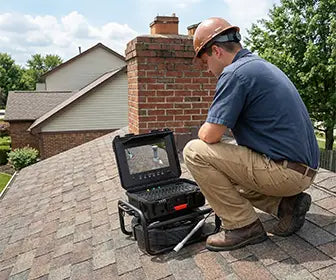


Can a Drain Camera be Used to Inspect Chimneys?
Yes, absolutely. A drain camera can clearly capture soot buildup, cracks, blockages, or liner damage inside a chimney—issues that are often impossible to detect without taking the structure apart.
This type of inspection camera offers a faster, cleaner, and safer way to assess the chimney’s condition, making it a popular tool among homeowners, inspectors, contractors, and professional plumbers alike.
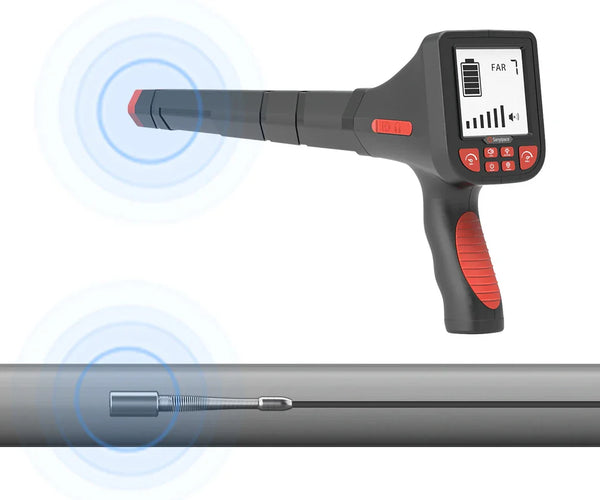
Overview of Drain Cameras

Key Features That Help in Chimneys
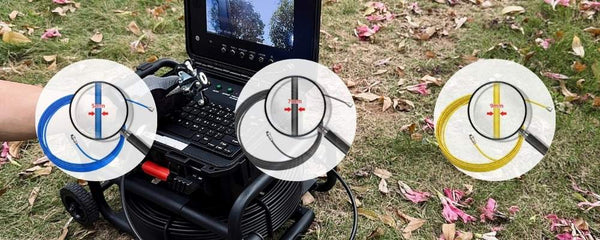
Drain cameras were designed for harsh, low-light pipes, which makes them surprisingly capable in vertical flues. Here are the features that translate well to chimney work:
-
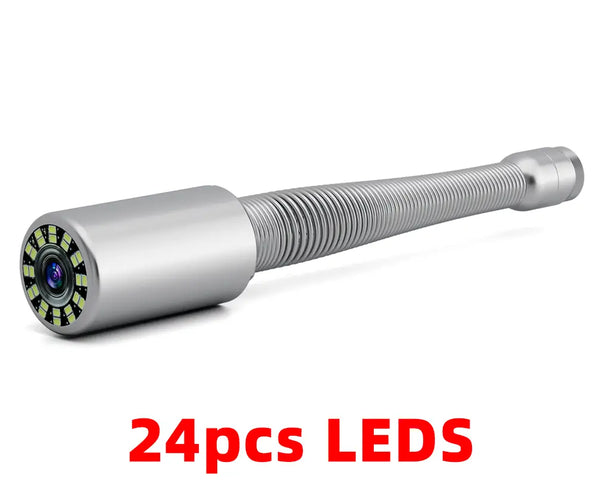
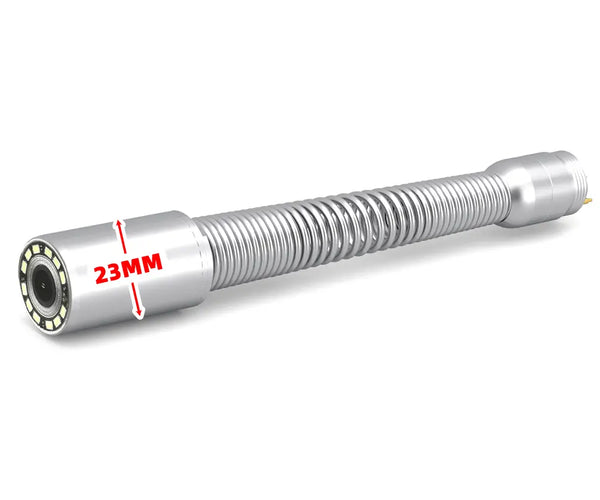
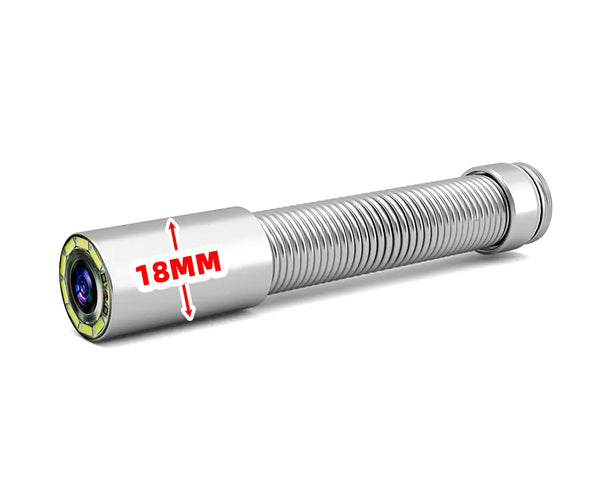
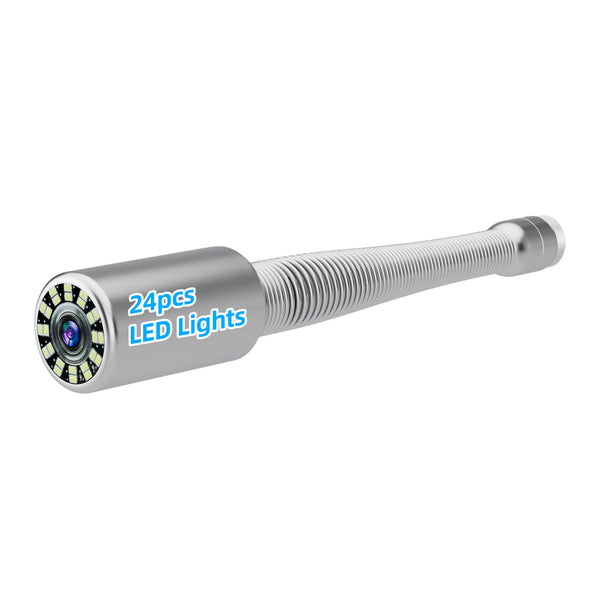
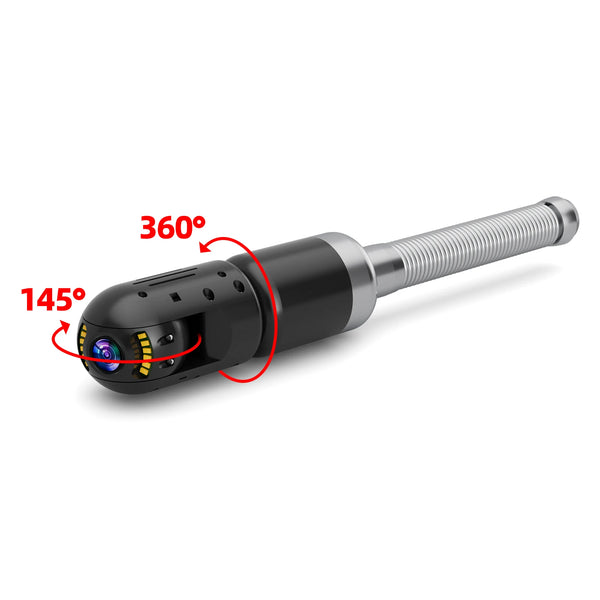
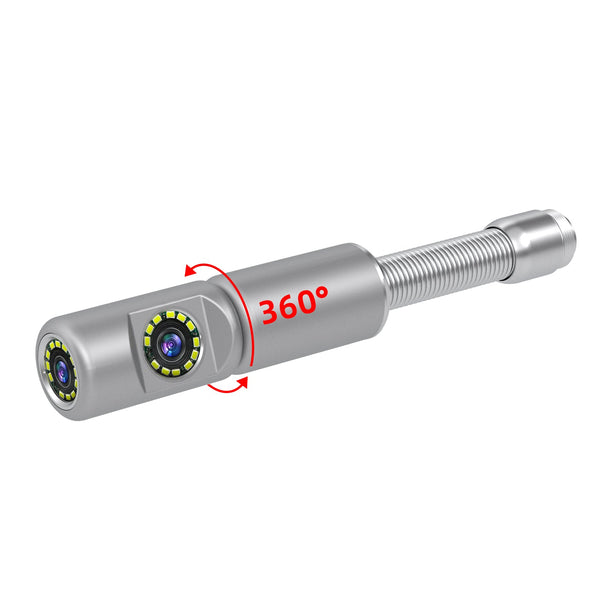
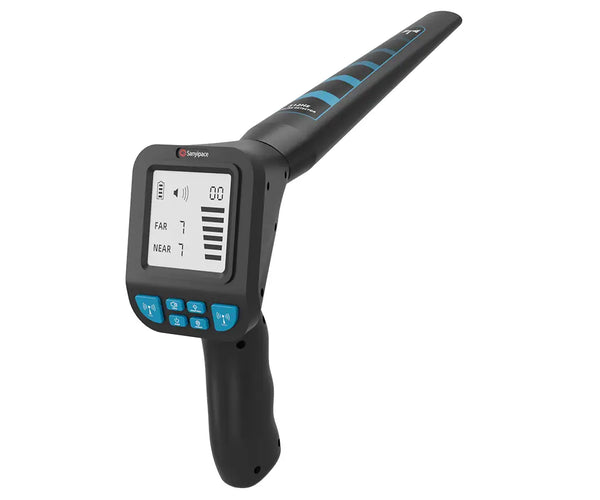
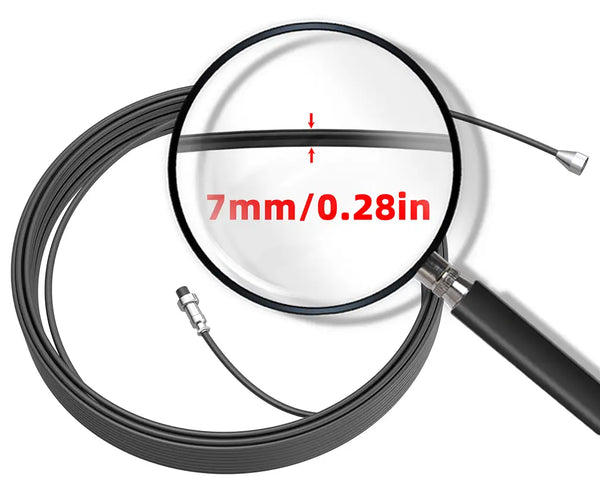
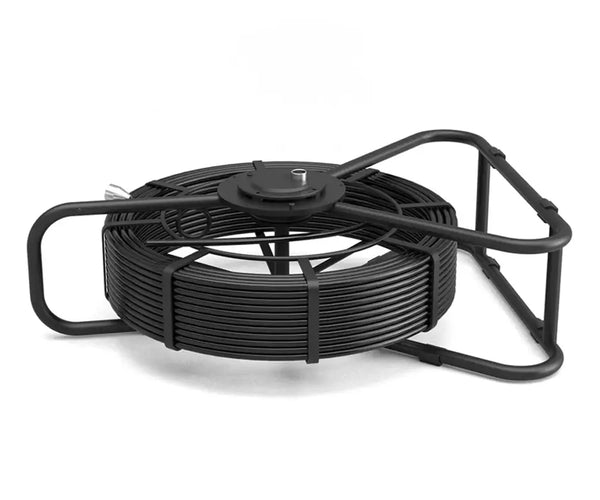
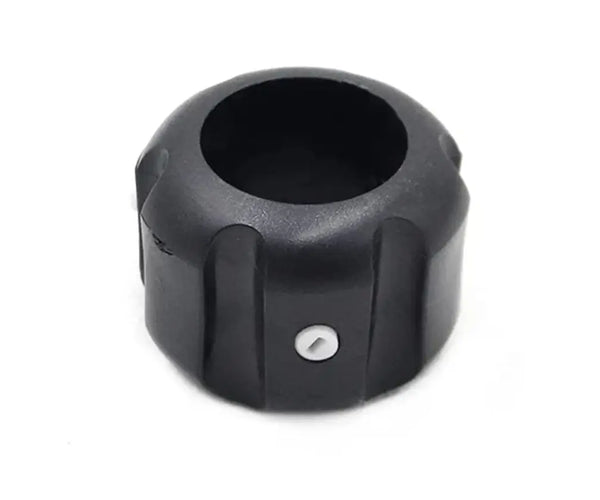
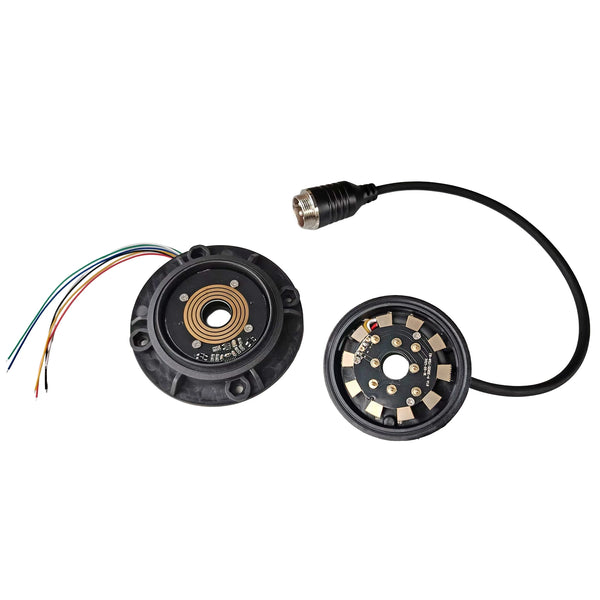
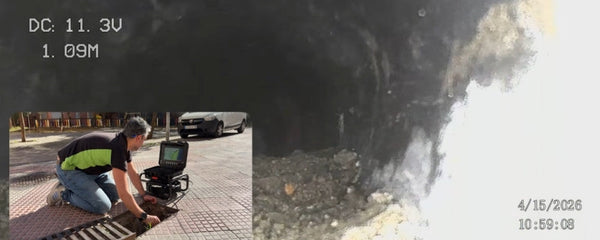
Compact, waterproof camera head (often IP68): Handles soot, dust, and the occasional rinse. Small heads (≈17–23 mm) navigate tight bends (e.g., thimble entries) and pass tile joints smoothly.
-
LED illumination with adjustable brightness: Chimneys are dark and matte; being able to dim LEDs reduces glare against creosote and soot.
-
Self-leveling sensor (select models): Keeps the picture upright so you can quickly interpret cracks, mortar joints, and offsets without rotating your head or the video later.
-
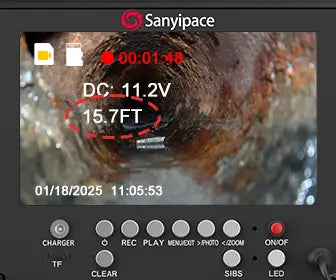
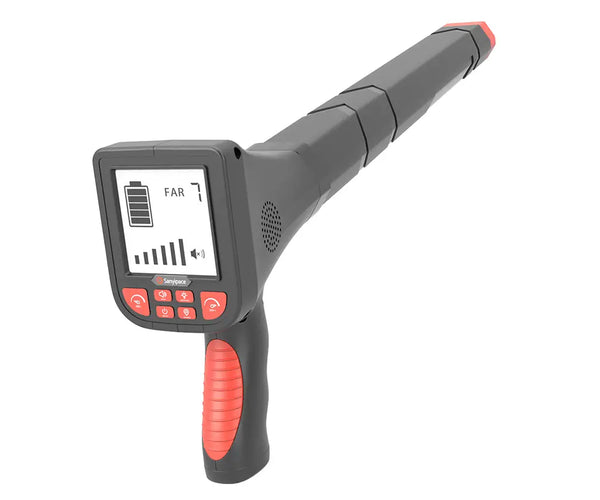
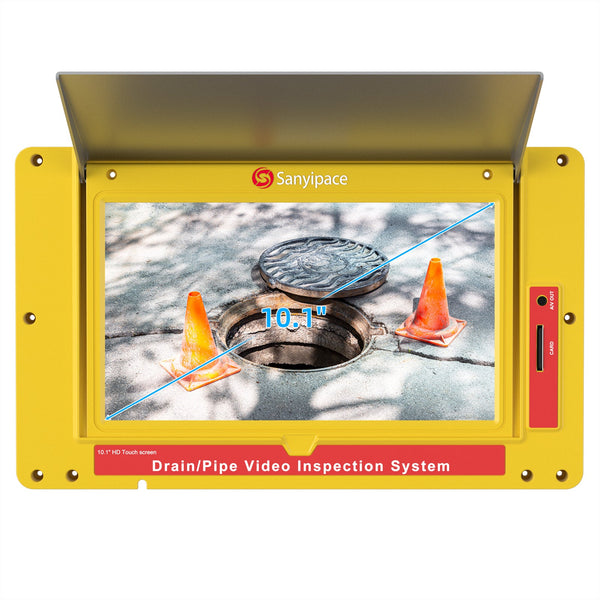
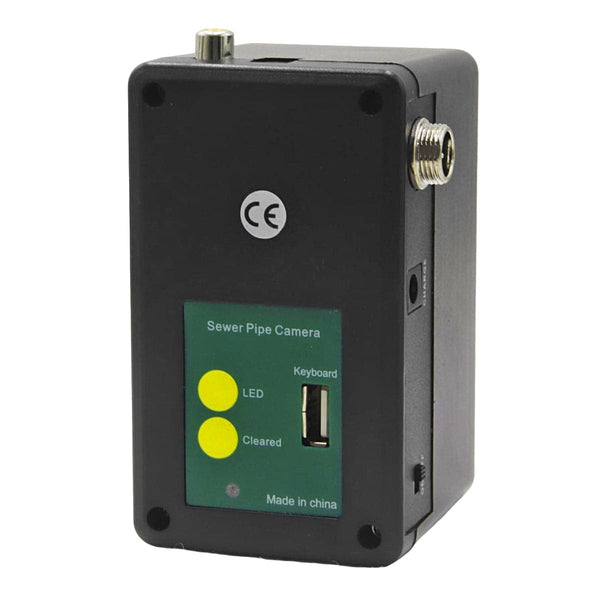
DVR recording and snapshots: Create a video record for insurance, contractor quotes, or real-estate disclosures. Timestamped footage makes before/after comparisons easy after cleaning or repairs.
-
Distance counter: Helps you note the exact elevation of a defect (e.g., “10.5 ft above the smoke chamber”).
-
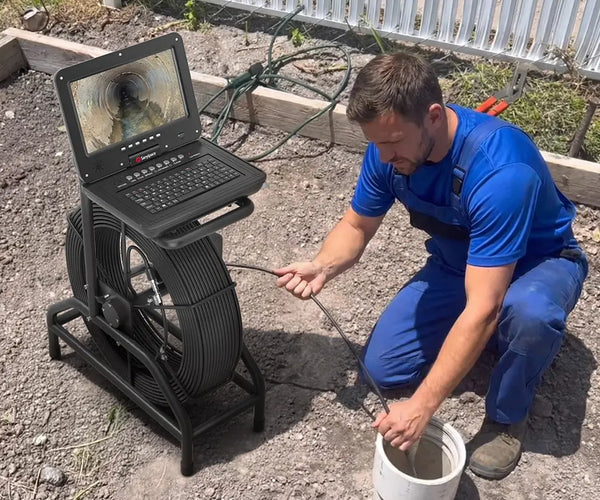
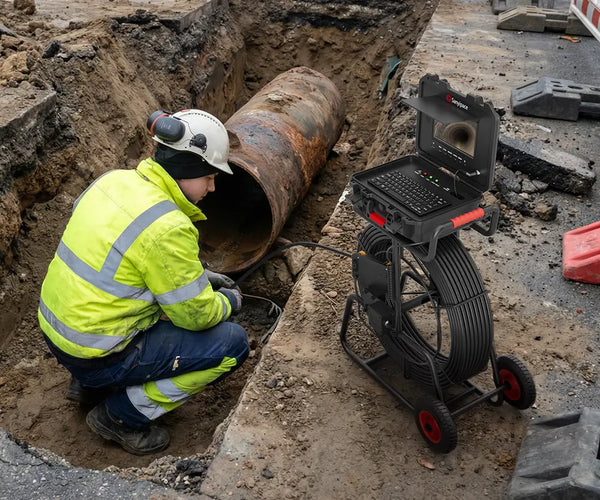
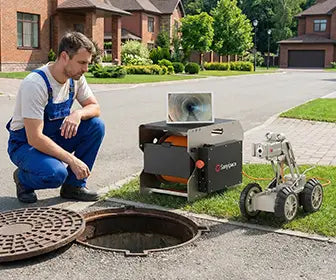
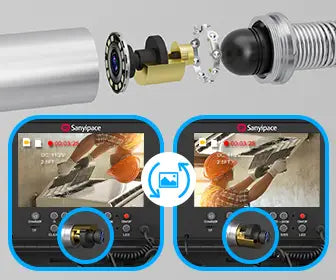
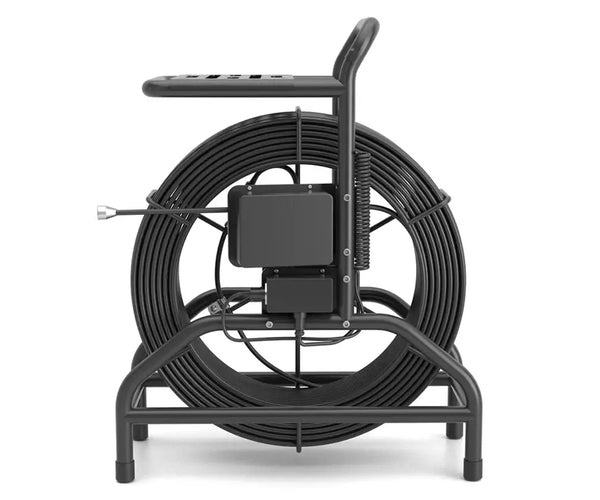
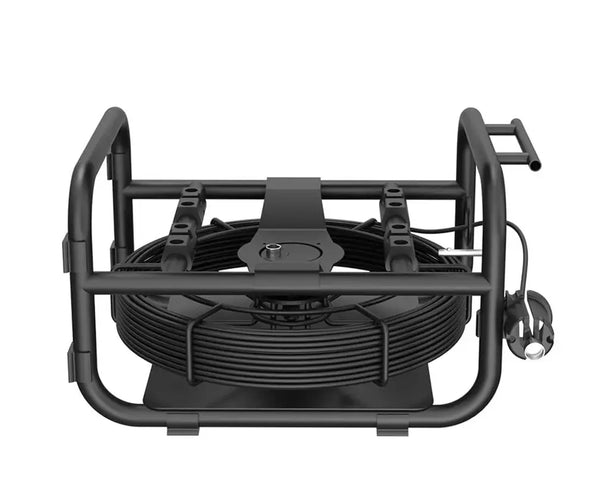
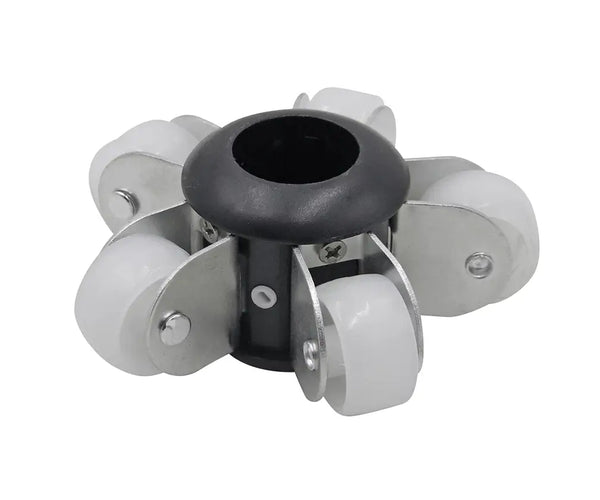
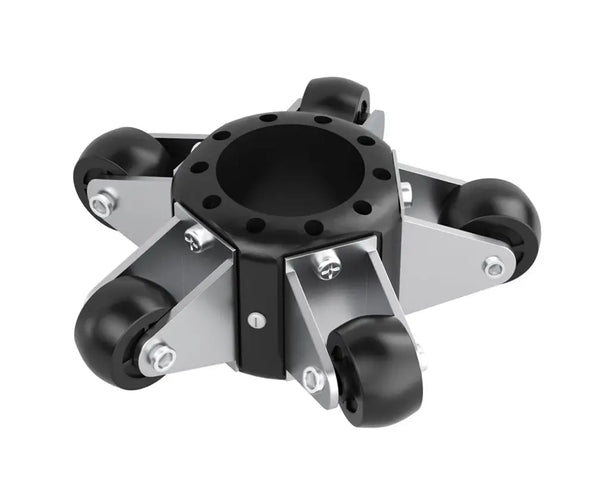
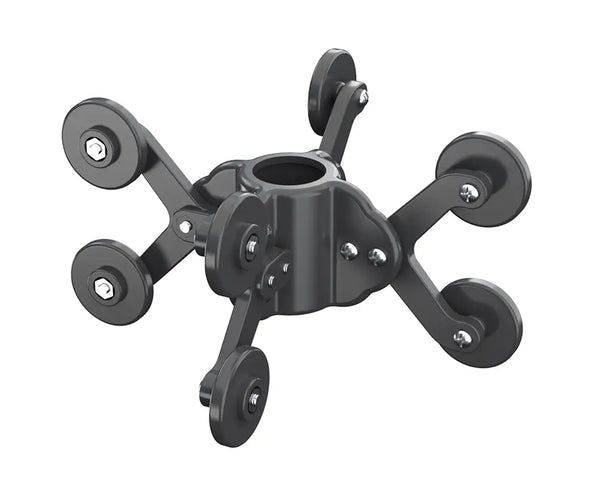
Sturdy push cable or rod compatibility: Most push rods are designed for horizontal pipes. For chimneys, many users attach the camera to chimney rods or a centering brush to keep the lens steady and centered while advancing vertically.
-
512 Hz transmitter (optional): Not essential for chimneys, but can help pinpoint a hidden thimble, transition, or shared flue path if you also have a compatible locator.
-
Rugged lens window and skid options: A simple skid or centering brush prevents the lens from smearing through heavy creosote and keeps it off abrasive tile edges.
What to avoid:
-
Heat. Never inspect a hot flue; let it cool completely.
-
Aggressively push past sharp offsets; use a centering brush and advance slowly.
-
Overpowering the LEDs in a sooty flue; dim first, brighten only as needed.
Why Inspect Chimneys?

Regular visual checks lower risk and help you budget repairs logically instead of reacting to emergencies. Common reasons:
-
Safety screening: Identify obstructions (bird nests, leaves, loose bricks) that constrict draft or create carbon-monoxide hazards in gas/oil appliances.
-
Creosote assessment: Determine whether you’re looking at light deposits or the hardened, glassy glaze that resists brushing and tends to ignite.
-
Liner integrity: Confirm whether clay tiles are cracked, misaligned, or missing mortar at joints; verify that stainless liners are continuous and properly supported.
-
Moisture tracing: Track water paths from a faulty crown, cap, or flashing; find efflorescence and staining points inside the flue.
-
After-event documentation: Post-chimney-fire or lightning strike, you need visual evidence for insurers and a roadmap for repairs.
-
Real-estate due diligence: Record the condition of flues before closing so repairs or credits can be negotiated with clear evidence.
A drain camera lets you see and record these conditions on your schedule. You can also repeat the same run after sweeping or relining to verify results without booking a second visit.
What Chimney Issues Can a Drain Camera Detect?

A capable plumbing camera can reveal most conditions a homeowner or property manager needs to understand before calling in a specialist:
1. Creosote Levels and Texture
- Flaky/sooty deposits: typically manageable by routine sweeping.
- Glazed (Stage-3-like) creosote: hard, shiny, and stubborn—often requires specialized removal methods; a red flag for pro intervention.
2. Blockages and Constrictions
- Bird/bat nests, leaf/branch debris, fallen masonry, old damper parts, or collapsed tile segments.
-
Thimble intrusions or improperly sized liners that choke the flue, visible as abrupt diameter changes.
3. Clay-Tile Liner Defects
-
Cracks: hairline to full-thickness splits.
-
Offset joints: tiles not aligned, leaving steps that catch soot.
-
Missing mortar: visible gaps at joints where exhaust can escape to the chase.
-
Spalling: surface flaking or chunking from heat/moisture cycles.
4. Metal Liner Problems
Loose joints/clamps, buckling from overheating, crushed sections, or perforations from corrosion.
5. Moisture and Infiltration
-
Water streaks, efflorescence, moss near the top tiles, or rust lines on a metal liner.
-
Evidence that points to a failed crown, cap, wash, or flashing.
6. Transition and Termination Defects
Poor smoke chamber transitions, missing parging, or a cap/spark arrestor that’s clogged or incorrectly sized.
7. Shared Flues or Cross-Connections
Video reveals unexpected tees or appliance tie-ins that explain draft problems.
What the camera won’t do: It won’t brush creosote, fix a crack, or certify a chimney to local codes. It’s a diagnostic tool. Use it to decide whether you need sweeping, relining, crown repairs, or a full rebuild.
How to Choose Drain Inspection Equipment (for Chimneys)

When selecting a good chimney inspection device, you need to be clear about the dimensions of the passageway you're inspecting, the lighting conditions, the distance involved, and what information you want to obtain during the inspection.
Below are some factors we've compiled that should be considered during selection:
1) Camera Head & Optics
-
Size: A 17–23 mm head handles most residential flues and passes tight entries with less snagging. Larger heads can produce brighter, wider images, but may fight offsets.
-
Self-leveling: Keeps horizontal references consistent, which speeds up interpreting tile steps, vertical cracks, and crown angles.
-
Lens protection: Look for replaceable covers or scratch-resistant windows. Soot acts like abrasive dust; expect occasional cleaning.
2) Illumination and Exposure

-
Dimmable LEDs are your friend. Start low to reduce white bloom on soot.
-
Cameras with good low-light sensors show fine cracks without blasting the scene with light.
3) Cable, Rods, and Centering
-
Standard drain push cable can work from the bottom up (firebox/smoke chamber) or top down from the roof.
-
For long vertical runs, many users screw the inspection camera to chimney rods or a centering brush (compatible adapters are easy to source). Centering keeps the lens away from heavy deposits and improves the view.
4) Distance Counter & Notes

-
A meter counter is incredibly helpful. Note a defect with a time stamp and “10.5 ft,” and you’ll find it again in seconds.
-
Some systems overlay text; otherwise, speak notes aloud while recording.
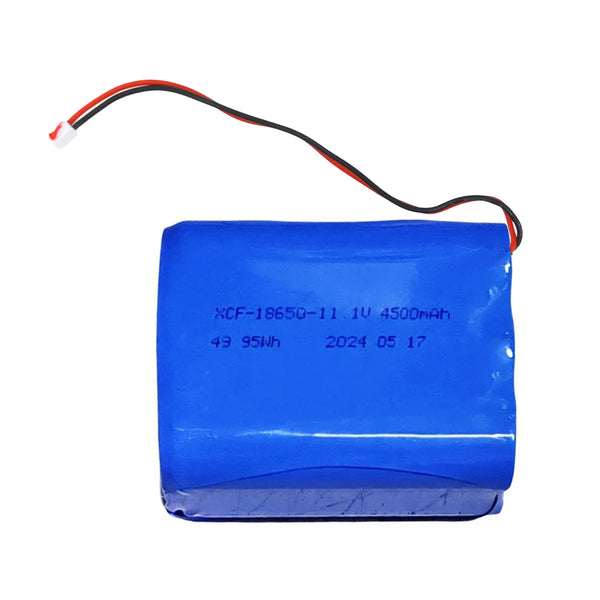
5) Power & Durability
-
Battery runtime matters on roofs. Choose systems that run for several hours, or carry a spare battery pack.
-
IP68-rated heads shrug off soot and a light rinse during cleanup.
6) Storage & DVR
-
Prefer DVR recording to SD/USB with simple file naming. Short clips per finding beat one long reel when you later share with a sweep or mason.
7) Locator/Transmitter (Optional)

-
512 Hz transmitters are useful if you need to map a flue path inside a chase or find a hidden thimble. Not required for most basic chimney checks.
8) Budget Considerations
-
DIY/light use: $200–$500 gets a workable kit with DVR and a small head.
-
Prosumer/landlord: $500–$1,000 adds self-leveling, better optics, and a distance counter—excellent value for routine chimney and drain checks.
-
Professional use: $1,000–$3,000 brings rugged cables, 9–10″ IPS screens, advanced optics, and optional articulating/rotating heads for premium footage.
9) Safety Add-Ons
-
Roof safety: harness, footwear, and a stable ladder.
-
PPE: gloves, eye protection, and a respirator or at least a good dust mask.
-
Drop cloths in the firebox to catch soot; microfiber and isopropyl wipes for the lens.
Carefully evaluate the above points to select the best sewer camera for your home and budget, ensuring each inspection is more efficient, cost-effective, and worry-free.
Inspection Workflow (Quick Start)
-
Ensure the flue is completely cooled. Extinguish fires and wait 12-24 hours.
-
Lay drop cloths; open the damper.
-
Attach a centering brush/guide. Start with low LED brightness.
-
Record from bottom up or top down. Move slowly through offsets.
-
Pause at each joint. Pan slightly, then advance.
-
Mark the major findings with a verbal note and the distance reading.
-
Clean the lens as needed; resume.
-
Review, clip key segments, and store with clear file names.
Click here for detailed usage steps: How to Use a Sewer Camera.
Summary
A drain camera can efficiently inspect most chimneys. It records the interior condition of the chimney, helping homeowners plan maintenance and avoid blind inspections. Compared to paying for multiple professional checkups, buying a mid-range home drain camera quickly pays for itself after just a few uses. Plus, the same camera can inspect all household drain lines or other narrow, dark spaces.
Of course, these cameras are only for screening, recording, and monitoring. When footage shows severe tar buildup, cracked liners, persistent dampness, or signs of a chimney fire, hire a qualified chimney professional to assess repair options, provide an accurate quote, and ensure compliance with code requirements.
FAQ

1) Is a Drain Camera as Good as a Dedicated Chimney Camera?
For most homeowner-level inspections, yes. A drain camera with dimmable LEDs, self-leveling, and a small head will capture clear, actionable footage. Chimney-specific systems often add articulation and tailored centering tools, which are nice to have but not mandatory for basic documentation.
2) Will Soot or Creosote Damage the Camera?
Not if you work carefully. The bigger risk is scratching the lens or smearing the window until the image goes hazy. Use a centering brush, advance slowly over tile edges, and keep lens wipes handy. Rinse the head gently after use.
3) Do I Inspect from the Fireplace or the Roof?
Either works. Bottom-up avoids roof work and is safer for many DIYers, but debris on ledges can fall toward you—wear PPE. Top-down is efficient after you’ve confirmed roof safety. Many users do a quick pass from both directions to capture different angles.
4) What Problems Should Trigger a Call to a Pro?
-
Glazed creosote that a brush can’t budge.
-
Cracked or displaced clay tiles.
-
Rusted or buckled metal liners.
-
Persistent water trails or masonry spalling.
-
Any evidence of a prior chimney fire (melted/bubbled areas, severe cracking).
5) Do I Need a 512 Hz Locator for Chimney Work?
Usually no. It’s helpful if you’re tracing an odd flue path in a chase or verifying where a thimble emerges, but many chimney inspections don’t require surface locating.
6) Can I Use the Same Camera for Drains and Chimneys?
Yes—just clean it thoroughly between uses. Consider dedicated skids/brushes for chimneys so you don’t carry gritty debris into plumbing lines.
Related reading: Sewer Line Camera Inspection Cost
How Much Does a Sewer Line Camera Inspection Cost?
How Much Does a Sewer Line Camera Inspection Cost?


Leave a comment