


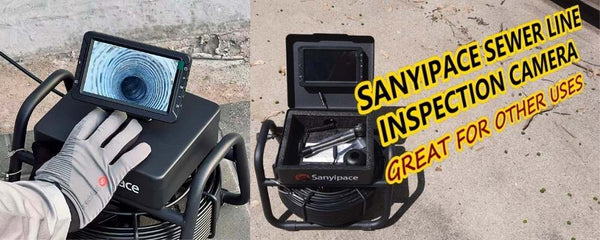


How to Clean a Sewer Camera?
After each operation, clean the sewer camera in this sequence: Remove debris → Disinfect (keep surfaces moist until the contact time specified on the label is reached) → Rinse and dry → Lubricate seals → Wind and store in a dry cabinet.
Why Clean Sewer Cameras

A sewer/plumbing camera goes from one contaminated line to the next. If you don’t clean it, you carry grease, pathogens, and odors into the next job—and into your vehicle and storage case. Regular cleaning:
-
Protects image quality. Fine grit and dried residue haze the lens dome, making footage look soft even on a good monitor.
-
Prevents cross-contamination and smells. Disinfection after the gross clean keeps the next work area sanitary and your equipment tolerable to handle.
-
Extends service life. Moisture left in connectors and around seals leads to corrosion, sensor drift, and premature cable failures.
-
Reduces callbacks. Crisp, clean optics and a reliable overlay (distance, self-level) help you read slopes, waterlines, and defects accurately the first time.
If you build a small, dedicated kit and treat cleaning like part of the job—not an optional chore—you’ll spend less on repairs and get better footage every time.
How to Clean a Sewer Camera Safely and Effectively: Step-by-Step Cleaning Process
Prepare tools: disposable gloves, safety goggles, mild dish soap, warm water, microfiber cloth, soft brush, plastic scraper, disinfectant, lens paper, silicone grease (for O-rings), and silicone sealant for the housing.
Once these tools are ready, you can begin cleaning. Here are the detailed cleaning steps:
Step 1 — Remove Debris
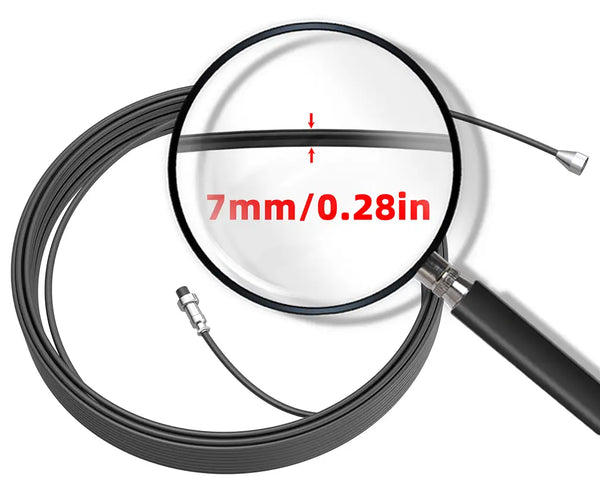
Wear protective gloves and safety glasses first. Use a plastic scraper or soft brush to remove mud, grease, root hairs, or paper fibers from the cable and camera head. If the lens or cable is heavily soiled, you can rinse off the surface debris with clean water before proceeding.

Step 2 — Rinse
If possible, use warm water mixed with a small amount of mild dish detergent to gently wash the camera head and front section of the cable. Avoid high-pressure water or strong solvents, as these can damage seals or lens coatings.
Step 3 — Disinfect
Once the surface is clean, apply a disinfectant compatible with your equipment materials—such as 70% isopropyl alcohol or diluted bleach (around 1,000 ppm). Spray or wipe evenly and keep surfaces visibly wet for 1–10 minutes for proper contact time.
Step 4 — Wipe Down
After disinfection, use a clean microfiber cloth or lens tissue to wipe away any residue, leaving the surfaces streak-free. Gently polish the lens again with fresh lens tissue for a clear, spotless view.

Step 5 — Dry
After cleaning and disinfection, place the camera and cable in a ventilated “clean zone” to air-dry naturally, or use cool, low-speed airflow to speed it up. Do not use heat, as it can damage seals or cause internal moisture buildup.
Step 6 — Lubricate Seals
Apply a thin layer of silicone grease to exposed O-rings or moving joints to maintain waterproofing and flexibility. Clean the metal connectors with electronic contact cleaner and ensure they are completely dry before reconnecting.
Step 7— Air and Store
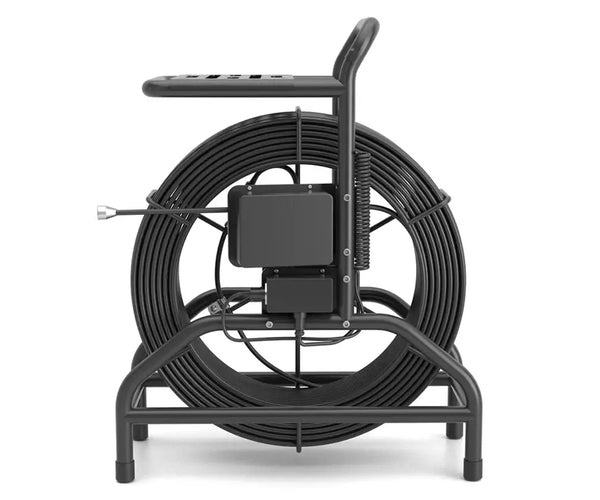
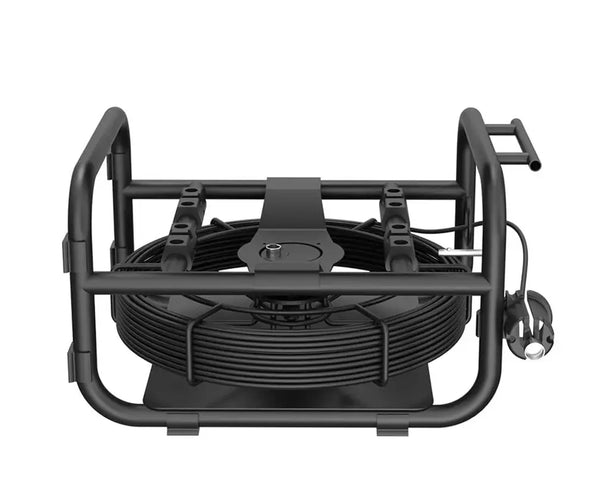
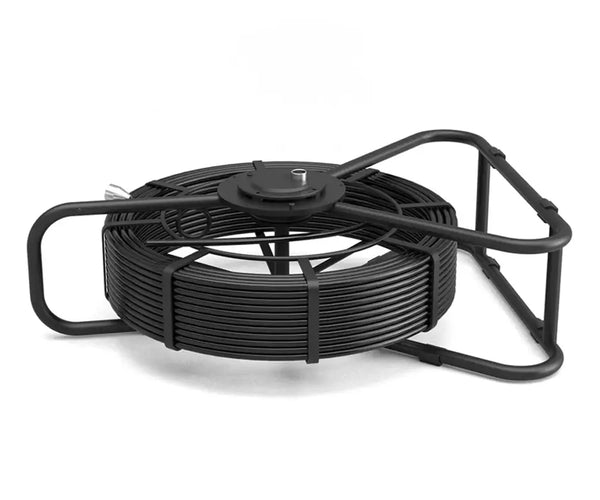
Once fully dry, store the equipment in a storage box or cabinet with desiccant packs (such as silica gel) to prevent moisture and mold. Keep the cable loosely coiled and the lens capped, so the unit is ready for the next inspection.
Step 8 — Inspect as you go (preventive medicine)
-
Lens/dome: scratches, haze, loose retainers.
-
LEDs & sealant: missing sealant or corrosion.
-
Cable jacket: cuts, blisters, kinks, or flattened bends. Mark problem spots.
-
Connectors: bent pins, green/white corrosion, loose collars.
-
Monitor/DVR: no moisture around slots; quick record/playback test after everything is dry.
Timing guide: For routine jobs, this whole cycle takes 10–15 minutes once you have the kit ready. Heavy contamination or septic work warrants a deeper clean with longer contact times and extra attention to rollers and case linings.
What to Avoid When Cleaning
-
Pressure washing the monitor, connectors, seams, or transmitter housings. Water will get past the seals.
-
Strong solvents (acetone, MEK, lacquer thinner) and abrasives (scouring pads, gritty rags) on the lens or cable jacket.
-
Soaking the control box/monitor or spraying directly into vents and ports.
-
Bleach or high-alcohol wipes on rubber seals and screens—harsh chemistry degrades elastomers and coatings.
-
Closing the case while damp. Trapped moisture promotes corrosion and permanent odor.
-
Using the push cable as a drain snake. It’s for imaging, not for clearing; pushing through clogs damages cable cores and tips.
-
Forcing bends tighter than the cable’s minimum radius. That creates permanent kinks and weak points.
How to Store a Sewer Camera?

After cleaning or using a sewer camera, store the equipment in a cool, dry place. Ensure the cable is wound along the natural direction of the spool—avoid reverse twisting or tight bends.
Avoid storing it in hot trunk compartments or direct sunlight; high temperatures accelerate cable sheath aging and cause adhesive degradation. If the device remains idle for weeks, power it on for 10 minutes monthly to maintain contact sensitivity and detect faults early.
Conclusion
Cleaning your best sewer cameras after each job helps maintain high-definition image quality, reduce odors, and minimize equipment failures—ultimately extending the camera’s lifespan and ensuring accurate, easy-to-read inspection results. Follow this quick, repeatable routine: remove debris → disinfect thoroughly → rinse and air-dry → lubricate O-rings → coil and store in a dry place.
If you’re considering an upgrade or planning to purchase during the Halloween promotion, click here to visit the official SANYIPACE website and explore the latest sewer camera models. They’re offering $100 off orders over $1,000—don’t miss out!
FAQ

1) How Often Should I Clean the Camera?
After every sewer or drain job. Even “quick checks” leave residue. A fast routine clean prevents buildup and smell.
2) Do I Need to Disinfect Every Time or Just Wipe It?
Disinfect every time you’ve been in sanitary lines. Wiping alone removes dirt, but disinfection reduces pathogens and odor. Always keep surfaces wet for the product’s full contact time.
3) Can I Pressure-Wash the Reel to Save Time?
You can gently rinse the frame, but avoid blasting bearings, seams, connectors, and anything with electronics. High pressure drives water where it doesn’t belong.
4) My Image Looks Foggy After Cleaning. What Happened?
Likely a film on the dome or trapped moisture. Re-clean the dome with lens tissue, then extend air-drying with cool airflow. If fog sits inside the dome, stop using the unit and let it dry completely. Persistent internal fogging needs service.
5) The Unit Still Smells After Cleaning. Any Fix?
After your routine clean, use an enzyme cleaner or oxygen-based deodorizer on the cable jacket and reel frame (avoid the lens and seals). Also, clean the case lining and guide rollers—they trap odor. Dry everything fully before storage.
Related reading: Benefits of Buying a Sewer Camera from SANYIPACE


Leave a comment