


Sewer Camera vs. Plumber: Which Saves More?
If you expect repeat drain or sewer checks over the next year or two, buying a mid-range sewer camera usually saves more than hiring a plumber for every inspection. A $400–$900 camera often pays for itself after 2–3 service calls.
That said, when problems are structural, recurring, or urgent—such as collapsed lines, heavy root intrusion, sewer gas, or backups inside the home—bringing in a professional prevents costly mistakes and speeds up repairs.
Think of it this way: use a sewer camera to confirm symptoms, document conditions, and monitor lines. Call a plumber when you need expert diagnosis, permits/compliance guidance, or actual repair work.
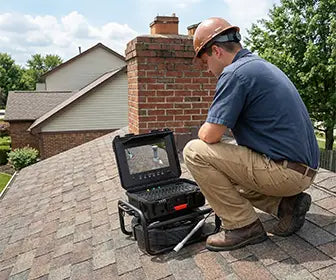
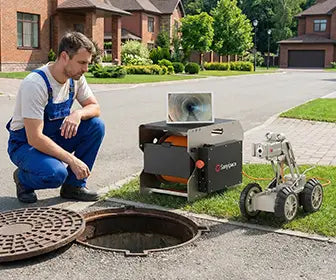
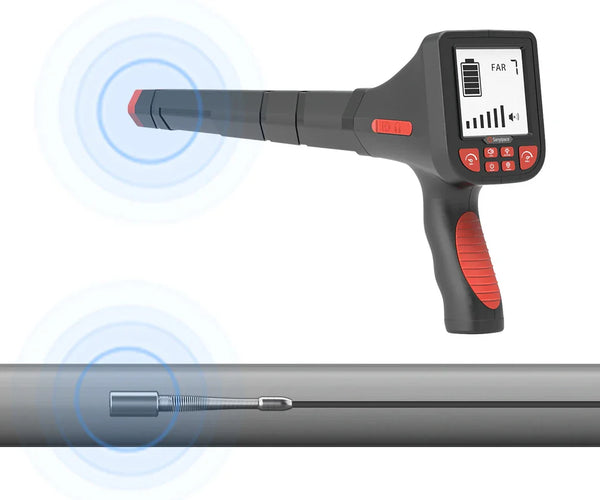
How Much Does a Sewer Camera Cost?

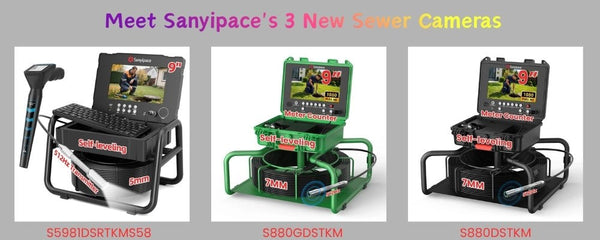
Most consumer and prosumer sewer cameras price between $200 and $3,000, depending on features, durability, and the reel/cable system. Here’s a quick tier breakdown so you can match cost to use case:
Budget/DIY: ~$200–$500
-
Who it fits: First-time buyers, landlords with a small portfolio, homeowners dealing with periodic clogs or slow drains.
-
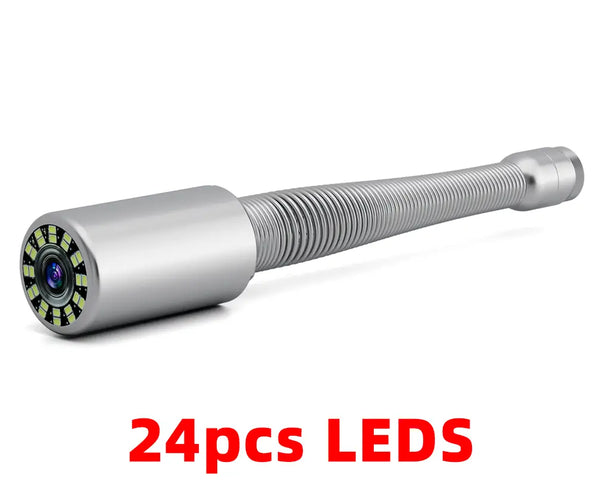
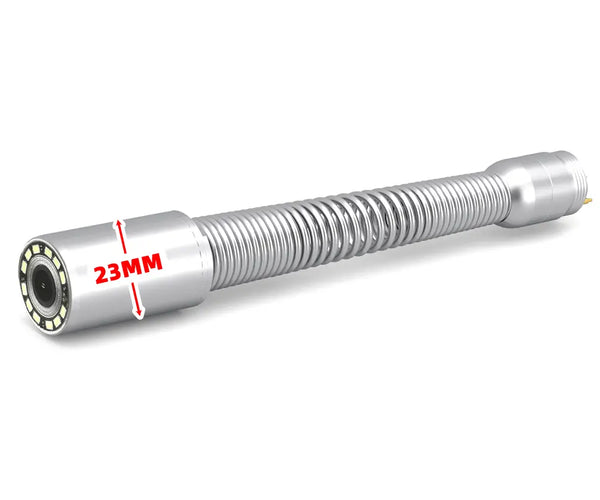
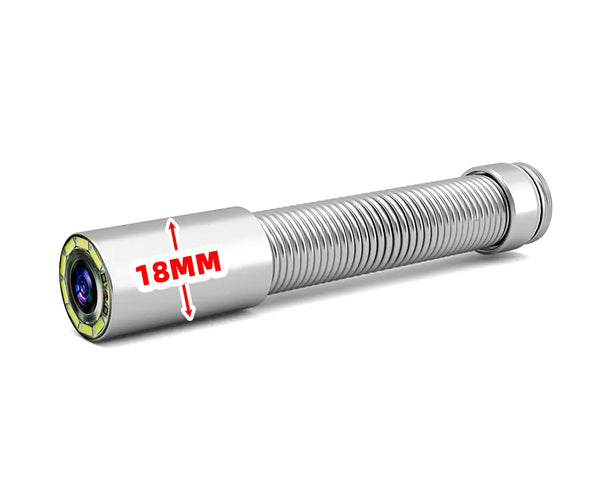
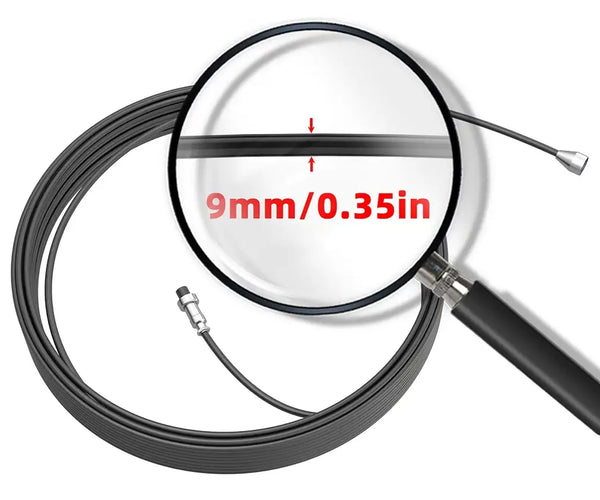
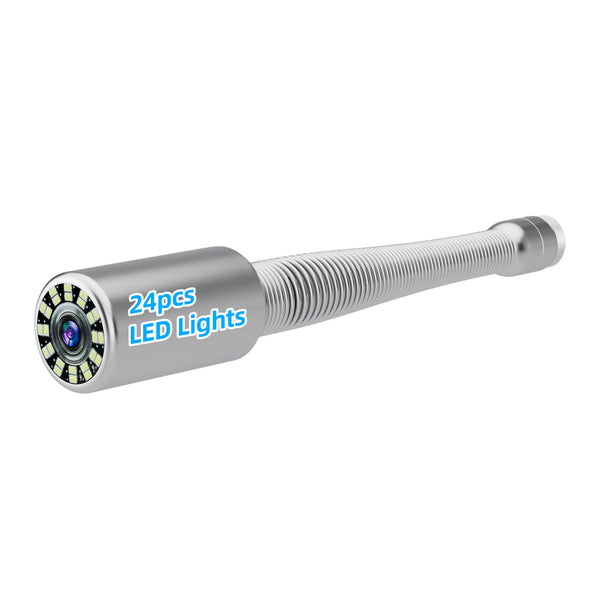
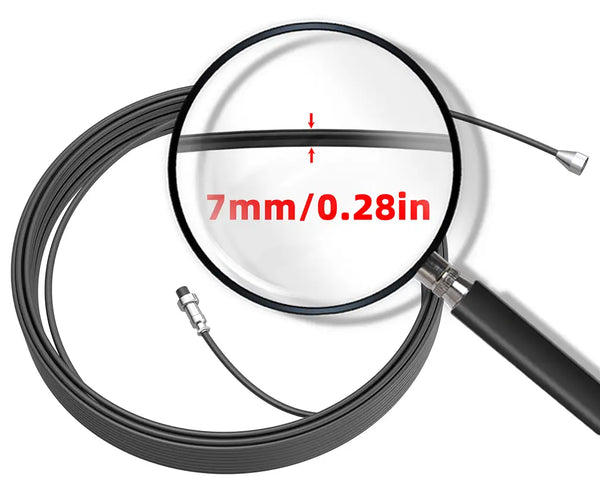
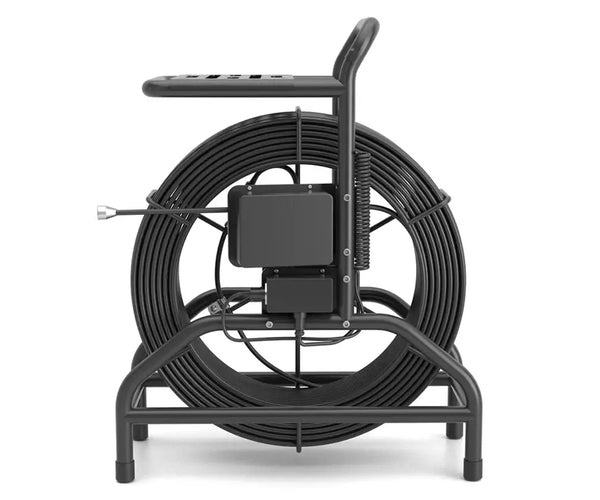
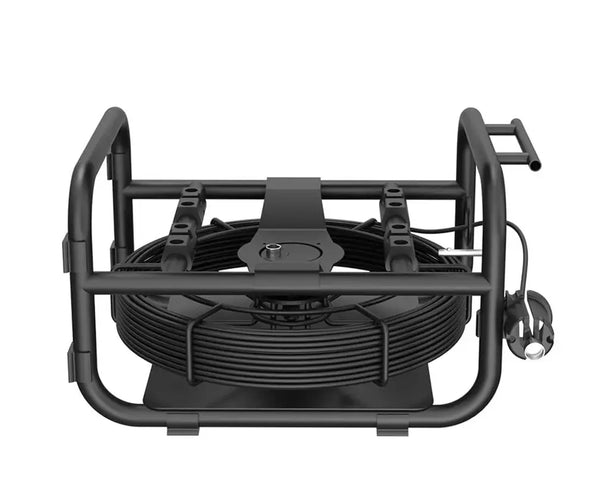
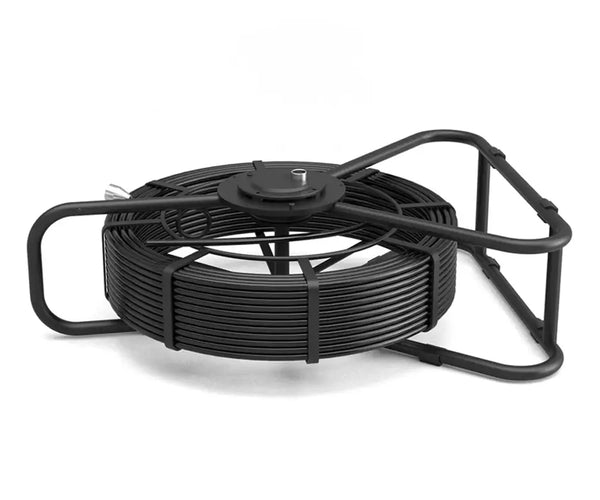
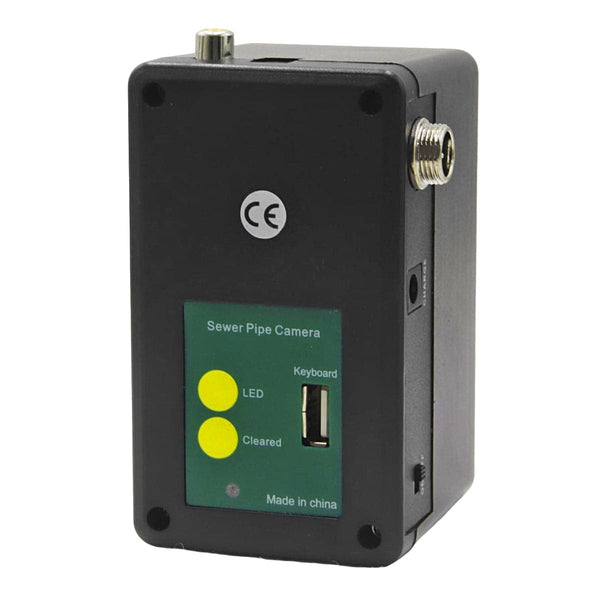
Typical features: High-definition 1080p camera, DVR recording to SD/USB, IP68 waterproof probe, 15–30 m (50–100 ft) push cable, LED illumination, basic on-screen menus.
-
Use cases: Verify a blockage location before calling for jetting; check for visible cracks, offset joints, or grease buildup; confirm post-cleaning results; record video for a contractor or insurance.
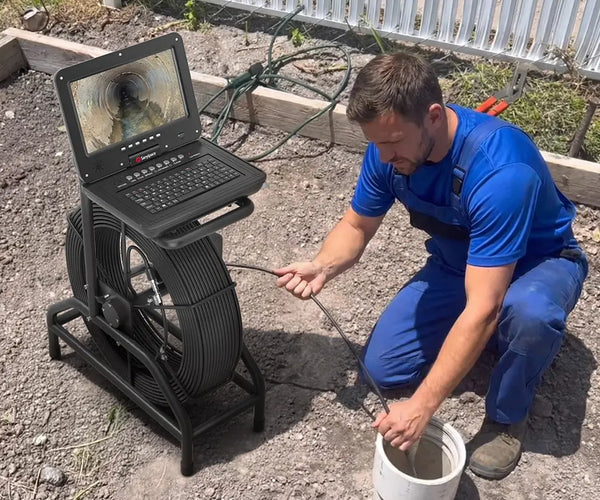
Mid-range/Prosumer: ~$500–$1,500
-
Who it fits: DIYers who value clearer footage and faster navigation; small contractors; property managers.
-
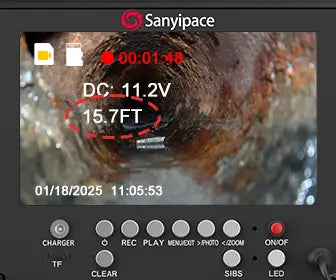
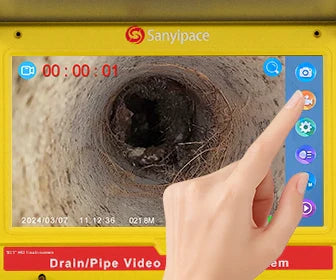
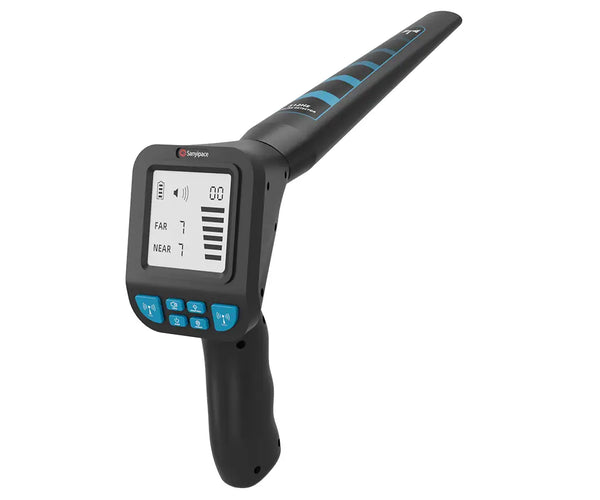
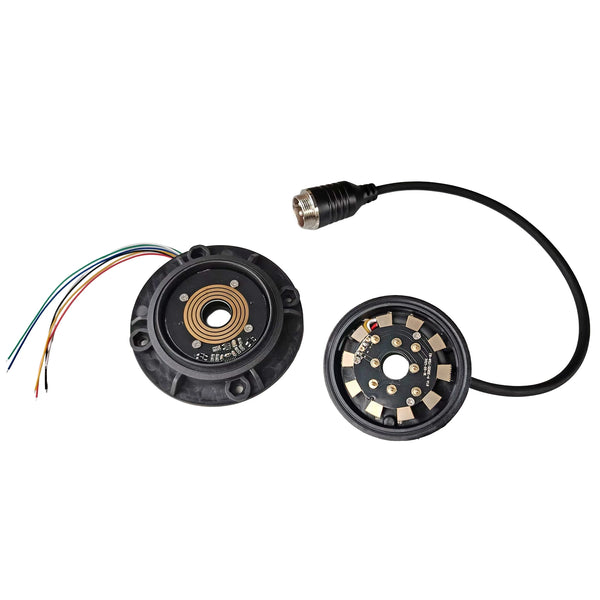
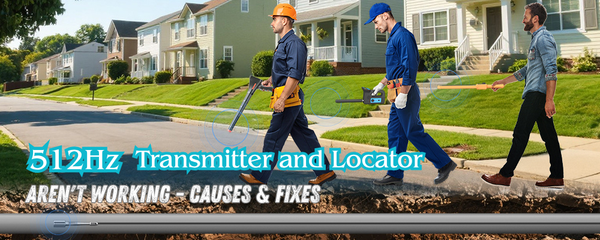
Typical features: Better image sensors for low-light clarity, self-leveling (keeps footage upright), distance counter, more durable cable, improved lens protection, 512 Hz transmitter for surface locating, and DVR with timestamps.
-
Use cases: Routine documentation across multiple units, pinpointing problem segments with a locator, tracing how far debris or roots extend, tracking maintenance history.
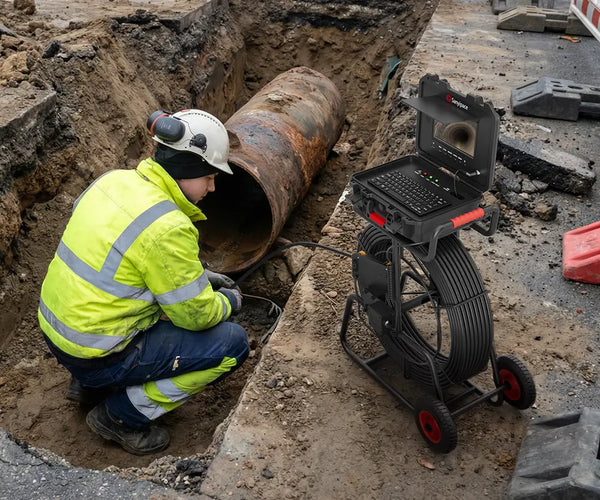
Professional: ~$1,500–$3,000+
-
Who it fits: Frequent/paid use, larger property portfolios, pros who need reliable, all-day durability.
-
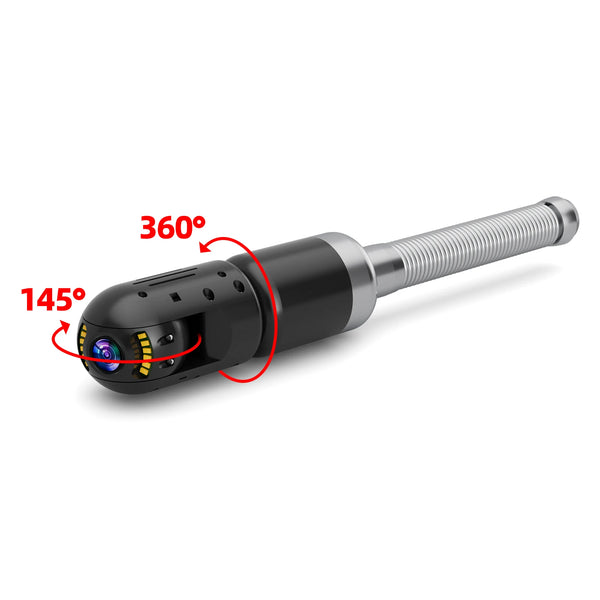
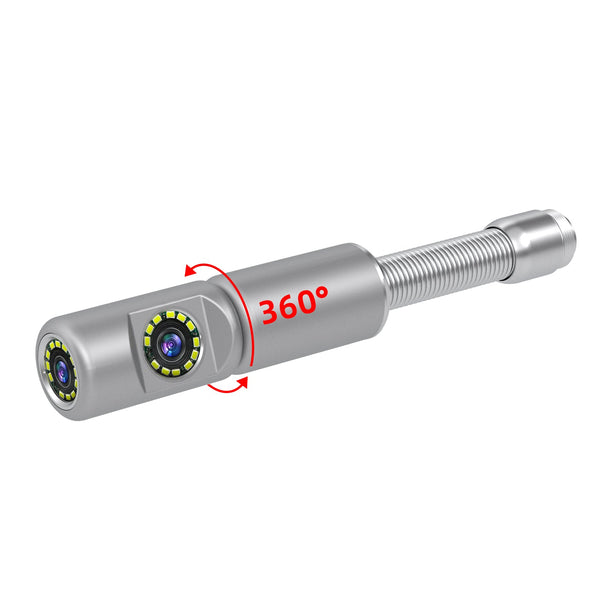
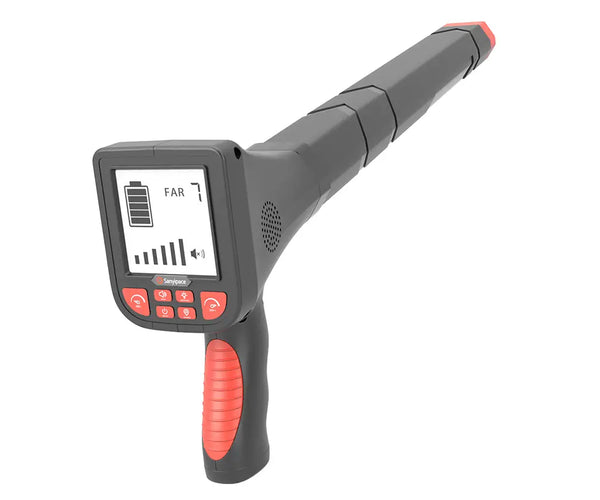
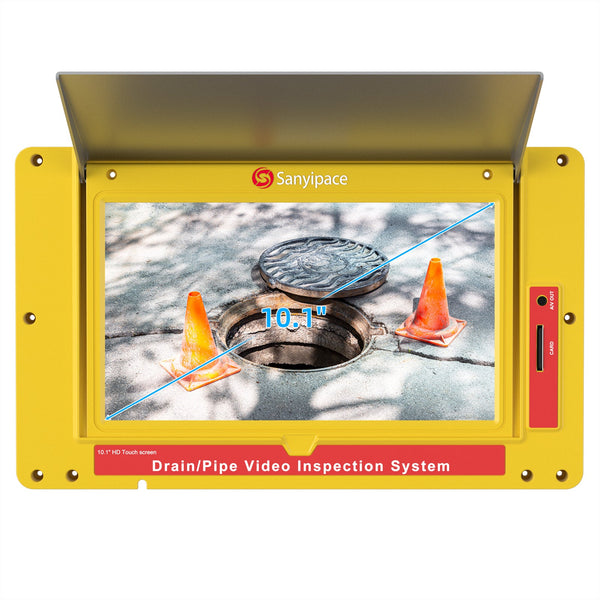
Typical features: 9–10" IPS screens, higher-end cameras with refined optics, 360° or articulating heads (select models), rugged frames, hot-swappable batteries, on-screen text overlays, superior water/dust sealing, and long-life push cables.
-
Use cases: Frequent inspections, difficult runs, mixed materials (cast iron, clay, ABS/PVC) with many turns, jobs that require top-tier image quality, and precise locating.
Hidden/ongoing costs to factor in:
-
Replacement camera heads, skids, and O-rings (wear items).
-
Occasional cable repairs or end fittings.
-
Storage case and cleaning supplies (keep lenses scratch-free).
-
Optional 512 Hz locator if your camera only transmits, but you don’t yet own a receiver.
Resale value: Well-kept mid-range units hold decent value. If you later upgrade, selling your first drain camera can recoup a chunk of your initial spend.
How Much Do Professional Plumbers Charge?

Rates vary by market and scope, but this is a workable planning range in the U.S.:
-
Service/diagnostic visit: ~$75–$150 as a baseline fee in some areas.
-
Camera inspection: ~$150–$800 per visit, depending on complexity, access, and whether a recorded video/report is included.
-
Hourly rates: ~$100–$200+ per hour for troubleshooting beyond the basic scope.
-
Emergency/after-hours premiums: Expect a surcharge.
-
Add-ons: Locating, written reports for insurance, or coupling an inspection with jetting/snake work can increase the bill.
What you also buy with a pro visit:
-
Years of pattern recognition (e.g., spotting a subtle slope issue or a misaligned hub).
-
Compliance knowledge (permits, local code, repair methods that pass inspection).
-
Access to specialized tools (jetters, cutters, patching systems, smoke tests).
-
Transfer of risk: if something breaks during inspection or access, the contractor has processes and coverage to address it.
Sewer Camera vs. Plumber: Which Fits You Better?

Below is a practical comparison across the dimensions that impact cost, time, and results. The goal is to show where each option shines, and where mixing both gives the best outcome.
1) Price Comparison (and Break-Even Math)
-
One-time owners: If you pay $300 for a basic camera and a plumber charges $300 per inspection in your area, you break even after one use.
-
Mid-range buyers: A $700 camera vs. $250–$400 per inspection breaks even in 2–3 uses.
-
Landlords & repeat DIYers: With two or more checks per year (pre-listing, move-in/move-out, seasonal maintenance), a camera becomes a recurring saver, especially if you value video documentation.
Tip: Add soft costs to your math—gas and time for pick-ups, scheduling delays, and any paid re-inspections. A plumbing camera at home eliminates much of that friction.
2) Time to Insight (Response & Availability)
-
Sewer camera (owned): Instant access. You can inspect it right now, repeat it tomorrow, and compare the footage without booking windows.
-
Plumber: You’re on their calendar. For non-urgent issues, this can mean days. For emergencies, you’ll pay a premium but get faster triage.
Owning a camera often means same-day answers if you tend to troubleshoot on weekends or after work.
3) Portability & Access

-
Owned camera: Easy to carry to roof vents, crawlspaces, and cleanouts; repeat passes over the same segment to learn the route.
-
Plumber: They’ll get access, but difficult or concealed cleanouts may require extra labor. If your home has multiple branches, a single paid visit may not cover every run without added time.
4) Diagnostic Accuracy & Risk
-
Owned camera: Today’s mid-range units record crisp, upright footage (with self-leveling) and distance counting. You can learn quickly. Risk comes from misinterpretation: a shallow belly vs. a full sag; a minor offset vs. a broken hub.
-
Plumber: Interprets borderline findings and proposes fixes. This avoids buying the wrong repair, over-jetting brittle pipe, or ignoring an early warning sign that later becomes an emergency.
Balanced approach: Use your camera to gather footage, then share the video with a pro when you see something suspicious. You get both savings and expert eyes.
5) Safety, Code, and Liability
-
Owned camera: No licensing needed to look inside a pipe, but repairs can trigger code rules, permits, and inspections. Also consider safety—gloves, eye protection, ladder safety for roof vents, and electrical caution if using powered reels in damp spaces.
-
Plumber: Handles liability, safe work practices, and the legal side of opening a line or trenching in the yard or street.
6) Documentation & Communication

-
Owned camera: DVR with timestamps lets you build a maintenance history—gold when selling a property or making insurance claims.
-
Plumber: Many provide a written report and a repair estimate—a tidy packet if you’re moving forward with work immediately.
7) When the Camera Alone Is Enough
-
Recurring slow drain, and you want to confirm grease or scale before scheduling jetting.
-
Post-cleaning verification—did the auger/jetter actually clear roots through the wye?
-
Seasonal checks on older lines to catch early warning signs.
-
Pre-purchase used-home checks to decide whether to demand repairs or credits.
-
You like DIY and don’t mind a learning curve.
8) When a Plumber Saves You Money
-
Active backups inside the home, sewer gas smells, or suspected collapse.
-
Tree-root infiltration that keeps returning—needs a proper cutting, lining, or replacement strategy.
-
Structural issues: bellies, offset joints, broken hubs, long sags—requires plan, permits, and skilled execution.
-
No obvious cleanout or hard access that risks damaging finishes or landscaping.
-
You need a quote and a warranty for repair work.
Mini-summary: If you’ll inspect more than once or twice a year or manage multiple units, owning a sewer camera is the lower-cost path. For high-risk findings or full repairs, a qualified plumber protects your budget by avoiding missteps and finishing the job to code.
Conclusion
For most proactive homeowners and landlords, buying a sewer camera is the cheaper strategy over time. A solid mid-range unit with DVR, self-leveling, a distance counter, and a 512 Hz transmitter often pays for itself within a few inspections while giving you on-demand visibility and a running record of your line’s condition.
This doesn’t replace professionals. When an inspection reveals structural damage, chronic root problems, or emergency backups, a plumber becomes the faster—and ultimately cheaper—route to a lasting fix. Use your own camera to screen, document, and monitor; use a plumber to diagnose edge cases and execute repairs. That combination gives you the best financial outcome.
FAQ

1) Is Renting a Sewer Camera Better Than Buying?
If you only need one inspection, renting can be fine. But rental rates often match a basic inspection fee, and you can’t re-inspect without paying again—our Rental Vs Buy Sewer Camera: Which Is Better Value? lays out the break-even point. If you expect two or more checks within a year or manage rentals, buying makes more sense.
2) Do I Need a 512 Hz Locator if My Camera Already Has a Transmitter?
Yes—transmitters send a signal; a locator receives it above ground to mark depth and exact position. If you care about pinpointing a repair spot or estimating dig length, a locator is worth it.
3) How Long Should the Push Cable Be for a Typical Home?
50–100 ft covers most residential branches and laterals from cleanouts. If you plan to push from the house to the street connection, consider a longer reel or plan multiple access points.
4) Can a Beginner Use a Sewer Camera Without Training?
Yes. Start with easy access points and straight runs. Use self-leveling so the image stays upright, and practice short segments. Keep the lens clean, use skids to center the head, and advance gently past elbows to avoid snagging.
5) Will a Camera Inspection Fix My Problem?
No. Cameras diagnose; they don’t remove roots or repair broken pipes. But they save money by revealing the exact problem so you buy the right service (jetting, cutting, patching, or replacement) the first time.
6) What Mistakes Should New Owners Avoid?
-
Forcing the head through tight elbows—back up, rotate, and try again.
-
Running dry in gritty lines—flush with water to float debris.
-
Skipping skids—a centered head sees more and avoids scraping.
-
Ignoring basics like gloves and eye protection.
-
Forgetting to record—video becomes your evidence and history.
7) How Often Should I Inspect Older Homes?
Every 6–12 months is a good baseline, plus a check after any major clog clearing. If you’ve had recurrent issues, a quick quarterly spot-check of known trouble segments is cheap insurance.
8) Does Owning a Camera Make a Plumber Unnecessary?
No. It cuts routine costs and gives you control, but the pros bring repair capability, advanced tools, warranty, and code compliance. The smart play is DIY screening + pro repair when needed.
9) What Features Matter Most if I’m Buying Once and Keeping It for Years?
Prioritize image clarity in low light, self-leveling, a distance counter, DVR recording, and a 512 Hz transmitter. Durable cable and good after-sales support also matter.
10) How Do I Calculate My Personal Break-Even Point?
Use:
Break-even uses = (Camera price + accessories) ÷ Average inspection fee.
Example: ($700 camera + $100 accessories) ÷ $300/inspection ≈ 2.7 uses.
Final Take
If you like to DIY and document, the camera wins on savings. When the footage shows damage or risk, a plumber wins on outcomes. Use both strategically, and you’ll spend less—and fix problems faster.
Related reading: The 7 Best Sewer Cameras in 2025


Leave a comment