





512 Hz Sewer Camera Locator Guide: How It Works, Depth, Accuracy, and Interference
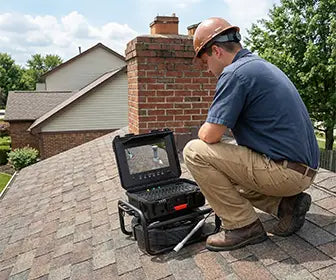
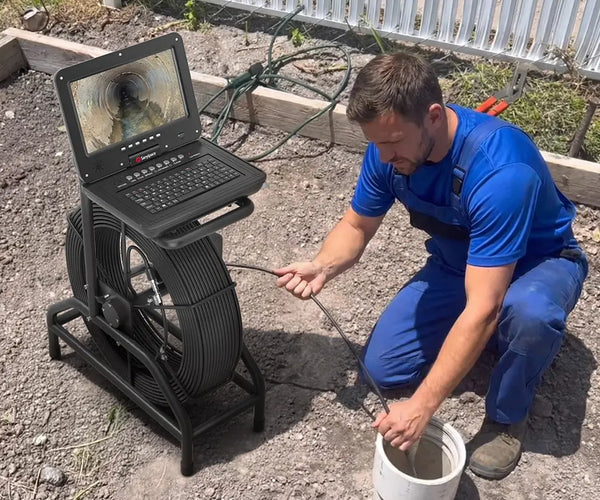
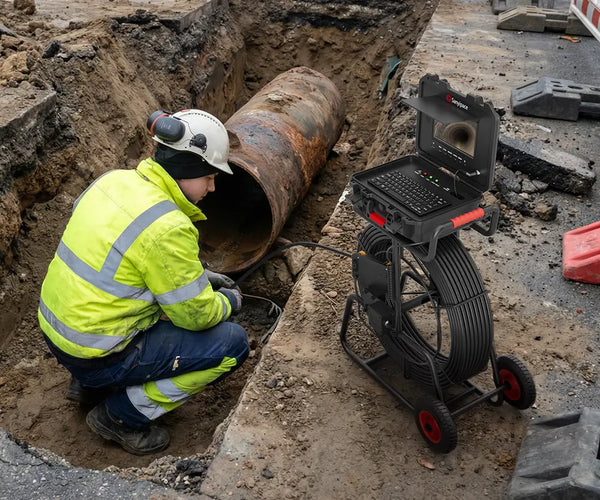
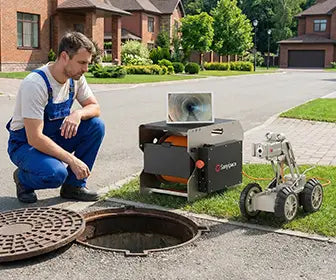
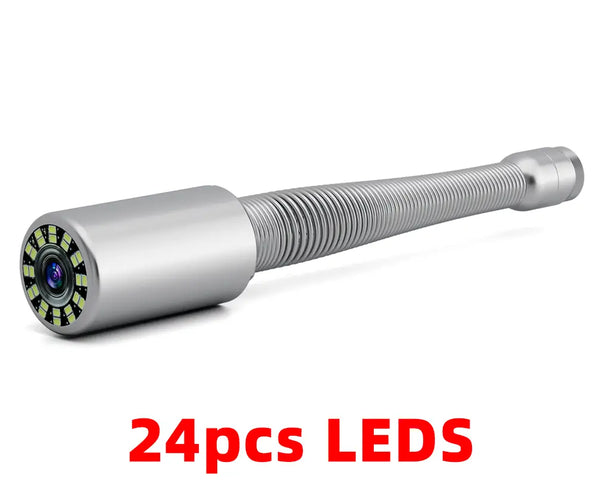
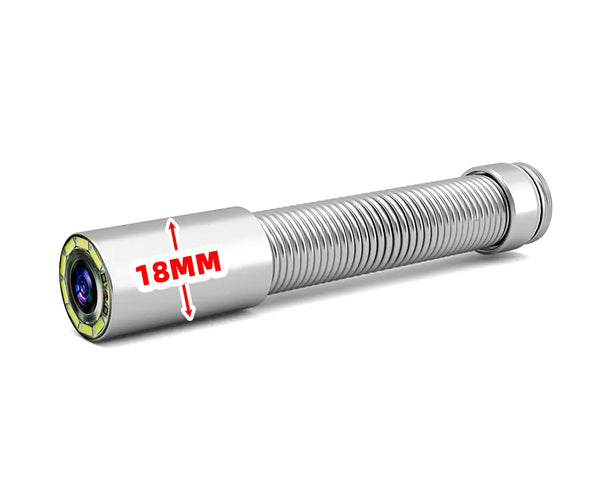
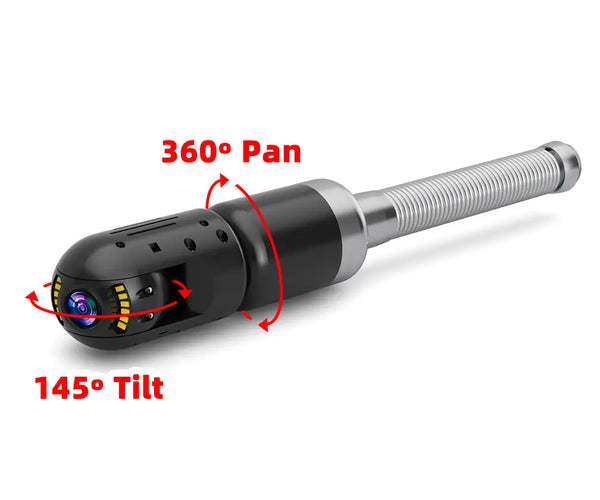
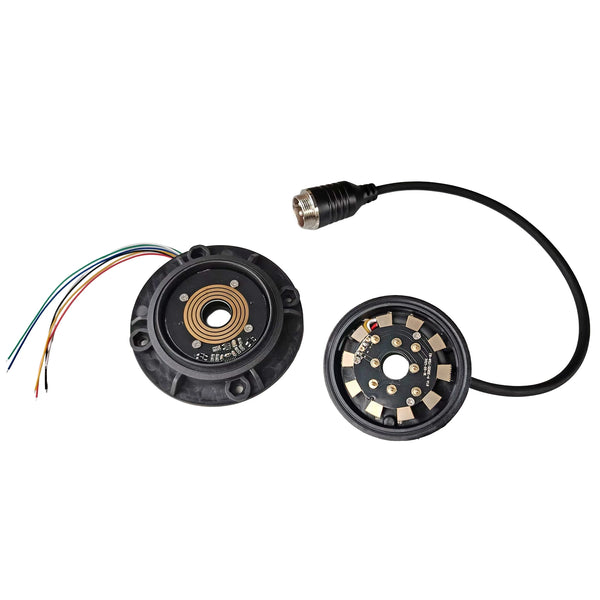
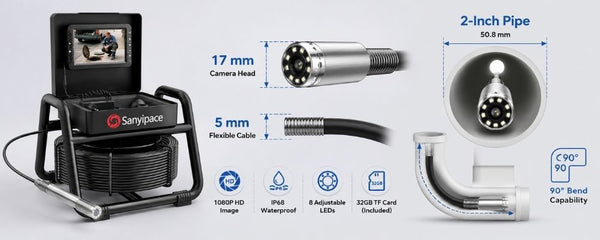
A 512 Hz sewer camera locator works with a 512 Hz transmitter, also known as a sonde, built into or positioned behind the camera head. It helps plumbers and contractors locate an underground inspection camera and estimate the position and depth of blockages, cracks, offset joints, and other problem areas without extensive excavation or opening large sections of flooring.
Detection depth and accuracy are not fixed. They depend on the sonde’s power, receiver sensitivity, pipe material, burial depth, nearby metal, electrical interference, ground conditions, and operator technique. It is also important to note that a sewer camera advertised as “equipped with a 512 Hz sonde” may not include the handheld locator.
What Is a 512 Hz Sewer Camera Locator?

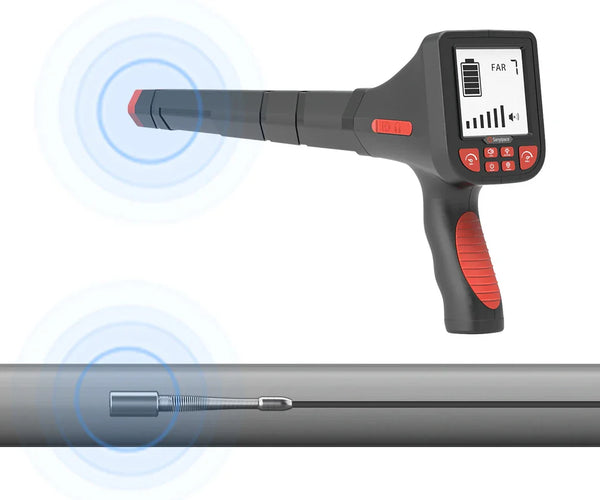
A 512 Hz sewer camera locator is a handheld receiver designed to detect the electromagnetic signal transmitted by a 512 Hz sonde inside or immediately behind a sewer camera head. The sonde sends a signal from inside the pipe; the locator detects it from the surface.
The system has four main parts:
|
Component |
Function |
|
Camera head |
Provides the live image inside the pipe |
|
512 Hz sonde |
Transmits a locatable signal from the camera position |
|
512 Hz locator |
Detects the signal above ground |
|
Meter counter |
Estimates how much push cable has entered the pipe |
The locator does not use GPS, and it does not see the pipe itself. It measures the field created by the underground sonde. The signal response helps the operator estimate the camera's position and, on compatible locator models, its depth.
Sonde vs. Locator vs. Meter Counter
A sonde, locator, and meter counter all help determine where the sewer camera is, but they perform different functions.
| Device | Where It Is | What It Does | What It Tells You |
|---|---|---|---|
| Sonde | Built into or behind the camera head | Sends a 512 Hz signal | Provides the signal required for locating |
| Locator | Handheld device used above ground | Detects the sonde signal | Shows the camera’s approximate position and depth |
| Meter Counter | Built into the sewer camera system | Measures inserted cable length | Shows how far the camera has traveled from the access point |
What Is a Sonde

A sonde is a small signal transmitter built into or positioned behind the camera head. It sends a signal—commonly 512 Hz—from inside the pipe.
The sonde does not display the camera’s location by itself. It must be used with a compatible locator.
What Is a Locator?

A locator is a handheld receiver used above ground. It detects the signal transmitted by the sonde and helps the operator determine the camera’s approximate position and depth.
For a camera with a 512 Hz sonde, the locator must support the same 512 Hz frequency.
What Is a Meter Counter?

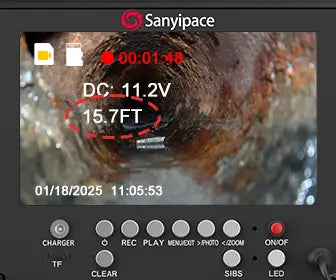
A meter counter, also called a distance counter, shows how far the camera cable has traveled from the pipe access point.
For example, if the counter displays 50 ft, the camera has traveled approximately 50 ft inside the pipe. However, it does not show the camera’s exact position above ground because the pipe may curve or change direction.
In simple terms:
- Sonde: sends the signal.
- Locator: receives the signal and locates the camera.
- Meter counter: measures how far the camera has traveled inside the pipe.
How Does a 512 Hz Sewer Camera Locator Work?

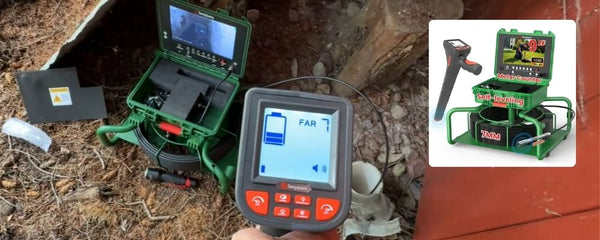
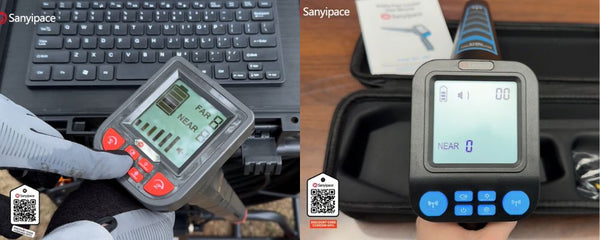
The operating process is straightforward, but reliable locating requires more than simply walking over the pipe and following the loudest sound. The SANYIPACE S58R uses Far mode to identify the approximate location of the transmitter and Near mode to narrow down the search area.
Step 1: Inspect the Pipe and Find the Point of Interest
Push the camera through the cleanout or another approved access point. Watch the monitor for the problem you need to locate, such as:
- A dense blockage
- Tree-root intrusion
- A cracked or broken pipe wall
- An offset joint
- A collapsed section
- Standing water that may indicate a pipe belly
- A foreign object
Stop the camera at the point you want to mark from the surface. If the sewer camera includes a meter counter, record the displayed cable distance and note any bends the camera has passed.
The meter-counter reading can help estimate the general search area, but it does not show the camera’s exact surface position or burial depth.
Step 2: Confirm That the 512 Hz Sonde Is Operating

Make sure the 512 Hz transmitter built into the camera head or spring assembly is operating.
Some sewer cameras activate the sonde automatically whenever the camera system is turned on. Others may have a dedicated sonde button on the monitor or control unit. Always follow the instructions for the specific camera model.
Whenever possible, test the transmitter and locator together above ground before inserting the camera into the pipe. This confirms that the batteries, transmitter, receiver, and frequency are working correctly.
Step 3: Start the Locator in Far Mode

Press and hold the power button to turn on the S58R locator. Select Far mode, then press the SEN+ button until the sensitivity reaches its maximum setting of 7.
At maximum sensitivity, you may hear background noise from the speaker. Use the SOUND button to adjust the volume or turn off the sound if necessary.
Far mode is used to search a wider area and identify the transmitter’s approximate location. The S58R has a published maximum detection range of approximately 6 m (19.7 ft) in Far mode, although actual performance depends on the working environment.
Step 4: Search the Estimated Area

Use the pipe route, access-point location, meter-counter distance, and building layout to estimate the camera’s position.
Keep the receiver parallel to the ground and slowly sweep it back and forth across the estimated area. As you move:
- A stronger signal generally indicates that you are moving toward the transmitter.
- A weaker signal generally indicates that you are moving away from it.
- When the signal display becomes full, press the SEN− button to gradually reduce the sensitivity.
- Continue moving toward the strongest signal while keeping the receiver parallel to the ground.
Reducing the sensitivity helps narrow down the search area. If the signal remains full when the sensitivity reaches its minimum setting of 1, switch the locator from Far mode to Near mode.
Step 5: Narrow Down the Location in Near Mode

After switching to Near mode, press the SEN+ button to increase the sensitivity back to level 7.
Slowly sweep the receiver back and forth within the approximate location identified in Far mode. As the signal becomes stronger:
- Move more slowly.
- Gradually reduce the sensitivity using the SEN− button.
- Approach the area from more than one direction.
- Look for the strongest signal that can be repeated consistently.
Continue narrowing down the search until the sensitivity reaches level 1, and the signal display remains at its strongest.
The S58R has a published maximum detection range of approximately 3 m (9.8 ft) in Near mode. This is a detection-range specification, not a guaranteed locating depth.
Step 6: Mark and Verify the Position

Identify the spot where the signal is strongest and most repeatable. Then hold the locator with its handle vertical to the ground, following the S58R operating instructions.
According to the product instructions, the transmitter should be located within approximately 0.8 m (2.6 ft) of the identified spot under suitable operating conditions.
Approach the area from different directions and repeat the sweep before marking the ground. Nearby metal, electrical interference, pipe material, soil conditions, burial depth, and transmitter orientation may affect the signal.
The S58R identifies the transmitter’s location through signal strength. Its official specifications do not list automatic depth measurement, so the locator should not be described as directly displaying the camera’s burial depth.
How Deep Can a 512 Hz Sewer Camera Locator Detect?
There is no single detection depth that applies to every 512 Hz sewer camera system. The actual range depends on the strength of the camera sonde, the sensitivity of the locator, the pipe material, the burial depth, and surrounding jobsite conditions.
Under favorable conditions, many residential and light-commercial 512 Hz systems have a practical detection range of approximately 10–20 ft (3–6 m). This is a general working range, not a guaranteed burial depth.
SANYIPACE lists the following ranges:
|
Locator or Mode |
Listed Range |
Best Use |
|
SANYIPACE general 512 Hz range |
Approximately 10–16 ft (3–5 m) |
Typical residential locating |
|
S58R Far mode |
Up to approximately 19.7 ft (6 m) |
Broad initial search |
|
S58R Near mode |
Up to approximately 9.8 ft (3 m) |
Final position refinement |
These figures represent the receiver’s maximum detection range under suitable conditions. They should not be interpreted as guaranteed underground locating depths.
A receiver may detect a powerful standalone 512 Hz transmitter from 20 ft away but fail to detect a smaller camera-head sonde at the same distance. The signal can also become much weaker when the sonde is inside a metal pipe or beneath reinforced concrete.
What Affects the Range and Accuracy of a 512 Hz Locator?

The main factors can be divided into three groups.
1. Sonde and Equipment
- Sonde output power
- Camera and locator battery levels
- Receiver sensitivity
- Compatibility between the 512 Hz sonde and locator
A weak sonde or low battery can reduce the distance from which the signal can be detected.
2. Pipe and Jobsite Conditions
- Burial depth
- Pipe material
- Concrete thickness
- Steel reinforcement
- Nearby metal objects
- Electrical equipment and power lines
- The sonde’s position and angle inside the pipe
Plastic pipe usually allows the signal to pass more easily, while metal pipe and steel reinforcement may weaken or distort it.
3. Operator Technique
- Receiver orientation
- Sensitivity settings
- Search speed
- Starting in the wrong area
- Relying on only one signal reading
For deep or difficult pipe runs, locate the camera at shorter intervals. This creates a series of confirmed surface positions, making it easier to follow the pipe route before the signal becomes too weak.
How Accurate Is a 512 Hz Sewer Camera Locator?
512 Hz locator Accuracy can refer to two different measurements:
- Horizontal location accuracy: How closely the surface mark corresponds to the sonde’s underground position.
- Depth accuracy: How closely a displayed depth reading matches the actual vertical distance to the sonde.
It is important to understand that not every locator measures depth.
The SANYIPACE S58R uses signal strength and adjustable sensitivity to narrow down the transmitter’s position. According to its operating instructions, the transmitter should be located within approximately 0.8 m (2.6 ft) of the strongest identified signal point under suitable conditions. The S58R specifications do not list automatic depth measurement.
Some professional locators can calculate sonde depth. Radiodetection states that depth readings may be accurate to approximately ±3% under suitable, undistorted conditions. However, nearby metal, coupled signals, and electromagnetic interference can produce much larger errors.
Before making a repair or excavation decision:
- Approach the target from multiple directions.
- Confirm that the strongest signal is repeatable.
- Compare the position with the meter-counter distance.
- Check the known access point and expected pipe route.
- Move the camera slightly and confirm that the surface signal also moves.
A single signal peak or depth reading should never be treated as an excavation guarantee. Always follow local utility-marking and safe-digging requirements.
Does Pipe Material Affect the 512 Hz Signal?
Yes. The pipe material can significantly affect both detection range and locating reliability.
The locator is detecting the active sonde inside the pipe—it is not detecting the pipe itself.
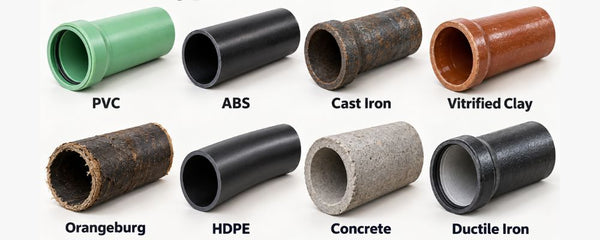
| Pipe or environment | Expected performance | Main limitation |
|---|---|---|
| PVC or ABS | Usually good | Burial depth and nearby utilities still matter |
| Clay pipe | Usually good to moderate | Thick joints and surrounding materials |
| Non-reinforced concrete | Moderate | Concrete thickness and burial depth |
| Reinforced concrete | More difficult | Steel rebar may weaken or distort the signal |
| Cast iron | Reduced range | Metal attenuates the signal |
| Ductile iron | Very difficult | The pipe may block the 512 Hz signal |
| Water-filled pipe | Usually still detectable | Pipe material and depth are more important than water |
1. Plastic and Clay Pipe
PVC, ABS, and clay pipes do not normally shield the 512 Hz signal, making them easier environments for sonde locating.
However, a strong signal is not guaranteed. Burial depth, nearby utilities, and reinforced structures can still affect performance.
2. Cast-Iron and Ductile-Iron Pipe
Metal pipe can weaken or block the sonde signal. RIDGID SeeSnake notes that cast iron can reduce detection range and ductile iron may block a 512 Hz signal.
If the signal disappears after the camera enters a section of metal pipe, move the camera back toward the last confirmed position. If the signal returns, the loss is likely related to the pipe material rather than transmitter failure.
3. Concrete and Rebar
Concrete alone does not always prevent locating. However, steel reinforcement inside concrete can weaken or distort the sonde’s electromagnetic field.
This problem is more common under foundations, commercial floors, parking areas and industrial slabs.
4. Water Inside the Pipe
Water does not normally block a 512 Hz signal by itself. A submerged camera sonde may still be located if the transmitter is operating correctly.
Pipe material, burial depth, and nearby metal usually have a greater effect than the water inside the pipe.
What Can Interfere With a 512 Hz Locator?

A locator may also respond to nearby metal or electromagnetic activity. Common sources of interference include:
- High-voltage electrical lines
- Energized or actively traced utilities
- Other 512 Hz transmitters
- Metal water pipes
- Reinforced concrete
- Manhole covers
- Underground storage tanks
- Vehicles and heavy equipment
- Metal fencing and steel structures
1. Signs of Possible Interference
The signal may be unreliable if:
- Several strong signal areas appear.
- The strongest response is in an unlikely location.
- The signal changes while the sonde remains still.
- Repeated passes produce different results.
- The surface response does not move when the camera moves.
2. How to Confirm the Correct Signal
- Slowly reduce the sensitivity as you approach the target.
- Scan the suspected area from multiple directions.
- Identify the strongest repeatable response.
- Move the camera a short distance inside the pipe.
- Confirm that the surface signal moves in the same direction.
- Compare the result with the meter counter and expected pipe route.
If the surface response does not move with the camera, the locator may be detecting interference or another transmitter rather than the camera sonde.
Does "Sewer Camera With 512 Hz Sonde"Include a Locator?

Not always. “With 512 Hz sonde” normally means the camera system includes a transmitter. A separate compatible locator may still be required unless the product package specifically states that a receiver is included.
Before ordering, check the following:
- Does the camera head contain a 512 Hz sonde?
- Is the handheld locator included or optional?
- Does the receiver support 512 Hz sonde mode?
- Does the locator estimate depth or only show signal strength?
- Does it include Far and Near modes?
- Can the locator and sonde be purchased separately?
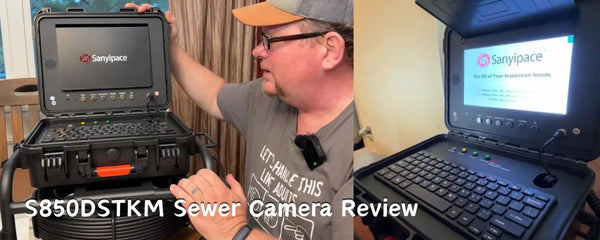
For example, SANYIPACE products (such as the S850DSTKM) come with a built-in 512 Hz transmitter, while the S68R or S58R locators are available as optional accessories. Therefore, you should verify the product configuration before purchasing and never assume that every kit includes both of these devices.
Who Needs a Sewer Camera With a Locator?

1. Professional Plumbers and Drain Cleaners
A locating system is especially useful when the inspection must lead to a physical repair. It can help mark a root intrusion, offset joint, recurring blockage, or damaged section before opening a floor or yard.
The combination of video, meter counter, and sonde location gives the plumber three reference points instead of relying on cable length alone.
2. Trenchless Repair and Excavation Contractors
Spot repairs, pipe lining, pipe bursting, and cleanout installation require a reliable understanding of where the problem is located. A 512 Hz sonde helps narrow the work area, although the result must still be verified before excavation.
3. Property Managers
For teams managing multiple homes, apartments, restaurants, or commercial properties, recorded locations make recurring problems easier to track and communicate to repair contractors.
4. Homeowners
Most homeowners do not need a locator for a short kitchen or bathroom drain inspection. A basic camera is often enough to confirm whether a blockage or foreign object is present.
A locator becomes more valuable when the camera is inspecting an underground main sewer line and the homeowner needs to identify a possible repair location.
How to Choose a 512 Hz Sewer Camera Locator?
Focus on these five factors:
- Frequency compatibility: Make sure the locator supports the 512 Hz sonde built into your sewer camera.
- Detection range: Choose a range suitable for the expected burial depth, but remember that advertised range is not a guaranteed locating depth.
- Search modes: Far and Near modes make it easier to move from a broad search to a more precise location.
- Adjustable sensitivity: Multiple sensitivity levels help narrow down the strongest signal area.
- Included equipment: Check whether the package includes the locator, the sonde, or both. A camera with a built-in sonde does not always include a handheld locator.
For frequent professional use, also consider battery life, screen visibility, audible feedback, and whether automatic depth estimation is required.
Recommended SANYIPACE 512 Hz Locating Options
SANYIPACE currently offers sewer camera packages with a built-in 512 Hz transmitter and optional locator configurations.
|
Option |
Key Features |
Best For |
|
S68R locator |
512 Hz receiver; typical 3–5 m locating range |
Residential and general professional locating |
|
S58R locator |
3-inch display, Far/Near modes, seven sensitivity levels, approximately 6 m maximum Far range |
Frequent professional use and broader initial searches |
|
S850DSTKM package |
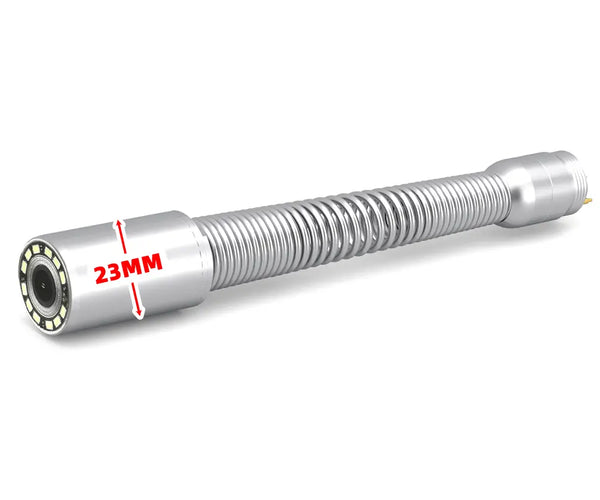
23 mm self-leveling camera, 512 Hz sonde, meter counter, optional locator |
Residential and commercial sewer inspection |
|
S810ASMKT360B package |
360° horizontal rotating camera, meter counter, built-in 512 Hz transmitter, optional locator |
Long and advanced pipe inspections |
Choose the package configuration carefully. “None,” “S68R Locator,” and “S58R Locator” may be separate options on the same sewer camera product page.
Common 512 Hz Locating Mistakes

- Assuming the Locator Is Included: The camera may contain the sonde while the receiver is sold separately.
- Selecting the Wrong Frequency or Mode: The receiver must be set to 512 Hz sonde mode, not simply turned on in a passive or line-tracing mode.
- Searching Too Far From the Expected Location: Use the meter counter, known pipe direction, and camera footage to establish a reasonable search area.
- Trusting the First Strong Signal: Verify the response from multiple directions and check for ghost peaks.
- Keeping Sensitivity Too High: Maximum sensitivity helps find the target but can make the final location too broad. Reduce sensitivity gradually as the signal increases.
- Ignoring Pipe Material: Cast iron, ductile iron, and reinforced concrete can reduce or distort the signal.
- Relying on One Depth Reading: Repeat the measurement and use the 2-inch lift check where appropriate.
- Treating the Reading as Safe-Dig Clearance: The locator provides an estimate. It does not identify every nearby utility and should not replace required utility-marking and safe-excavation procedures.
Why Can’t My Locator Find the Sonde?
|
Problem |
Possible Cause |
What to Check |
|
No signal above ground |
Sonde is off or not powered |
Test the system before inserting the camera |
|
Receiver works near the camera but not underground |
Excessive depth or shielding |
Check pipe material and expected burial depth |
|
Signal disappears in one pipe section |
Metallic pipe |
Move the camera back and locate before the metal section |
|
Multiple peaks appear |
Nearby metal or utilities |
Lower sensitivity and scan from several directions |
|
Depth reading changes constantly |
Distorted field |
Reorient the receiver and repeat the locate |
|
Strong signal appears in the wrong place |
Electrical or coupled interference |
Check passive utility modes and move the camera |
|
Receiver detects nothing |
Frequency mismatch |
Confirm 512 Hz sonde mode |
|
Signal is weak everywhere |
Low power or weak sonde output |
Check batteries, connections, and transmitter operation |
Conclusion: Is a 512 Hz Sewer Camera Locator Worth It?
I recommend purchasing a 512 Hz sewer camera locator, especially when precise excavation is required. A 512 Hz sewer camera locator can save a significant amount of time, effort, and money.
For simple residential drain inspections, a locator may not be necessary. However, for underground main lines, recurring blockages, trenchless operations, localized repairs, and planned excavations, a sewer camera equipped with a 512 Hz-compatible locator can save time and minimize unnecessary disruption.
Explore SANYIPACE sewer cameras with built-in 512 Hz sondes and compatible locator options: https://sanyipace.com/collections/512hz-locator
FAQs
1. What Is the Difference Between a Sonde and a Locator?
A sonde is the transmitter installed inside or behind the sewer camera head. A locator is the handheld receiver used above ground. The sonde sends the 512 Hz signal, while the locator detects it and helps estimate the camera’s position.
3. Can a 512 Hz Locator Work Through Concrete?
It can often detect a sonde below ordinary concrete, but depth and accuracy may be reduced. Reinforced concrete is more challenging because steel rebar can distort the electromagnetic field.
4. Does Water Block the 512 Hz Signal?
Water inside the pipe does not normally block the signal by itself. Pipe material, burial depth, nearby metal, and electrical interference usually have a greater effect.
5. Can a 512 Hz Locator Trace the Entire Sewer Line?
A sonde primarily locates the camera head at its current position. You can map the route by stopping and locating the camera at multiple points. Continuous line tracing may require a separate transmitter connected to a traceable push cable or tracer wire.
Related reading:


Deixe um comentário