


Pourquoi l’évier de cuisine se bouche-t-il toujours ? Les caméras de drainage révèlent la vérité
Les bouchons dans les éviers de cuisine sont généralement dus au fait que la graisse recouvre l'intérieur du tuyau, que les restes alimentaires adhèrent à cette couche, que les résidus de savon et le tartre durcissent la masse, et qu'une faible pente ou des défauts de ventilation ralentissent le débit ; tout s'accumule à nouveau et finit par bloquer la canalisation.
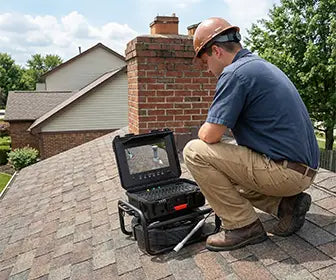
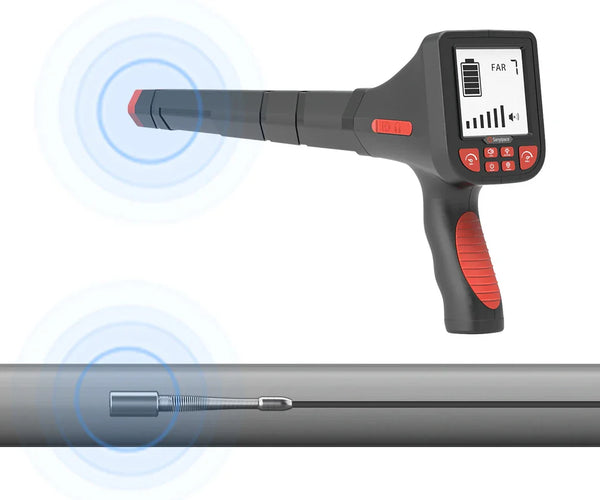
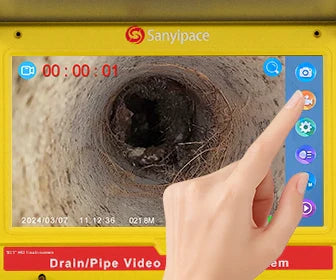
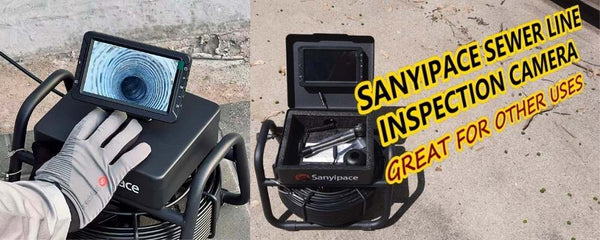
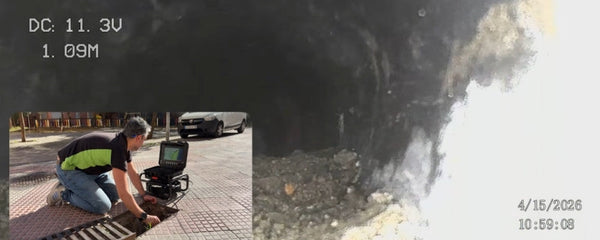
UN caméra de drainage vous permet d'inspecter ces obstructions et de localiser rapidement leur emplacement et leur composition, afin de pouvoir traiter la cause profonde au lieu de simplement soigner les symptômes.
Vous trouverez ci-dessous un guide clair et pratique, adapté à vos besoins. Vous y découvrirez les principales causes des problèmes de canalisations bouchées, un plan d'inspection étape par étape (y compris l'utilisation d'une caméra d'inspection), où acheter les outils adéquats, les méthodes de débouchage sûres, quand faire appel à un professionnel, ainsi qu'une FAQ utile.
5 raisons pour lesquelles les éviers de cuisine se bouchent
1) Les graisses, huiles et matières grasses (GOM) créent une pellicule collante
La graisse de bacon, le beurre et l'huile de cuisson sont versés sous forme liquide dans la canalisation, mais en refroidissant, ils forment un film cireux. Ce film tapisse les coudes et les sections horizontales, notamment juste après le siphon et au premier angle droit dans le mur. Une fois ce film formé, tout adhère plus rapidement.
Utilisation d'une caméra de canalisationVous verrez alors des traînées beiges ou grises, semblables à de la cire de bougie fondue, le long du tuyau. Sur l'écran, une bande en forme de demi-lune apparaît souvent à cet endroit. haut du tuyau, précisément là où la graisse flotte puis durcit.

Cas : La famille Pasta
Une famille de quatre personnes cuisine presque tous les soirs. L'évier se vide lentement toutes les 6 à 8 semaines. Une caméra placée à 1,5 m de hauteur révèle une bande de graisse en haut du tuyau et un affaissement peu important à environ 2,5 m. Ils ont débouché le tuyau, tiré la chasse d'eau, puis rehaussé le tuyau de 1,25 cm à l'aide d'un nouveau support et modifié leurs habitudes d'utilisation des déchets. Huit mois plus tard, une nouvelle inspection par caméra a montré des parois propres et l'absence d'eau stagnante.
2) Les restes alimentaires gonflent, s'accrochent et se déposent

Les féculents comme le riz et les pâtes gonflent ; les aliments fibreux — filaments de céleri, pelures d’oignon, feuilles d’artichaut — s’accrochent et forment de petits filets ; le marc de café et les coquilles d’œufs se déposent dans les creux. Le broyeur d’évier n’est efficace que si vous utilisez de petites portions avec beaucoup d’eau. Le surcharger crée des amas denses qui se logent juste au-delà du siphon.
Sur le écran de caméra de drainageVous remarquerez alors des tapis pâles ondulant au gré du courant, ou d'épais amas blancs coincés au niveau du coude. Dans les chenaux plus anciens, vous pourrez également observer du limon déposé dans une petite mare.
3) Les résidus de savon et le tartre minéral rendent la paroi du tuyau rugueuse.
L'eau dure, associée à certains savons, forme un dépôt blanchâtre. Avec des années d'accumulation de tartre et une légère corrosion (sur les surfaces galvanisées ou en fonte), la paroi intérieure devient rugueuse comme du papier de verre. Les parois rugueuses retiennent la graisse et les miettes, accélérant ainsi leur accumulation.
Quelle caméra de drainage spectacles : Croûte blanc cassé ou nodules rouillés. L'ouverture ronde du tuyau paraît plus petite, parfois avec un anneau croustillant tout autour.

4) Mauvaise pente, ventres et raccords mal alignés
Les canalisations horizontales de cuisine doivent avoir une pente régulière : trop plate, les déchets stagnent ; trop raide, l’eau déborde et les déchets s’accumulent. Un creux (ou « ventre ») retient l’eau en permanence et sert de bassin de décantation. Les réparations effectuées par des particuliers laissent parfois un rebord au niveau d’un joint, où des débris s’accumulent.
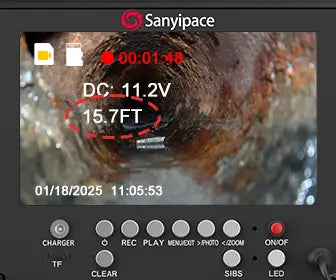
Ce que montre une caméra d'évacuation : Une ligne d'eau immobile sous laquelle passe l'objectif (c'est le creux de la caméra) ou un décalage net au niveau d'un raccord. Si votre appareil photo possède un télémètre, vous pouvez marquer l'emplacement exact sur le mur ou le sol.
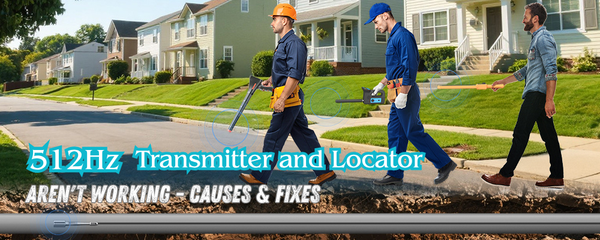
5) Problèmes de ventilation (y compris une vanne d'arrêt d'air défectueuse)
Les canalisations ont besoin d'air. Une ventilation de toit obstruée ou une soupape d'admission d'air grippée crée une dépression. Le débit ralentit, on entend un bruit de succion et les bouchons se reforment car l'eau ne peut plus évacuer les débris comme prévu.
Ce que montre une caméra d'évacuation : Le tuyau peut paraître propre mais s'écouler lentement, ce qui vous oriente non pas vers un « bouchon », mais vers une « arrivée d'air ».
Cas: Le propriétaire d'un appartement constatait un écoulement lent, malgré une canalisation d'apparence propre à la caméra : aucune trace de boue ni de dépôt. L'indice ? Un gargouillement persistant après chaque vidange de l'évier. La valve d'aération sous l'évier avait une membrane collante. Son remplacement a rétabli la circulation d'air ; le gargouillement a disparu sans intervention sur la canalisation.
En résumé : Utilisez une caméra d'inspection des canalisations comme vous utiliseriez une lampe torche : regardez d'abord, agissez ensuite, vérifiez en dernier. C'est le moyen le plus rapide de passer d'une canalisation toujours bouchée à un écoulement optimal à chaque fois.
Comment inspecter un évier de cuisine bouché ?

Procédez par diagnostic ciblé, en commençant par les cas à faible risque. En cas de doute, arrêtez-vous : privilégiez l’examen par caméra, et terminez par les suppositions.
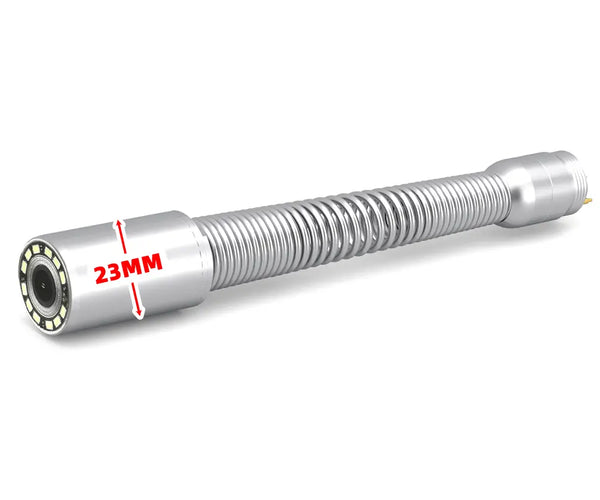
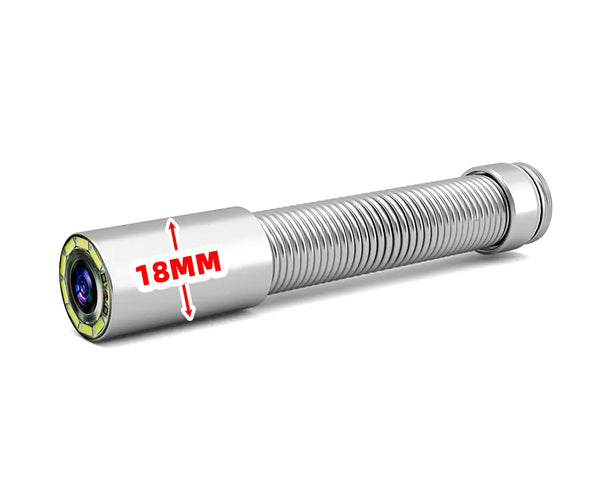
Outils: seau, serviettes, pince multiprise, tournevis, gants en nitrile, lampe de poche, petite caméra d'inspection des canalisations (tête de 17 à 23 mm, câble de 15 à 30 m) et tarière manuelle optionnelle de 6 à 9 mm.
1. Puissance et préparation
Coupez l'alimentation du broyeur et débranchez-le. Videz le placard. Placez un seau sous le siphon.
2. Vérifiez le siphon en P
Desserrez les deux écrous de serrage, abaissez le siphon et videz son contenu dans le seau. Nettoyez les boues avec du liquide vaisselle et une brosse en nylon. Si le siphon est bouché, vous avez peut-être trouvé la cause du problème.
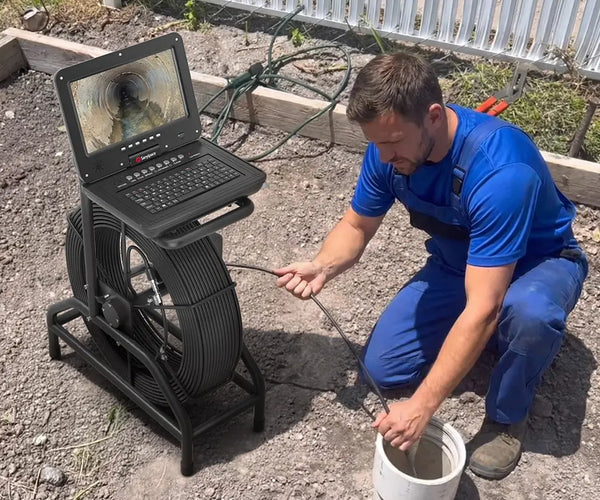
3. La caméra d'inspection des canalisations passe à travers le conduit mural.
Une fois le piège désactivé, insérez la caméra dans le conduit horizontal qui s'enfonce dans le mur. Avancez lentement et observez l'écran. Notez la distance à laquelle vous voyez :
-
Traces de graisse = accumulation de BOG à partir de X pieds
-
Tapis de fibres ou amas d'amidon = problème alimentaire en aval
-
Eau stagnante qui ne bouge pas = ventre
-
Un « pas » soudain = articulation mal alignée
Filmez 20 à 30 secondes ou prenez une photo : cela vous permettra d’effectuer les prochaines étapes avec précision et vous fournira une trace écrite si vous avez besoin d’un plombier.
4. Choisir le prochain outil
-
Film gras à proximité (à une distance de 1 à 2 mètres) : Une tarière manuelle courte ou un rinçage complet après le nettoyage du siphon peuvent suffire.
-
Touffe dense à 1,8–3,7 m : Tarière manuelle d'abord ; vérifier ensuite avec une caméra.
-
Articulation ventrale ou décalée : Vous pouvez déboucher le conduit aujourd'hui, mais une réparation mécanique (rehausser le tuyau ou remplacer un raccord) est la solution à long terme.
-
Tuyau propre mais débit lent : Vérifiez la ventilation ou remplacez le clapet anti-retour.
Consignes de sécurité : Évitez d'utiliser des ouvre-sièges chimiques avant d'ouvrir le siphon : le mélange des résidus est dangereux et des projections de produits chimiques peuvent survenir lors du desserrage des raccords.
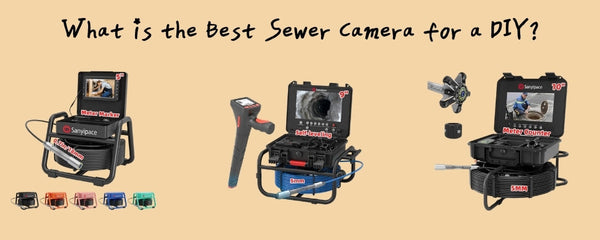
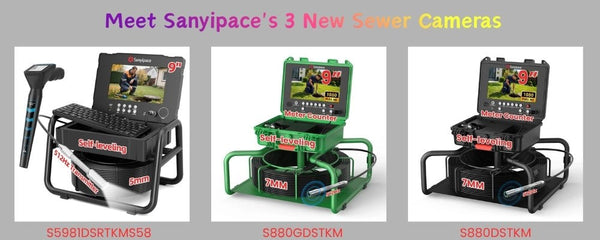
Où puis-je acheter une bonne caméra d'inspection des canalisations ?

Si vous êtes propriétaire ou professionnel et utilisez régulièrement une caméra d'inspection des canalisations, vous pouvez acheter en toute confiance un modèle professionnel directement sur les sites web des marques. Voici quelques options intéressantes :
Ce qu'il faut rechercher lors de vos achats :
-
Tête de caméra taille: 17–23 mm (idéal pour la plupart des canalisations d'évacuation domestiques)
-
Indice d'étanchéité : Tête de caméra IP68
-
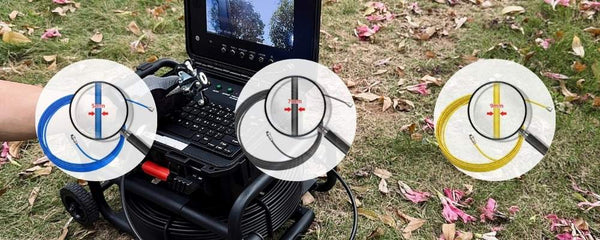
Longueur du câble : 50 à 100 pieds pour les lavabos, la buanderie et les douches
-
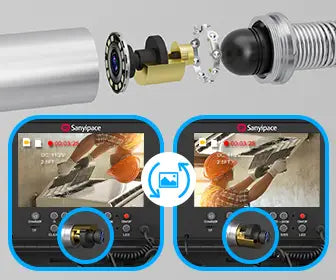
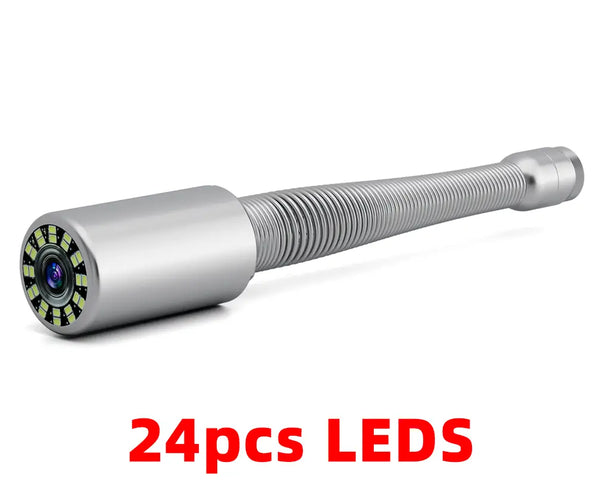
Image &et éclairage : LED réglables avec capture 720p ou 1080p
-
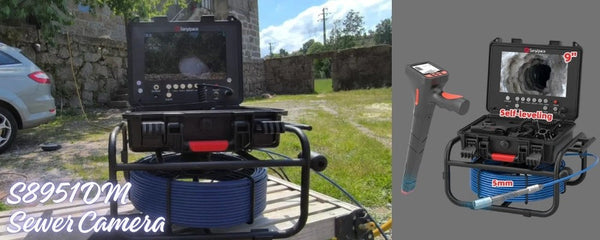
Autonivellement : Maintient l'image droite pour faciliter la lecture de la pente et de l'accumulation.
-
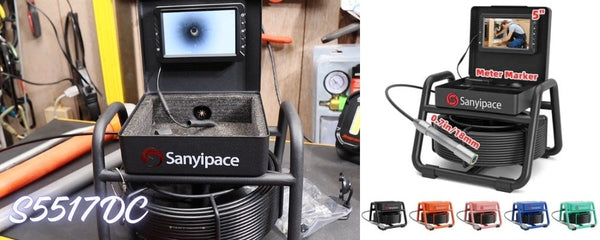
Compteur de distance : Permet de marquer l'emplacement exact sur le mur
-
Sonde optionnelle 512 Hz : Permet de localiser la tête de caméra derrière les murs/planchers grâce à un récepteur portatif
Conseil: Achetez auprès de vendeurs agréés et vérifiez les conditions de garantie avant de finaliser votre commande, surtout si vous en avez besoin. U.SAssistance technique ou pièces de rechange rapides.
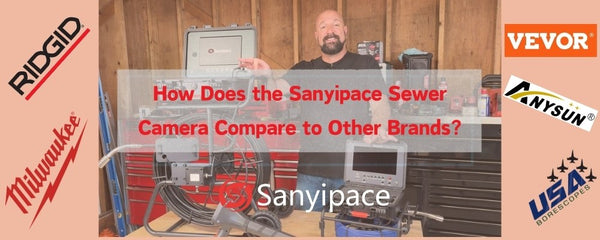
Pour plus d'informations sur les marques de caméras d'inspection des égouts, consultez cet article : Les 5 meilleures marques de caméras d'inspection des égouts en 2025
Comment déboucher un évier de cuisine ?
But: Débouchez le tuyau que vous avez vu sur la caméra, nettoyez la paroi du tuyau et rincez les résidus pour éviter qu'il ne se reforme dans les jours qui suivent.
-
Remonter (sans serrer) après inspection : Si vous avez retiré le siphon, remontez-le avec des rondelles de bonne qualité. Serrez d'abord à la main ; vous ajusterez ensuite.
-
Câbler la ligne (d'abord mécanique) : Insérez une tarière manuelle de 6 à 9,5 mm dans le trou mural. Faites-la tourner tout en avançant ; évitez de forcer dans les coudes. Lorsque la résistance diminue, vous percez de la graisse ou de l'amidon. Retirez la tarière, essuyez le câble, puis repassez pour lisser le trou.
-
Chasse d'eau chaude et savonneuse : Remplissez l'évier d'eau très chaude et ajoutez une petite quantité de liquide vaisselle. Tirez sur le bouchon pour envoyer un jet d'eau sous pression dans le tuyau désormais ouvert. Le savon lubrifie et entraîne les fines particules vers l'aval.
-
Vérification de la caméra : Regardez à nouveau. L'ouverture doit être ronde et propre, sans tapis qui pendent ni dépôt de boue. Si vous voyez encore une bande graisseuse, passez délicatement le câble et rincez une dernière fois.
-
Réinitialisation et meilleures pratiques d'élimination : Courir froid Rincez à l'eau pendant le fonctionnement du broyeur (cela permet de maintenir les graisses fermes afin que les turbines les broient plus finement), puis terminez par un long rinçage à l'eau chaude pour éliminer tous les résidus de la branche.
-
Maintenance (hors urgence) : Les nettoyants enzymatiques/biologiques sont à utiliser en prévention, pas pour un nettoyage ponctuel. Suivez les instructions sur l'étiquette une fois la conduite nettoyée mécaniquement.
Et si la caméra montrait un ventre ?
Vous pouvez déboucher la canalisation aujourd'hui, mais il faudra consolider et refaire la pente de ce tronçon, ou remplacer la partie affaissée. Sinon, des débris s'y accumuleront de nouveau.
Quand avez-vous besoin d'aide professionnelle ?
-
Des obstructions récurrentes se produisent en quelques jours ou semaines malgré un nettoyage mécanique et un rinçage à chaud appropriés.
-
Si l'eau stagne devant la caméra et que vous ne pouvez pas maintenir l'objectif au-dessus, cela signifie que le fuselage doit être remodelé ou remplacé.
-
Décalage visible, raccord fissuré ou section écrasée sur la caméra.
-
Plusieurs installations refoulant (cuisine et buanderie ou baignoire), ce qui indique un problème en aval/principal.
-
Une odeur persistante de gaz d'égout ou des gargouillis après que le tuyau semble propre indiquent probablement un problème de ventilation ou une défaillance du clapet anti-retour.
-
Vous n'êtes pas à l'aise avec l'ouverture de trappes, le travail autour d'un broyeur à déchets ou l'utilisation d'un câble.
Conseil: Montrez au plombier les images de votre caméra et indiquez-lui la distance à laquelle vous avez constaté les problèmes. Cela accélérera le diagnostic et permettra d'obtenir des devis plus précis.
Résumé
Les éviers de cuisine se bouchent pour cinq raisons prévisibles : Film graisseux, résidus alimentaires collants, dépôts de savon/minéraux, défauts de pente et problèmes de ventilation : une caméra d’inspection des canalisations permet de transformer les suppositions en un plan précis en visualisant l’obstruction. emplacement, matériel, et contexte mécanique (ventre, décalé, propre mais en manque d'air).
Utilisez ces informations pour choisir la solution appropriée : Nettoyez le siphon, visez précisément l'endroit, rincez abondamment à l'eau chaude savonneuse et corrigez toute pente ou défaut d'aération. Avec une petite caméra et de bonnes habitudes (petites quantités jetées à l'évier, rinçages longs, amidon et fibres dans la poubelle), vous rompez le cycle « bouchage – réparation rapide – nouveau bouchage ».
FAQ
1) Pourquoi faire bouillir de l'eau aide-t-il, mais seulement pendant un jour ou deux ?
L'eau bouillante fait fondre la surface d'un bouchon de graisse, mais ne retire pas le film gras sur la paroi du tuyau. Ce film fin retient immédiatement de nouveaux débris. Il faut déboucher le tuyau mécaniquement (avec une tarière), effectuer un long rinçage à l'eau chaude savonneuse, puis adopter de meilleures pratiques d'élimination des déchets.
2) Une caméra d'inspection des canalisations est-elle vraiment nécessaire pour un évier de cuisine ?
On peut déboucher de nombreux bouchons sans outil, mais un caméra de plomberie répond à trois questions coûteuses en quelques minutes : Où se situe-t-il exactement, de quoi s'agit-il et y a-t-il un problème de pente ou de ventilation ? Cela permet d'éviter les pertes de temps et les découpes inutiles dans les murs.
3) Quelle taille de caméra d'inspection des canalisations est la mieux adaptée aux cuisines ?
UN 17–23 mm tête sur un 50 à 100 pieds Le câble est idéal. Il se faufile dans les coudes et les passages étroits, et sa longueur permet de couvrir la plupart des branchements domestiques.
4) Les déboucheurs chimiques de canalisations sont-ils efficaces ?
Il arrive qu'on perce un petit canal à travers les bouchons mous, mais c'est risqué (chaleur et émanations), cela peut endommager les finitions et rendre les interventions mécaniques ultérieures dangereuses. Si des produits chimiques ont été utilisés, prévenez le plombier avant qu'il n'ouvre le siphon.
5) Mon lave-vaisselle refoule dans l'évier — Qu'est-ce que cela signifie ?
Le bouchon se situe entre le té du lave-vaisselle et la colonne de sortie. Débouchez cette section mécaniquement et vérifiez à l'aide d'une caméra d'inspection que le té et le coude suivant sont bien ouverts.
6) La canalisation semblait propre à la caméra, mais l'évier gargouille toujours. Que faire maintenant ?
Cela indique un problème de ventilation : une grille d’aération de toit obstruée ou un clapet anti-retour défectueux. Rétablissez une bonne ventilation et le flux d’air redeviendra normal.
7) Comment éviter les obstructions sans renoncer à l'évacuation des déchets ?
Courir eau froide pendant le broyage, alimentation petits lots, garder amidons et fibres hors du drain, puis Faites couler l'eau chaude 20 à 30 secondes plus tard. pour transporter les amendes hors de la succursale.
8) Les enzymes sont-elles réellement utiles ?
Comme entretienOui. Elles dissolvent les résidus de film organique, empêchant ainsi la graisse de se réadhérer aussi facilement. Utilisez-les après un nettoyage mécanique, conformément aux instructions. Ce ne sont pas des déboucheurs d'urgence.
9) À quelle fréquence dois-je effectuer une inspection par caméra ?
Si vous cuisinez quotidiennement ou utilisez souvent le broyeur à déchets, un rapide coup d'œil s'impose. tous les 6 à 12 mois Cela permet de déceler les premiers signes d'affaissement ou un film naissant. Les propriétaires vérifient souvent entre deux locations ou après les périodes de forte affluence culinaire pendant les fêtes.
Lectures complémentaires : Combien coûte une caméra de plomberie ?


Laisser un commentaire