


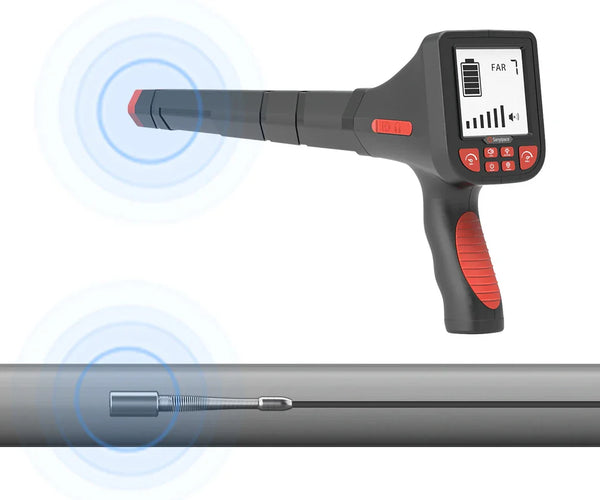
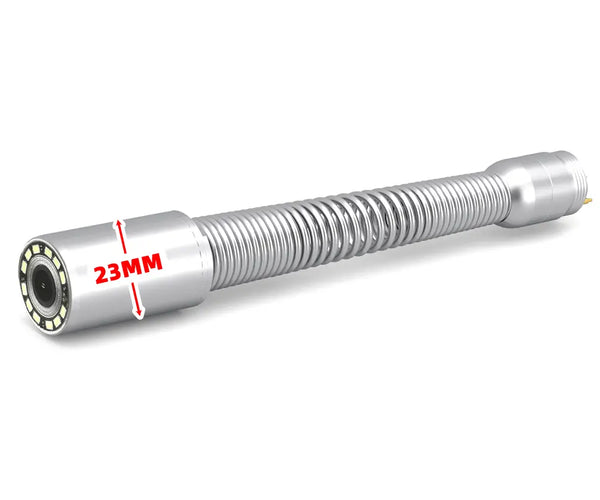
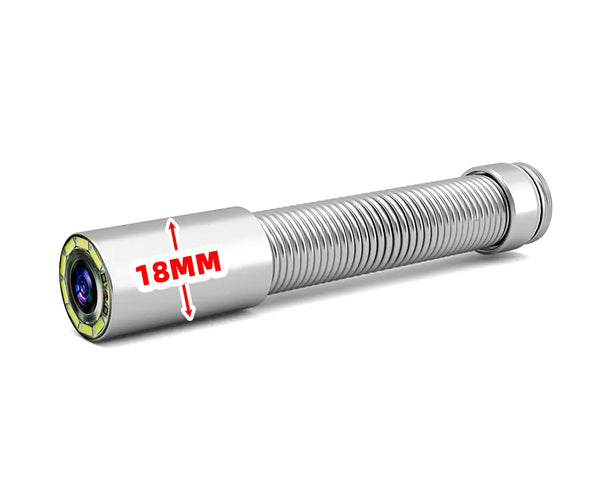


Sanyipace Telecamera fognaria a doppia visione | Rilevamento perdite & Riparazione di pozzi d'acqua
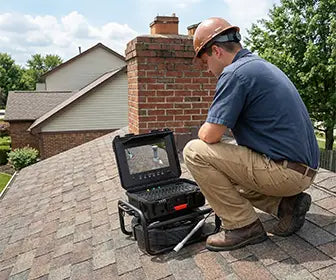
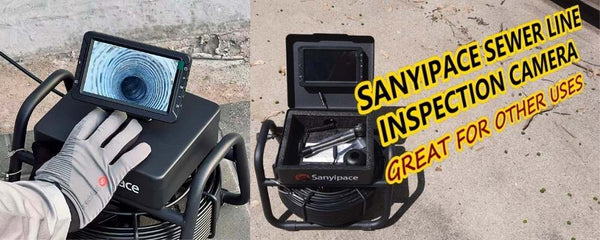
Configurazione della telecamera & Ispezione iniziale della fognatura
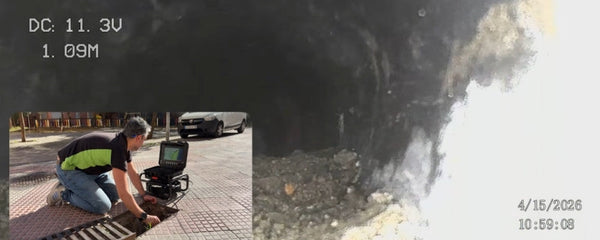
Siamo sul posto oggi per i test

Mentre rimuovevamo la copertura del pozzo, era chiaro che questo lavoro presentava più di un problema: colonie di formiche, nidi di topi e detriti avevano raggiunto persino la scatola di derivazione elettrica. Dopo aver pulito accuratamente l'area, ho notato che il rivestimento del pozzo non era cementato, una causa nota di infiltrazioni d'acqua in superficie.
Per simulare condizioni di pioggia intensa, abbiamo inzuppato il terreno circostante. Nel giro di due minuti, abbiamo sentito l'acqua gocciolare nel pozzo. Ciò ha confermato l'infiltrazione ancor prima di inserire il telecamera per l'ispezione degli scarichi.

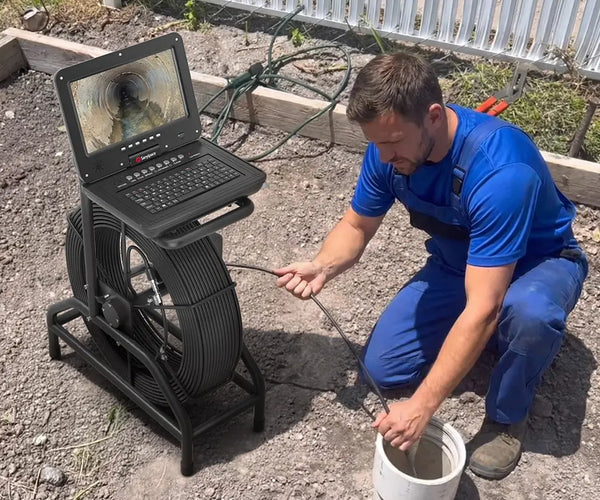
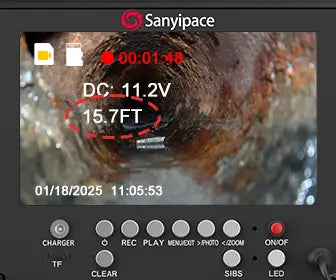
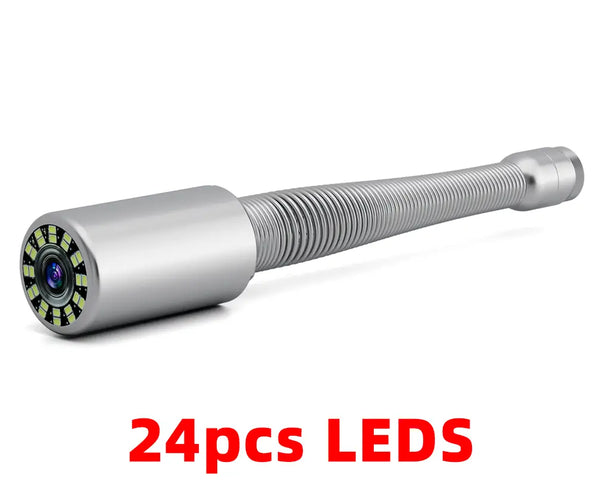
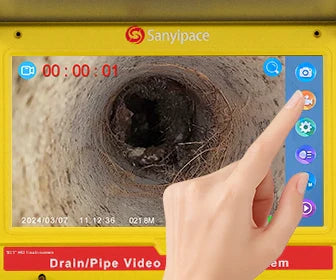
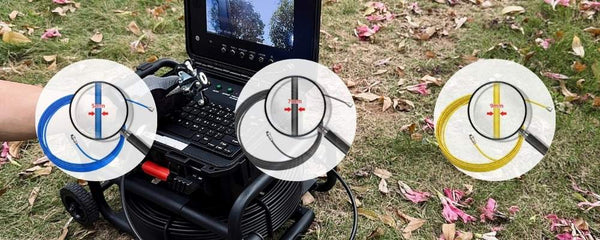
Abbiamo puntato la telecamera su AV1 (vista dal basso), impostato la luminosità del LED al livello 5 e iniziato ad abbassarla, lasciandola sospesa senza guida di centraggio, dato che la pompa era ancora in posizione. A 10,3 metri, la telecamera ha mostrato un giunto di colla in PVC pulito, senza macchie. Siamo quindi passati alla vista laterale per cercare la transizione nella roccia.
Alta torbidità e scoperta di perdite a 52 piedi
Mentre lasciavamo cadere il telecamera fognaria Più in profondità, la visibilità è rapidamente diminuita a causa della torbidità. Abbiamo fatto funzionare la pompa del pozzo per 25 minuti per cercare di abbassare il livello dell'acqua, che è sceso solo a 37 piedi. Questo ci ha detto che il pozzo produceva oltre 20 GPM.
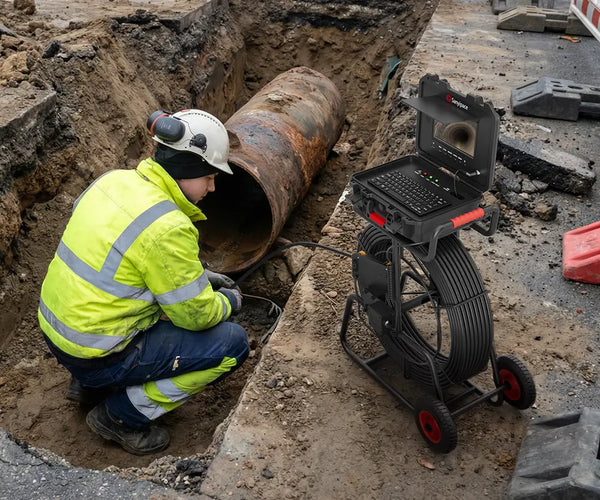
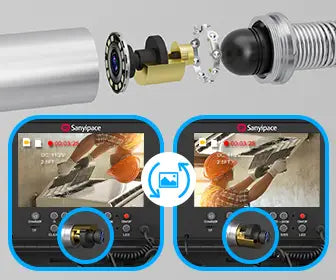
A 16 metri, la perdita era evidente. Appena sotto quella profondità, l'immagine laterale si è completamente offuscata; a quindici centimetri di profondità, l'acqua sembrava di nuovo cristallina. Questo contrasto, catturato dal... fotocamera laterale, ha individuato l'intrusione con precisione.

Senza questo tipo di telecamera di scarico, avremmo potuto solo tirare a indovinare. La vista a doppia immagine ha reso facile confermare il punto esatto del guasto.
Installazione del rivestimento in PVC e test temporanei
Successivamente, abbiamo rimosso la pompa, precedentemente installata a 240 piedi utilizzando una discutibile giunzione in plastica in linea, e l'abbiamo riposizionata a 180 piedi per evitare l'accumulo di sedimenti.
Poi è arrivato il rivestimento: un tubo in PVC da 10 cm dotato di guarnizione in gomma e guarnizione di tenuta, progettato per sigillare la perdita nella zona dei 16 metri. Abbiamo reinserito la pompa, installato una valvola di ritegno in acciaio inossidabile e iniziato a lavare l'impianto. Ci si aspettava un sedimento consistente, ma dopo un'ora l'acqua era limpida.

Per ora abbiamo lasciato il rivestimento non cementato: questa installazione temporanea ci ha consentito di testarne le prestazioni per un periodo di due mesi, durante diversi eventi piovosi.
Cementazione del rivestimento e completamento finale del sistema
Dopo due mesi di monitoraggio e diverse forti piogge, l'acqua è rimasta limpida, segno inequivocabile che il rivestimento temporaneo funzionava. Pertanto, siamo tornati per completare il processo di cementazione in due fasi precise:
-
Fase uno:
Abbiamo pompato cemento Portland lungo un tubo di scarico da ¾" fino alla profondità di 60 piedi. In questo modo abbiamo sigillato ermeticamente la base del rivestimento.
Poiché il proprietario di casa era via per due giorni, questo ci ha dato la possibilità di sistemare la casa in modo pulito. -
Fase due:
Qualche settimana dopo siamo tornati per rifare il sigillo.
Il primo lotto si era già indurito intorno ai 3 metri inferiori, e questa volta abbiamo pompato il cemento fino a 15 metri, completando il lavoro senza sovraccaricare il packer di gomma.
Dividendo il processo in due fasi gestibili, abbiamo garantito:
-
Sollecitazione minima sui componenti di tenuta
-
Nessun rischio di traboccamento o rottura della guarnizione
-
Completa stagionatura senza che il cemento entri in zone indesiderate

Con il rivestimento fissato, abbiamo aggiornato l'originale 4" pompa a un 3" Grundfos SQ2-240 per evitare che la protezione metallica si impigli. Abbiamo rifilato e sigillato il rivestimento, aggiunto un nuovo tappo del pozzo, uno sfiato, raccordi in ottone e disinfettato con cloro.
Livello statico finale dell'acqua: 7,6-9 metri. La testa del pozzo era pulita, sigillata e rifinita professionalmente.
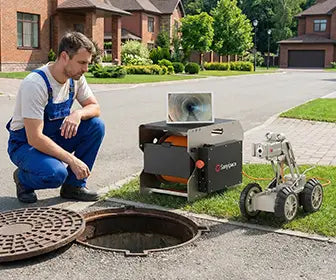
Controlli finali e revisione della telecamera fognaria
In totale, questo lavoro ha richiesto cinque visite in due mesiMa il punto di svolta è stata la nostra ispezione iniziale con il
Senza la funzione di doppia visualizzazione, avremmo perso la posizione precisa della perdita. Tradizionale telecamere da fondo pozzo semplicemente non offrono quel livello di dettaglio. Con il imaging laterale, abbiamo individuato il problema con la precisione di un centimetro e pianificato una riparazione efficiente e non invasiva.
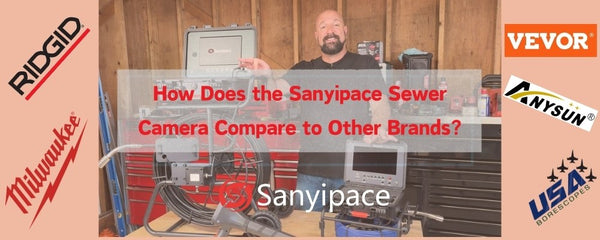
📦 Dai un'occhiata al
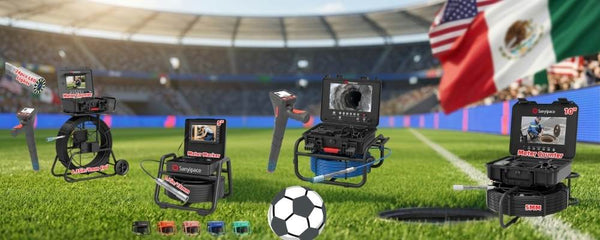
Sanyipace telecamera fognaria a doppia visione — la stessa unità utilizzata in questa riparazione.

Se sei nel servizio di pozzo o telecamera per ispezione idraulica settore, consiglio vivamente di provare questa unità. È uno strumento affidabile che fa risparmiare tempo, evita congetture e fornisce risultati reali e comprovati sul campo.
Hai domande? Scrivile nei commenti. E se questo video ti è stato utile, metti "Mi piace": è più utile di quanto pensi.
Link al prodotto: https://bit.ly/452LgbT
Il nostro sito web ufficiale: https://sanyipace.com/
Guarda la recensione video qui: https://www.youtube.com/watch?v=XROPQNe_8yo


Lascia un commento