


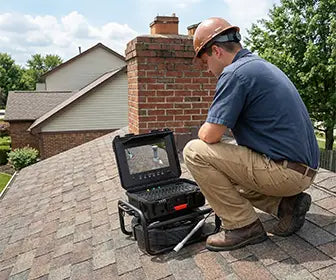


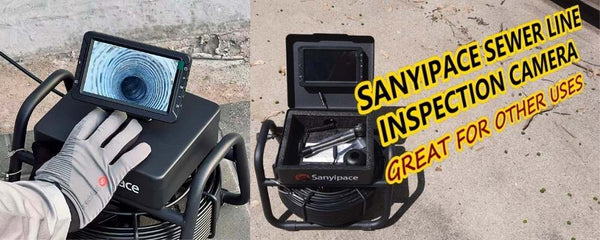

Caméra d'égout testée dans un vrai travail de salle de bain
JConfiguration de l'ob – Préparation à l'inspection
Salut les gars ! Ici Jay, « le spécialiste des canalisations ». Aujourd'hui, on est dans une salle de bain où les propriétaires m'ont demandé d'inspecter la canalisation des toilettes à l'aide d'un… caméra d'égout pour s'assurer que tout est en ordre. Nous allons démonter les toilettes et faire fonctionner le

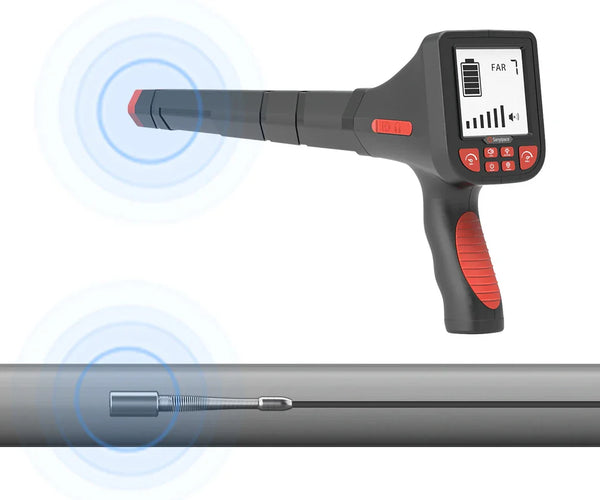
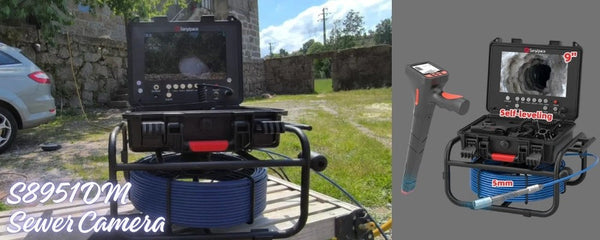
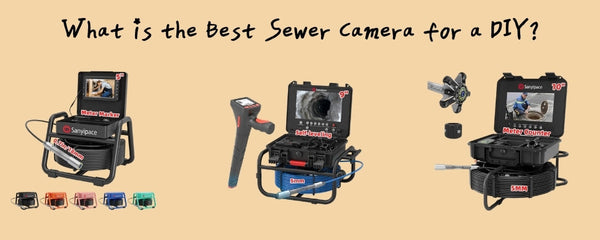
Avant de commencer, voici les principales caractéristiques de ce produit. Caméra de plomberie F5800ADJKABTX:
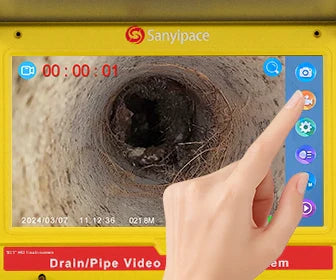
- Écran IPS HD de 10,1 pouces – fournit une image en direct claire et lumineuse permettant de repérer les fissures, les obstructions ou les intrusions racinaires.
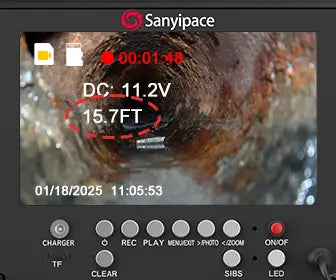
- Compteur intégré – spectacles jusqu'où le câble a voyagé en temps réel.
- Émetteur 512 Hz – vous permet de positionner la tête de caméra au-dessus du sol à l'aide d'un localisateur compatible.
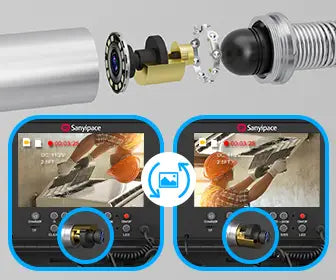
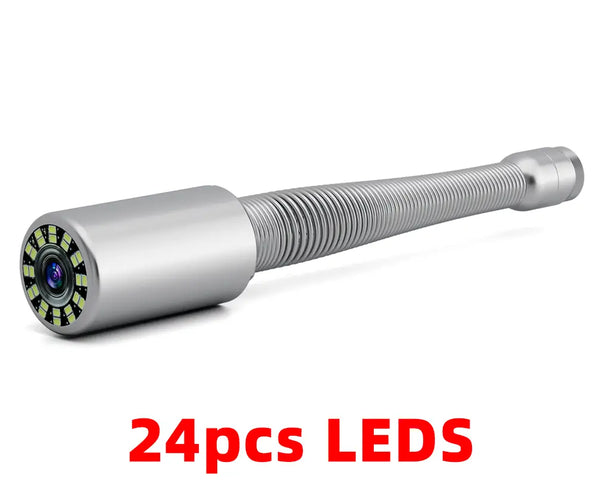
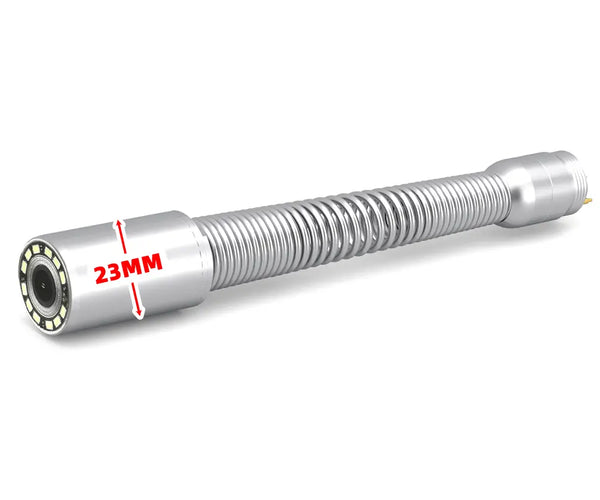
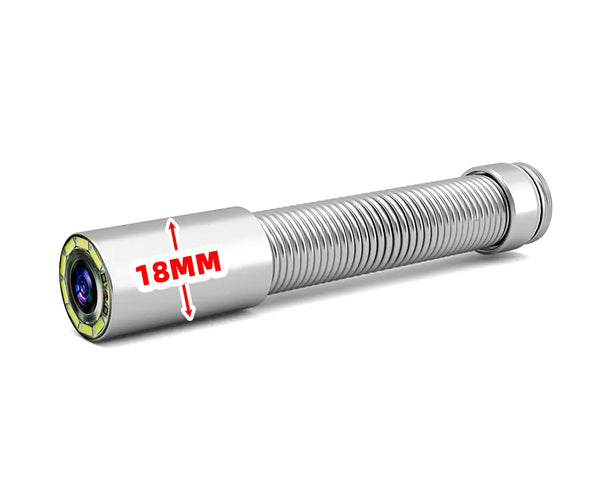
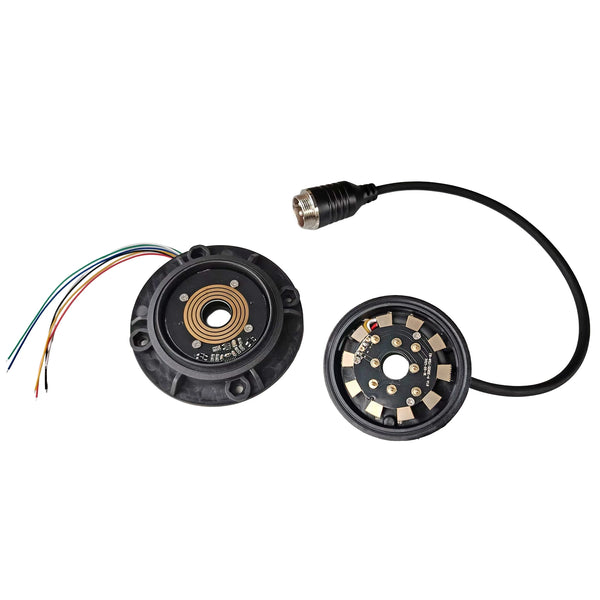
- Tête de caméra autonivelante de 23 mm IP68 – maintient l'image droite, associée à 12 LED réglables pour une excellente visibilité dans les canalisations sombres.
- Vidéo &et enregistrement audio – Enregistrement en une seule touche avec prise en charge du microphone, idéal pour la documentation professionnelle.
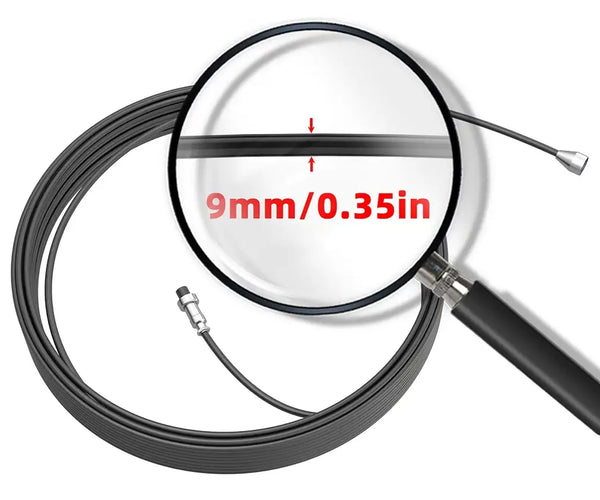
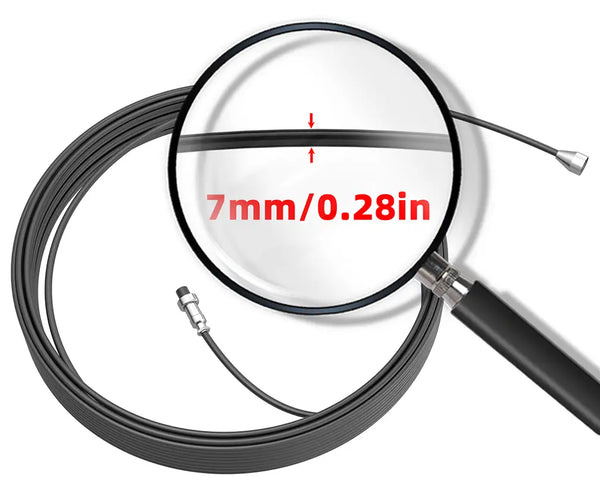
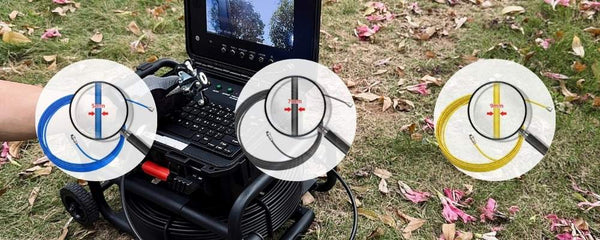
- Câble durable – disponible en longueurs de 50 m, 70 m et 100 m (la mienne fait 50 m).
- Alimenté par batterie – dure jusqu'à 7 heures par charge.
Ceci étant dit, commençons ce travail.
Démontage des toilettes avant l'inspection par caméra des égouts
Première étape : couper l’arrivée d’eau. Ensuite, j’aspire toute l’eau de la cuvette et du réservoir, je dévisse les boulons et je soulève délicatement les toilettes sur une bâche pour protéger le sol.
Ces toilettes sont équipées d'une bride de réparation et de boulons en laiton qui n'ont pas besoin d'être remplacés. Après avoir gratté l'ancien joint en cire et nettoyé la surface, j'installe un nouveau joint et me prépare pour la suite. caméra de drainage inspection.

Installation de la caméra et inspection des canalisations
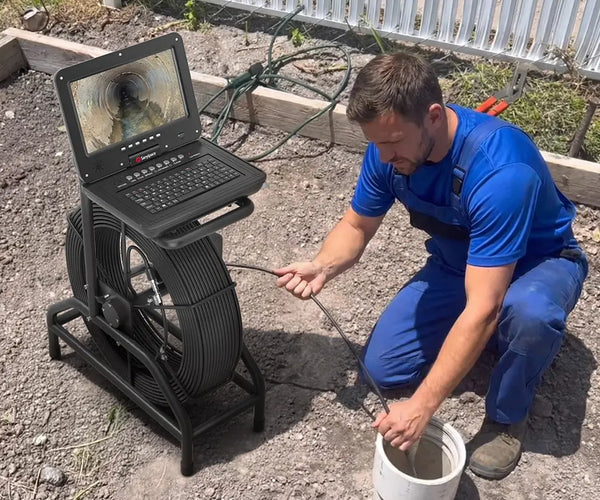
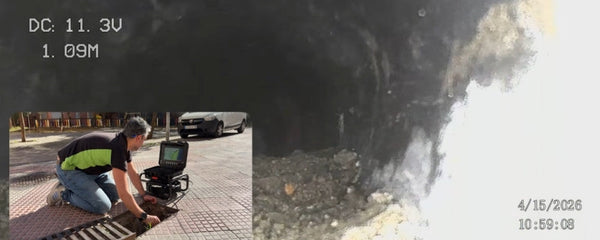
L'installation de la caméra est simple : connectez la tête, allumez-la, réglez la luminosité de la LED et remettez le compteur du posemètre à zéro.
Je nourris le caméra d'égout Le tuyau passe par la bride des toilettes. Comme il s'agit d'une salle de bain au dernier étage, il descend directement jusqu'à la colonne principale. L'image est très nette et on distingue d'autres canalisations raccordées. On observe une légère accumulation à un endroit et, à environ 12,5 mètres, de l'eau stagnante. Les propriétaires voudront en être informés immédiatement.
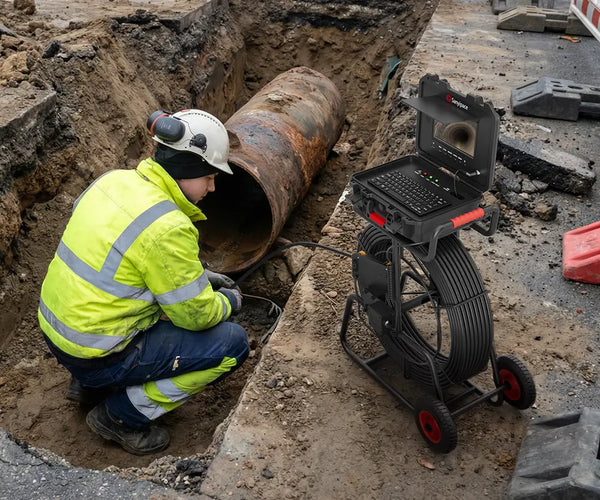
Même avec quelques virages serrés, le caméra de plomberie Le câble s'alimente sans problème. Sa flexibilité est un atout précieux pour les installations de plomberie résidentielles.

Leçons tirées de la pratique : ce qui fonctionne et ce qui ne fonctionne pas
Ce que j'ai aimé
-
Le câble est extrêmement flexible. Il glisse parfaitement dans les raccords en T et les coudes serrés, ce qui rend l'inspection des canalisations résidentielles beaucoup moins fastidieuse.
-
L'écran HD de 10,1 pouces est lumineux et net. Même dans des canalisations très sombres, j'ai pu repérer des dépôts, de l'eau stagnante ou de petites fissures sans forcer sur mes yeux.
-
L'installation est rapide. Je l'ai allumé, j'ai réglé les LED et c'était prêt en moins d'une minute.
-
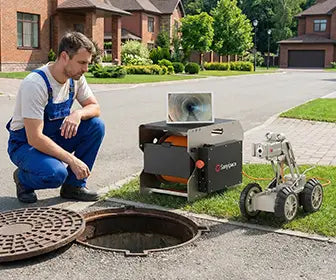
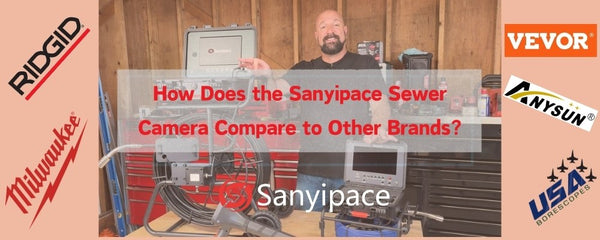
Pour les petites entreprises de plomberie, les bricoleurs ou les gestionnaires immobiliers qui ont besoin d'un service fiable caméra de plomberie Dans certains cas, cet appareil constitue un choix judicieux et pratique.
👉Procurez-vous le vôtre
Points à améliorer
-
L'étui semble un peu fragile. Je préférerais quelque chose de plus robuste, comme un étui rigide de type Pelican, capable de résister aux chocs.
-
Retirer la tête de l'appareil photo de son support peut s'avérer délicat au début. Ce n'est pas rédhibitoire, mais un mécanisme plus fluide serait un plus.
-
L'emplacement du bloc d'alimentation n'est pas idéal. Le déplacer dans un endroit plus accessible faciliterait le travail.
-
Pour les très longues installations industrielles, le câble peut paraître un peu fin. Il convient parfaitement à la plupart des usages résidentiels ou aux installations de courte à moyenne envergure, mais pour les installations intensives, un câble plus robuste pourrait être nécessaire.
Conclusion du travail
Après l'inspection, je réinstalle les toilettes avec le nouveau joint en cire, je serre le tout et je scelle le pourtour de la base avec du silicone (en laissant un espace à l'arrière pour l'évacuation en cas de refoulement ultérieur).
Enfin, je tire la chasse d'eau pour vérifier que tout fonctionne correctement.
Merci d'avoir regardé ! C'était Jay, « le spécialiste des canalisations », qui vous dit au revoir. Si cette vidéo vous a été utile, n'hésitez pas à liker, commenter et vous abonner pour plus de contenu. caméra d'égout et des avis sur les outils de plomberie.

Lien vers le produit : https://bit.ly/3YhSYcO
Notre site officiel : https://sanyipace.com/
Consultez la critique vidéo ici : https://www.youtube.com/watch?v=fHMhypgjUOg


Laisser un commentaire