


Sanyipace Caméra d'inspection de canalisations avec localisateur, avis produit
Introduction à la Sanyipace Caméra de plomberie
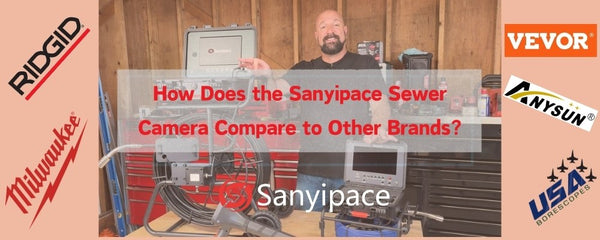
Merci d'avoir regardé ma chaîne aujourd'hui. Nous avons une critique spéciale sur un caméra de plomberie, également connu sous le nom de caméra d'inspection de canalisations, réalisé par

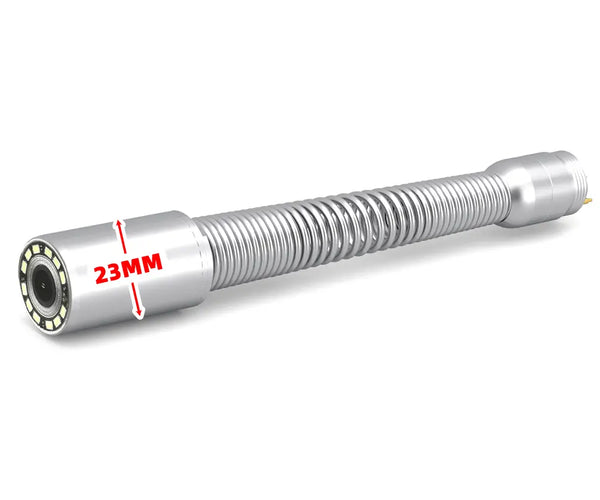
Présentation du produit et principales caractéristiques de la caméra de plomberie
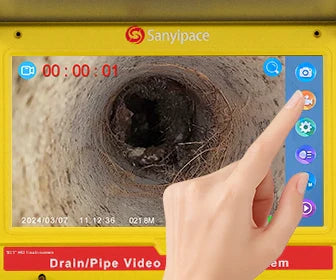
Lorsque vous allumerez l'appareil, vous remarquerez la netteté de l'image à l'écran. Plus tard, je vous présenterai les fonctions photo et vidéo et vous montrerai les fichiers enregistrés sur la carte microSD, afin que vous puissiez pleinement apprécier la clarté de l'image. caméra d'inspection des canalisations livre.
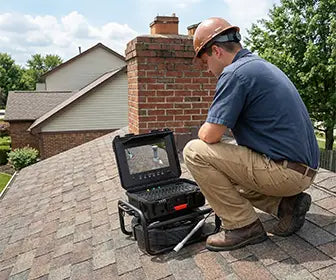
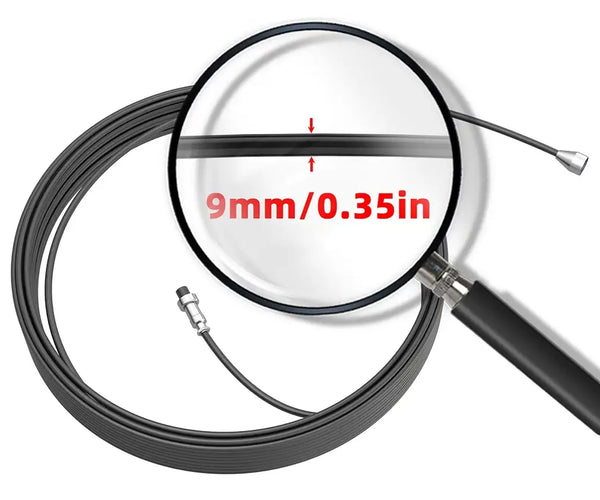
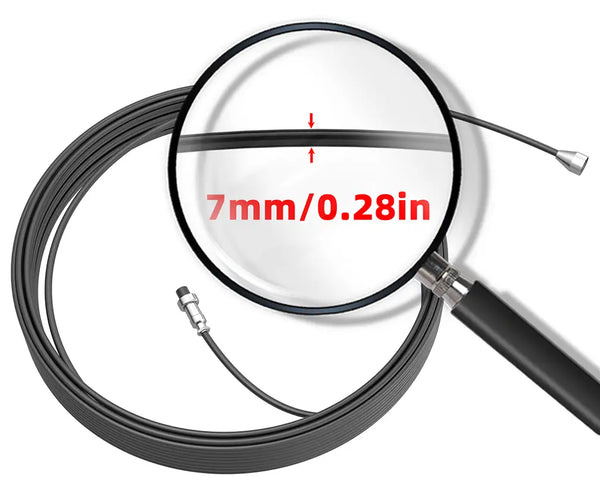
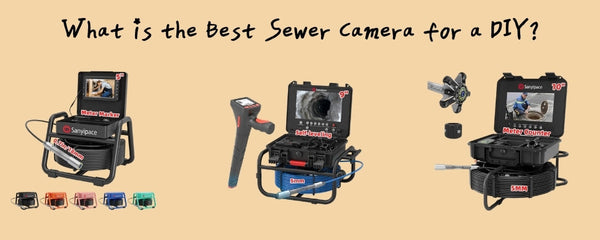
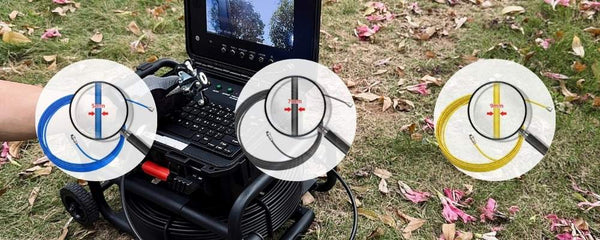
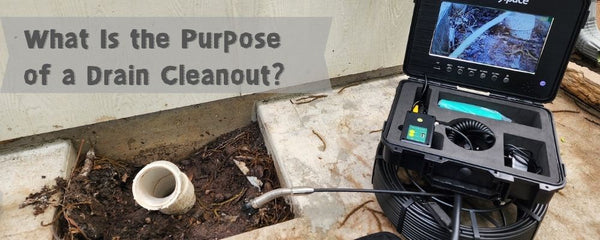
Ce modèle est fourni avec un câble rigide de 50 mètres, vous permettant d'introduire la caméra dans n'importe quel conduit ou tuyau de plomberie à inspecter. Examinons maintenant la caméra de plus près.
Qualité visuelle et durabilité des inspections de plomberie
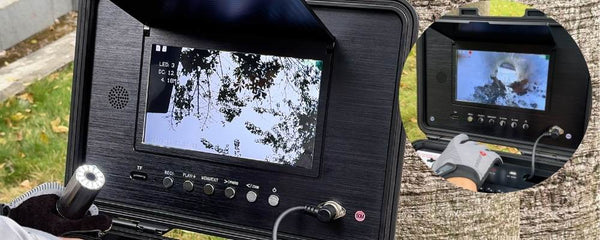
Écran IPS haute définition de 9 pouces
L'écran IPS 1080p offre des images nettes et détaillées pour des inspections de canalisations précises.
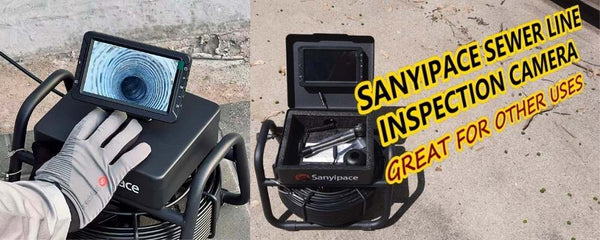
Étui en aluminium durable avec pare-soleil
Son boîtier en aluminium anodisé et son pare-soleil le rendent robuste et pratique pour une utilisation en extérieur. caméra d'égout utiliser.

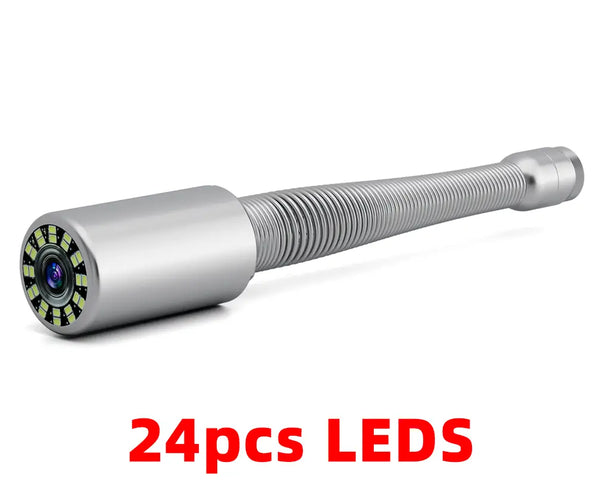
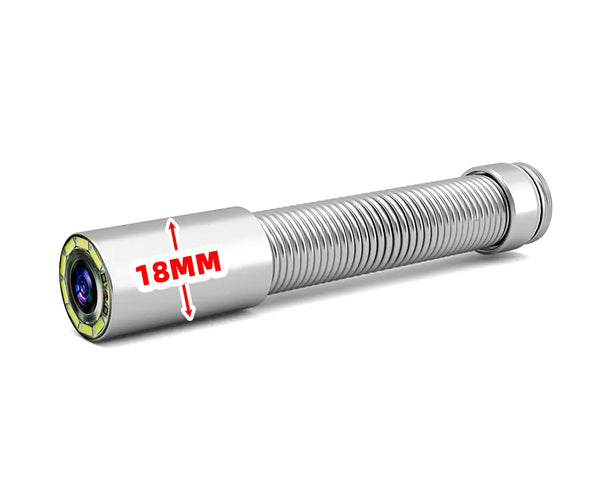
Fonctions d'éclairage et de mesure
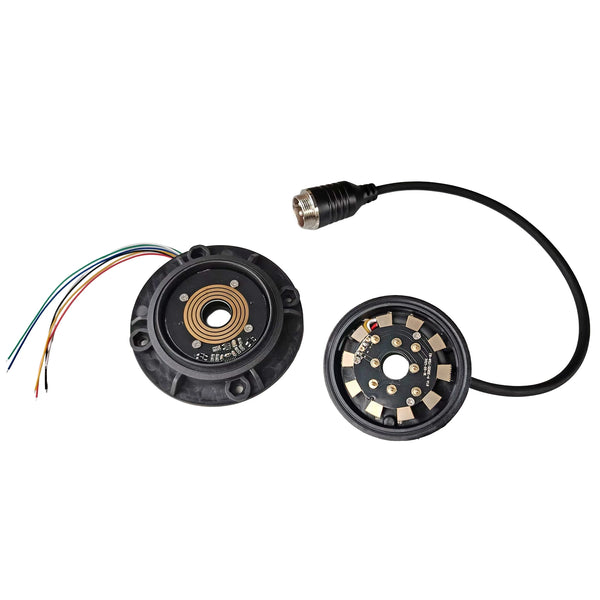
Réglage de la luminosité des LED sur cinq niveaux
La tête de la caméra est équipée de plusieurs LED. Appuyer sur le bouton d'éclairage des LED permet de sélectionner l'un des cinq niveaux de luminosité, affichés à l'écran. Il est également possible d'utiliser la touche F6 du clavier pour régler la luminosité des LED.
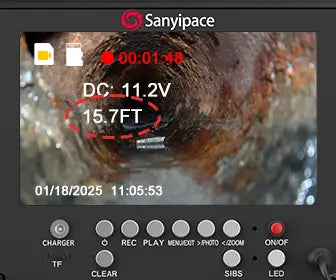
Clavier multifonction et compteur
Tirez sur un câble, et l'écran affichera la longueur (e.g., 1,48 mètre). Appuyez sur F4 pour basculer entre les unités métriques et impériales, ce qui facilite le passage des mètres aux pieds.
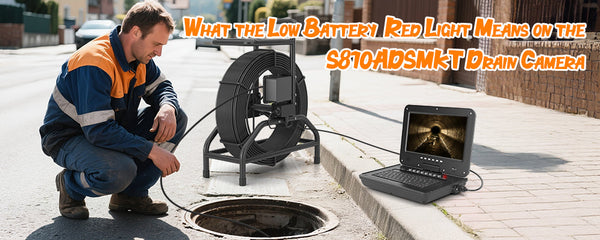
L'écran affiche également la tension de la batterie. Pour masquer ces informations, appuyez sur F5.

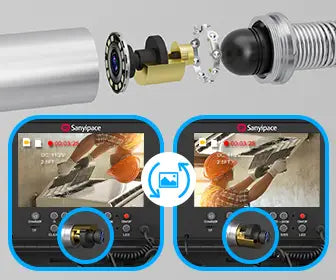
Fonctions d'enregistrement et de lecture de la caméra d'égout
Cet appareil permet l'enregistrement. Appuyez sur le bouton d'enregistrement : un compteur s'affiche en haut à gauche pour indiquer que l'enregistrement est en cours. Il est équipé d'un haut-parleur et d'un microphone. Vous pouvez écouter les enregistrements directement sur l'appareil ou transférer les fichiers de la carte SD vers un ordinateur.
Lorsque 1,46 mètre de câble est déroulé, appuyer sur la touche d'effacement réinitialise le compteur de longueur. Lorsque vous rétractez le câble, le compteur affiche des nombres négatifs, indiquant la longueur de câble rétractée.

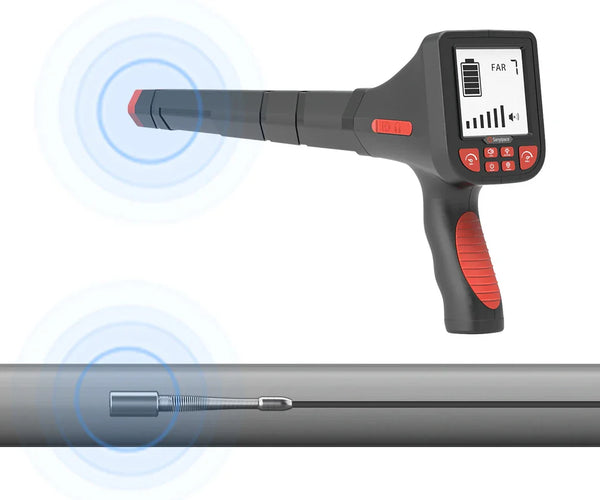
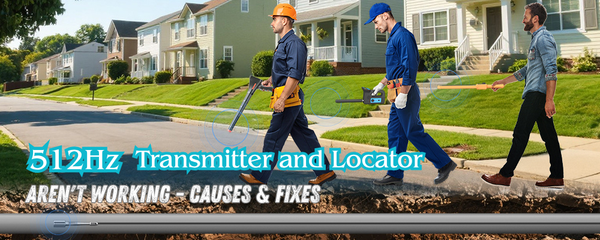
Utilisation du localisateur 512 Hz avec la caméra de drainage
Localisateur de sonde d'émission 512 Hz
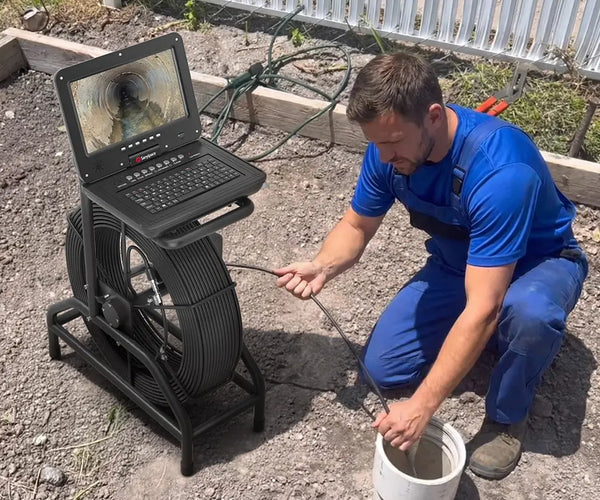
L'un des atouts majeurs est le localisateur 512 Hz intégré. J'étais impatient de le tester. À l'arrière de mon atelier, j'ai connecté la caméra et le localisateur.
Nous avons repéré un tuyau d'évacuation, allumé l'appareil, réglé l'éclairage LED au niveau 5, lancé l'enregistrement et enfoncé la caméra d'environ 25 mètres dans le tuyau. La caméra a progressé sans problème et sans résistance.

Utilisation du localisateur pour trouver la position de la sonde de la caméra
Le localisateur possède une molette de sensibilité et des boutons de proximité/distance. Comme nous ignorions la position de la caméra, j'ai commencé par le mode longue portée et réglé la sensibilité à environ la moitié.

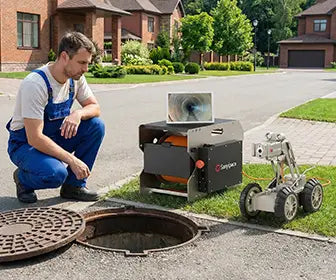
🛠️ Étapes pour localiser la caméra d'égout souterraine :
-
Commencez par le mode lointain
Réglez le localisateur sur mode lointain avec le bouton de sensibilité à mi-niveau pour couvrir une large plage de détection. -
Marchez dans la direction générale
Déplacez-vous lentement dans la direction où la caméra d'évacuation a été poussée, tout en surveillant la force du signal. -
Ajuster la sensibilité en fonction du signal
À mesure que le signal augmente, réduisez la sensibilité pour cibler l'endroit précis. -
Passer en mode proche
Après avoir localisé la zone approximative, passez à mode proche pour les réglages fins. -
Localisez précisément l'emplacement de la caméra.
Diminuez progressivement la sensibilité tout en vous déplaçant avec précaution. Lorsque le signal atteint son maximum à faible sensibilité, la caméra d'inspection de plomberie se trouve directement sous vous. - Marquer l'emplacement au sol
Utilisez un marqueur ou de la peinture en aérosol pour identifier l'emplacement exact des fouilles ou des inspections complémentaires.

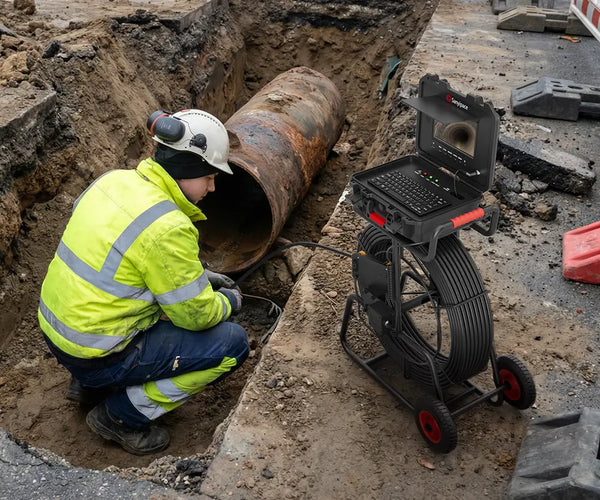
Essais sur le terrain en conditions réelles - Inspection des puits d'eau
J'ai choisi de ne pas tester la caméra dans les canalisations d'égout, mais dans une canalisation de drainage pour ce test. La caméra et le localisateur ont parfaitement fonctionné. Plus tard, j'ai été appelé pour une intervention idéale pour tester…
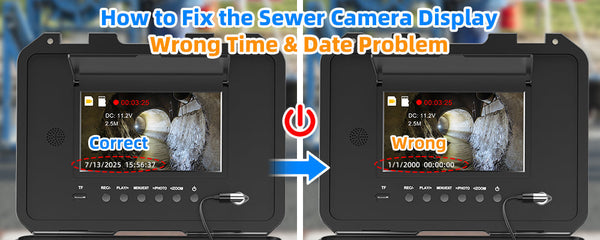
Une fois descendue dans le forage, la caméra a fourni des images d'une qualité impressionnante. L'écran affiche la tension et la mesure en haut à gauche, avec possibilité de basculer entre mètres et pieds. L'heure et la date s'affichent en bas à droite.
À l'intérieur du puits, nous avons inspecté un tubage galvanisé d'une cinquantaine d'années, fortement corrodé et ayant largement dépassé sa durée de vie prévue. Les reflets de la lumière LED à la surface de l'eau étaient nets.

À environ six mètres de profondeur, nous avons trouvé une nappe phréatique qui alimentait le forage. La qualité d'image de la caméra était superbe. Une autre zone aquifère était visible avec une netteté remarquable. J'étais très satisfait des performances de l'appareil photo. Des écailles de rouille provenant du tubage détérioré étaient visibles sur les parois rocheuses à l'intérieur du forage.

Conclusion et recommandation : Le choix d’une caméra de drainage solide
Si vous avez besoin d'un service fiable caméra de plomberie, considérer
Globalement, je suis impressionné par ceci unitéla qualité et les performances de. Si vous êtes à la recherche d'un caméra d'inspection de canalisationsJe recommande vivement ce produit.
Lien vers le produit : https://bit.ly/3DhYcvm
Notre site officiel : https://sanyipace.com/
Consultez la critique vidéo ici : https://www.youtube.com/watch?v=lzA9sr11NQc


Laisser un commentaire