


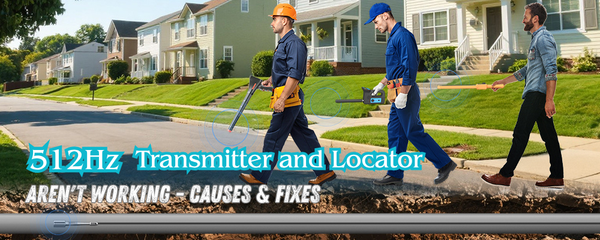
A Real-World Sanyipace Sewer Camera Review || S830ASMKT + S68R Locator
This is Sean with Gate City. We’re back on a job where we previously inspected a culvert running underneath the pool area. Today we’re coming back with a plan—though the situation is a bit more complicated than we originally thought.
Introduction and Today’s Plan
The homeowner told us that when this concrete was poured, the pipe was damaged. They said it was dug up and repaired, and we suspect that the repair area is where the current obstruction is coming from. We didn’t know that detail during the first inspection, but now the goal is clear: run the sewer camera, identify where we first hit the obstruction, mark the location, cut out that section of concrete, dig down, and see what we can do.
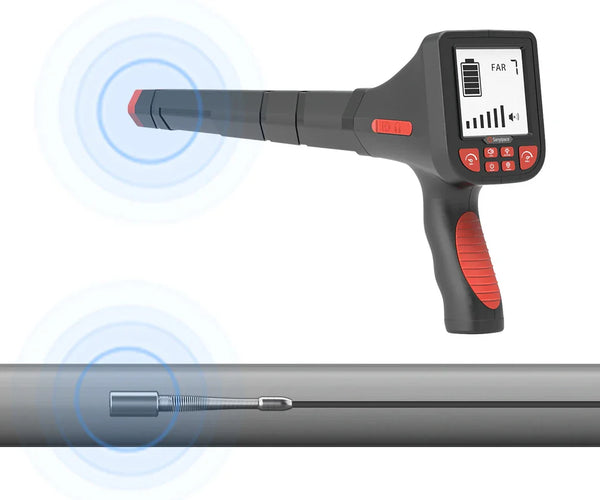
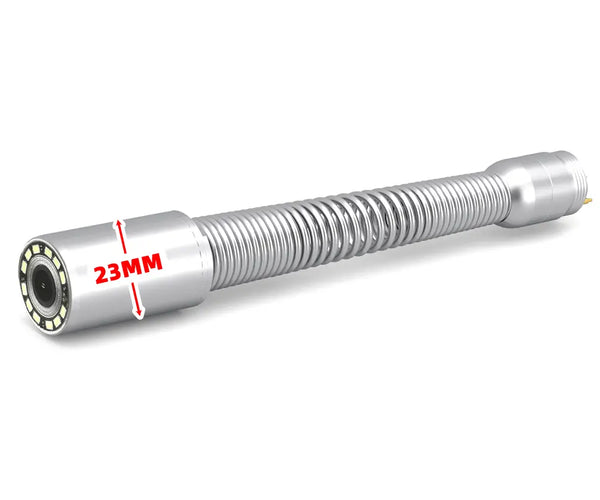
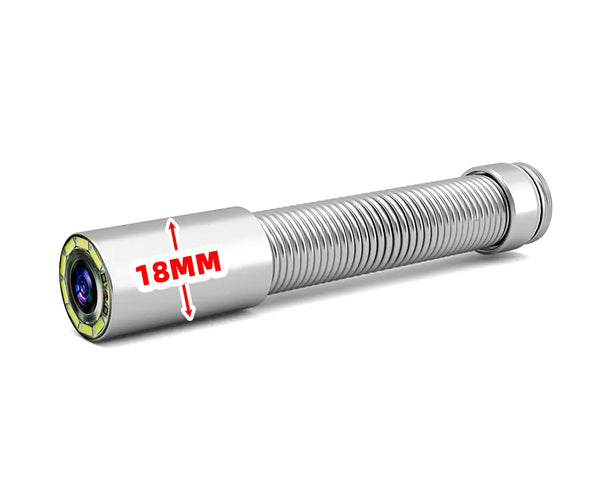
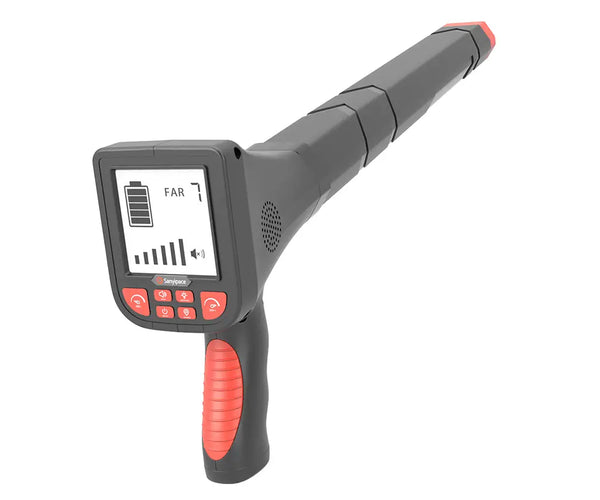
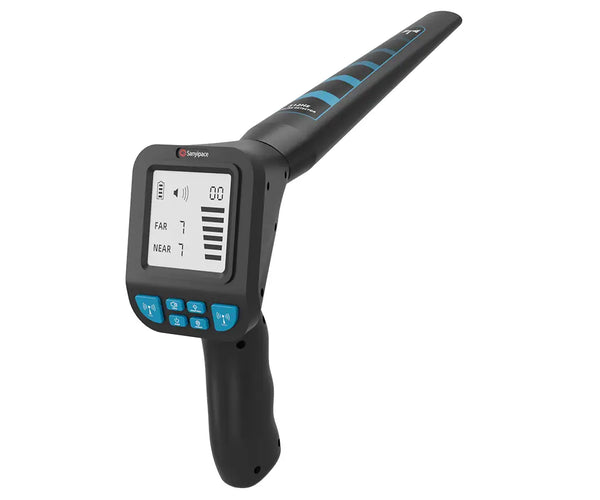
Sanyipace saw the first video and reached out. They offered to send the matching locating meter to pair with the inspection camera, plus an updated version of the camera itself. So today, we’re also testing the locating meter in a real job.
Here’s the plan:
-
We’ll enter from this side with the newer camera and locate the point where we first see the obstruction.
-
Then we’ll use the original plumbing camera from the outlet side to locate the obstruction from the other direction.
-
After that, we’ll mark the area—basically draw a rectangle on the concrete—cut it out, and dig.

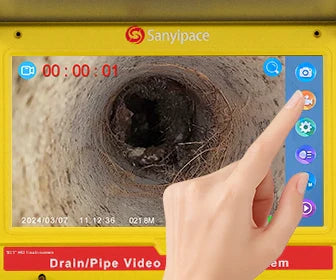
First Camera Run: Finding the Obstruction
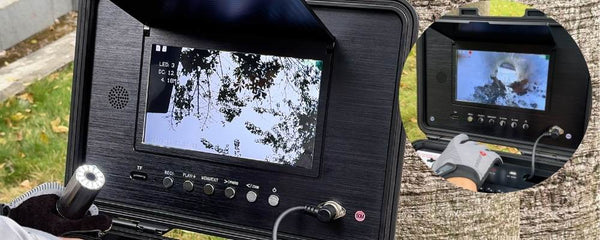
Right away, we’re seeing standing water. That suggests the pipe may be running uphill, or at least not draining properly. Our thinking is that wherever the water stops, that’s likely where the issue begins. Last time we were around 20 feet.
There—right there. That’s definitely an obstruction. It’s sitting exactly where we’d expect the repair area to be. We’ll leave the pipe camera head at that spot and use the locator to transmit.
The locator is picking it up. We’re getting a stronger signal… third bar… right about here. Let’s mark it with a dot.

Second Run: Locating From the Other Side

Now we’ll shut this down, move to the outlet side, and run the other camera in to find the obstruction from the opposite direction. Honestly, I didn’t expect the location to be this close to that tree, so we’re bringing the homeowner out to double-check before we commit to anything.
We’re looking for the section where water appears again. There may also be a Y-connection up here. We’re trying to guide the camera into the correct branch.
We’ve now located the second camera head and marked a second yellow dot. To verify depth and position, Jeremy’s going down to listen while I tap from above.
Yeah—that sounds right. We’re probably about a foot deep.
So now we believe the two camera heads are essentially meeting right here. Next step: pull the camera back to the point where damage first appears, mark that location, and—at least in theory—that section should be the damaged pipe we need to address.

Concern: Something Doesn’t Add Up
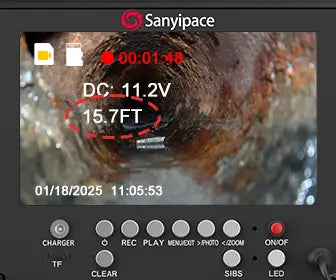
We turned the water on, and I’m not feeling great about what we’re seeing. There’s staining halfway up the pipe, mud buildup—signs it’s been holding water, not flowing freely.

The biggest problem with jobs like this is that once we start digging, anything we uncover becomes our responsibility. The homeowners believe excess concrete from the pool deck was dumped into the pipe, clogging it, and that they dug it up and “fixed it.” But that doesn’t guarantee the pipe still has the proper grade—or that the system is working as it should.
It’s hard to tell what we’re really dealing with until we expose it.
Reality Check: The Pipe Isn’t Where It Should Be
At this point, we’re realizing the pipe isn’t where the homeowner thought it was under the concrete. It’s actually running under that giant tree. The camera and locating meter have been invaluable—but the information they gave us basically confirmed bad news: the pipe is in a terrible spot.
So the plan shifts. We’ll try digging around the area where the meter indicates the damage is, even though it’s right up against the tree. I’m worried we could spend a lot of money digging and still not end up fixing the real problem.

Originally, we would have dug where the homeowner remembered the concrete being cut. But if it weren’t for the locating meter, we could have dug forever and never found the pipe.
Even though we’re dealing with sprinklers, landscaping, and possibly other buried lines (such as pool plumbing), we’ll start where the locating meter indicates the pipe is located and carefully work from there.
Digging: Sprinkler Lines Everywhere
We found the culvert pipe… but we also saw an irrigation line. Then another sprinkler line. At this point, we’ve barely touched the culvert and already hit multiple buried utilities.
And it looks like the culvert runs straight under this huge tree.
That raises a bigger question: would it be better to leave the existing pipe in place and run a new PVC overflow line over the top—something we can keep higher and route around the worst obstacles?
The problem is, there’s a sprinkler line, power, landscaping, and unknown buried lines. Everything is in use, and everything is in the way.
Updated Plan: Install a New Overflow Line
Let me catch you up. The culvert is extremely deep and runs directly beneath the tree. The homeowners are anxious—if it rains heavily, they’re worried the backyard will flood, and they can’t even comfortably leave town.
After a lot of discussion, we’re leaning toward installing an 8-inch PVC line from the catch basin and running it straight across as an overflow. We’ll cut a narrow trench—about 12 inches wide—and lay the new line above the old one.
We’ll leave the existing pipe in place since it still flows, but it clearly can’t handle capacity and may not be properly graded. When we camera the line, we can see mud and staining along the sides—evidence that it’s holding water. Even if we patch one damaged spot, the overall system may still fail.
A new PVC line gives a real solution instead of a temporary band-aid. I’ll put together a quote, and we’ll mark the site here for now.
Wrap-Up
The best part is: we found the pipe exactly—because of the locating meter. Sanyipace really came through for us on this one. The inspection camera, paired with the 512 locator, let us dial in the location precisely. I showed up prepared to cut concrete where the homeowner said the pipe was, and it turned out the pipe was nowhere near that area.

This was a difficult project, and I went back and forth on it a lot. Once you start digging without knowing what you’ll hit, there are countless ways things can go wrong. Having the camera and locator made all the difference in moving this job forward.
We’ll be doing the actual work soon—likely cutting straight into the pool deck—so stay tuned for that video. Let me know what you think. This is one of those jobs where the information you start with doesn’t match what you find in the field, and you have to adapt fast.
Thanks for watching, and I’ll see you on the next one.
Related reading: Best Sewer Cameras


Hinterlassen Sie einen Kommentar