


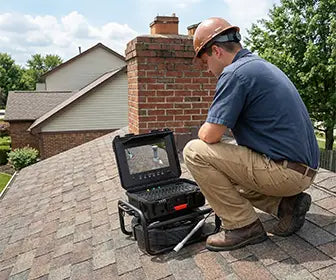


Recensione della telecamera idraulica: Sanyipace Sistema di ispezione fognaria touchscreen
Non molto tempo fa, ho recensito un professionista telecamera idraulica sistema da

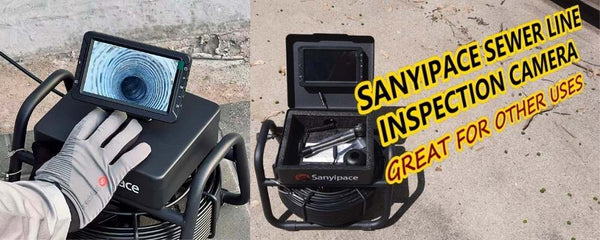
Unboxing del prodotto Plumbing Camera
Questa unità di prova è stata fornita dall'azienda, ma la mia recensione è imparziale. Il modello in prova è il S610ASMKTCPÈ dotato di un touchscreen da 10,1 pollici e di 50 metri (165 piedi) di cavo con il telecamera fognaria.
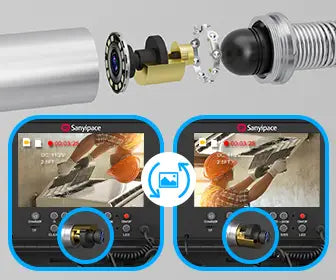
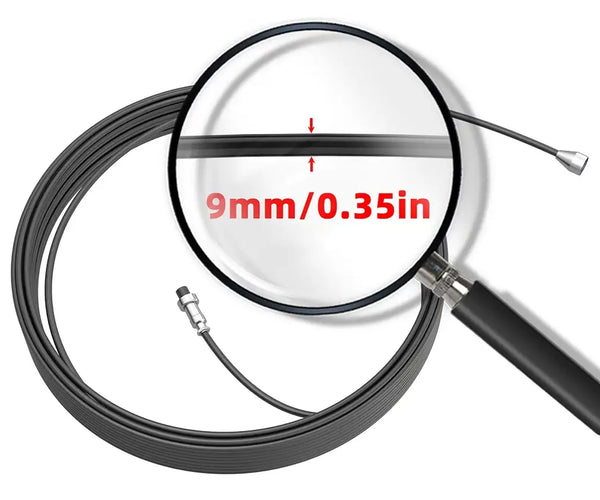
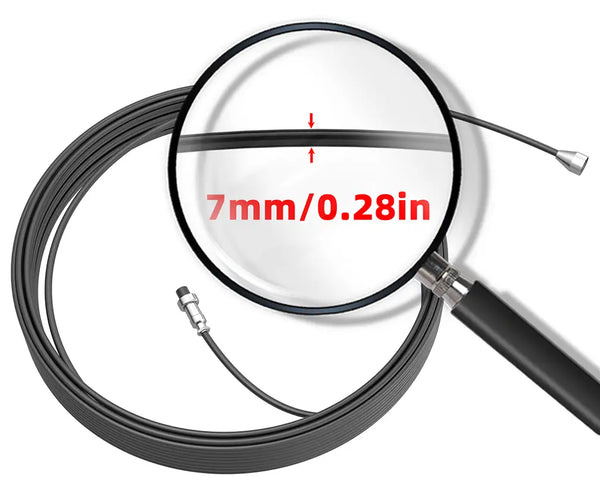
Rispetto al precedente telecamera di scarico Ho recensito questo modello, che ha un design più industriale. La maniglia per il trasporto si integra con la custodia e il gruppo bobina per un trasporto senza interruzioni. Il cavo si alimenta direttamente dalla bobina e la scatola di controllo è alloggiata all'interno di una robusta custodia in stile Pelican. Il sistema pesa 12 kg e include connettori a vite e un cavo a spirale, che consentono di posizionare la scatola di controllo separatamente tramite guide scorrevoli e perni di bloccaggio. È inoltre dotato di una guarnizione impermeabile e di una valvola di equalizzazione della pressione.

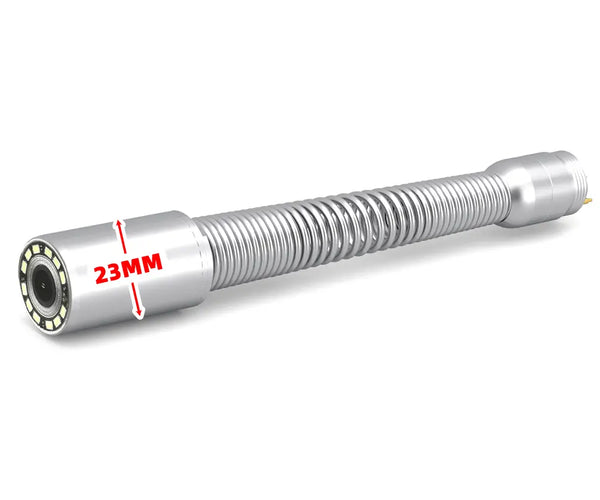
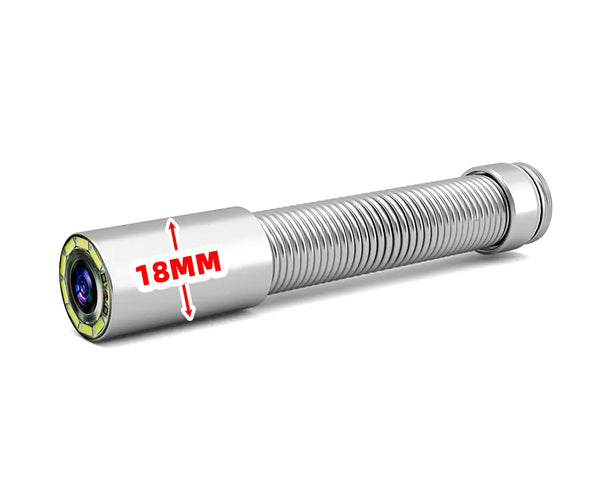
Dettagli della testa della telecamera idraulica
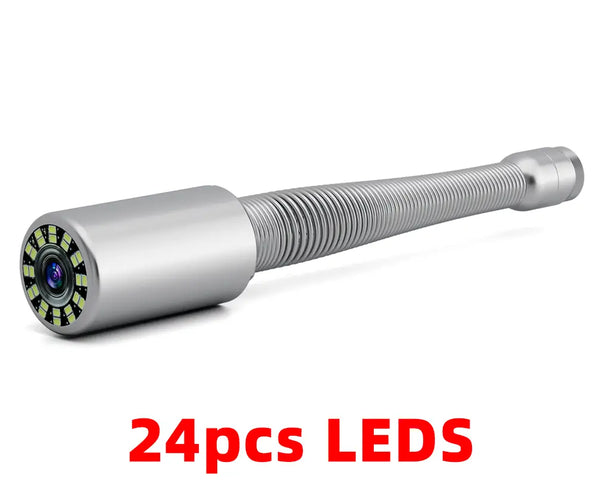
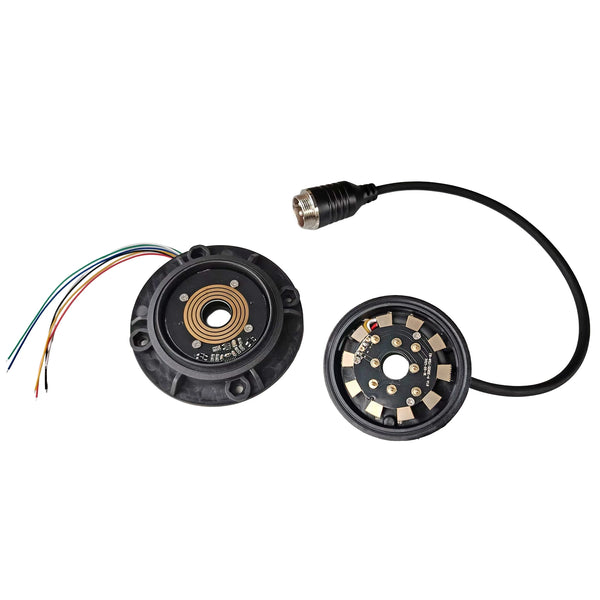
Questo sistema telecamera fognaria È simile alla versione precedente. Ha una risoluzione di 1080p e un diametro di 23 mm. Il trasmettitore integrato a 512 Hz consente un tracciamento accurato della telecamera. Una copertura in vetro zaffiro protegge l'obiettivo.
Questo aggiornato telecamera per l'ispezione degli scarichi È autolivellante, garantendo un'immagine stabile indipendentemente dall'orientamento della fotocamera. Include un LED da 1 watt con luminosità regolabile, un angolo di visione di 120° e un corpo in acciaio inossidabile. Il materiale magnetico in acciaio inossidabile deve essere pulito dopo l'uso per prevenire la ruggine. L'impugnatura e l'alloggiamento sono in alluminio, mentre il gruppo bobina sembra essere in acciaio cromato.
Alimentato da una batteria al litio da 4500 mAh, il telecamera di scarico Offre 6-8 ore di utilizzo. Viene fornito con un caricabatterie da parete universale (ingresso 100-240 V, uscita 12,6 V 1 A). Prima di testarlo, diamo un'occhiata al sistema da tutti i lati.

Telaio per telecamera idraulica & Sistema di cavi
Nella parte inferiore, l'unità è dotata di spessi piedini in gomma imbullonati che rimangono saldamente fissati. Bulloni in acciaio inox a testa piatta e un bullone esagonale più grande fissano il perno distanziale in acciaio inox per il mulinello. Il mulinello funziona senza intoppi e ospita una testa flessibile che facilita la navigazione nelle curve dei tubi.
Dal basso si possono vedere le doppie rotaie. Per utilizzare il telecamera fognaria, rimuoverlo dal suo supporto e ruotare la bobina mentre la si inserisce. Invertire il movimento per ritrarla. I perni metallici facilitano lo sgancio della scatola di controllo.
La custodia si apre con un fermo a molla. Uno schermo metallico si solleva per garantire la visibilità alla luce del sole. All'interno sono presenti uno slot per schede SD, una scheda micro e un jack per le cuffie. La solida guarnizione garantisce una tenuta stagna ottimale.

Caratteristiche funzionali della telecamera per l'ispezione delle tubature
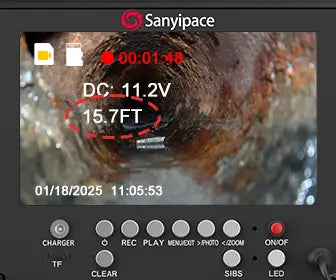
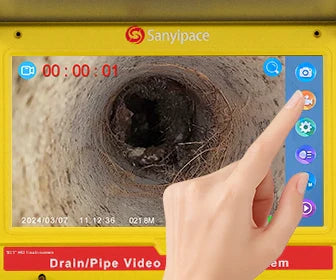
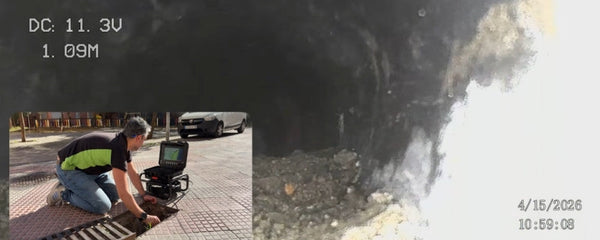
La tastiera consente di annotare le ispezioni. Le note appaiono nell'angolo in alto a sinistra del video. Il touchscreen da 10,1 pollici monitora la distanza dei cavi e individua eventuali ostruzioni. L'audio viene registrato dalla centralina, il video dalla telecamera.
Caratteristiche principali:
-
Luminosità LED regolabile
-
Funzione zoom
-
Grado di impermeabilità IP68
-
Trasmettitore 512Hz
-
Autolivellante telecamera fognaria
Gli accessori sono riposti sotto la tastiera. Disattivare la batteria per riporli. Inclusi:
-
Guida centrale in nylon per tubi più grandi
-
Manicotto protettivo per aiutare il telecamera idraulica affrontare le curve e prevenire i danni

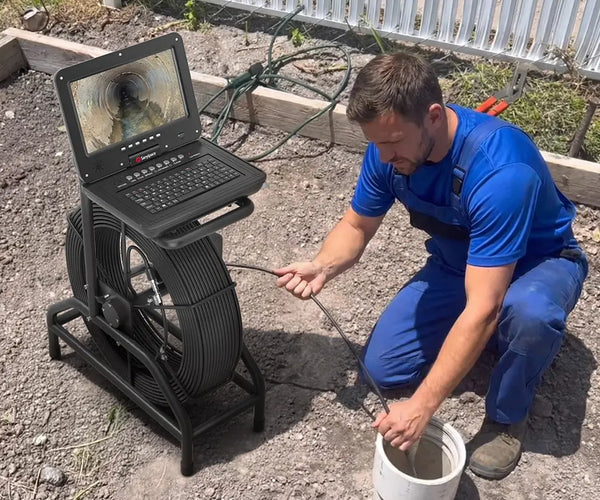
Utilizzo del touchscreen & Impostazioni
Accendi il telecamera idraulica e puntarlo verso il basso per verificare la qualità dell'immagine. La luminosità della luce ha tre livelli. La misurazione può essere impostata in piedi o metri. Il contatore si azzera con il pulsante di cancellazione.
Dopo aver raggiunto la pulizia, premere "Cancella" per iniziare il tracciamento. Nel menu delle impostazioni, regolare luminosità, contrasto e saturazione. Scegliere tra unità di misura metriche e imperiali. Ripristinare le impostazioni predefinite o calibrare il contatore utilizzando un metro a nastro, se necessario.
Per annotare, tocca l'icona della fotocamera per salvare le istantanee dalla telecamera fognaria—e.g., per un blocco trovato a 20 piedi.

Al momento sono a circa 2 piedi e mezzo di distanza e il motivo per cui non si vede è perché ho toccato il pulsante di cancellazione. Quindi quello che dovresti fare è tirare fuori il cavo giusto quanto basta per arrivare al punto di pulizia, e poi premere il pulsante di pulizia. Quando lo premi, il conteggio va a zero. E mentre inserisci il filo, vedrai questo numero aumentare. Funziona sicuramente. Lo vedrai nel video che mostrerò qui fuori.

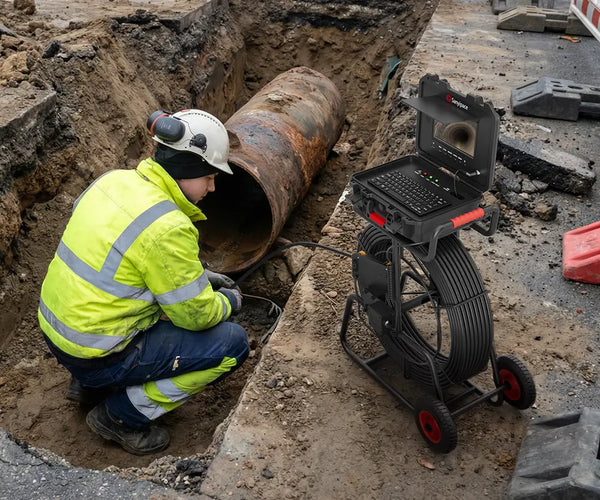
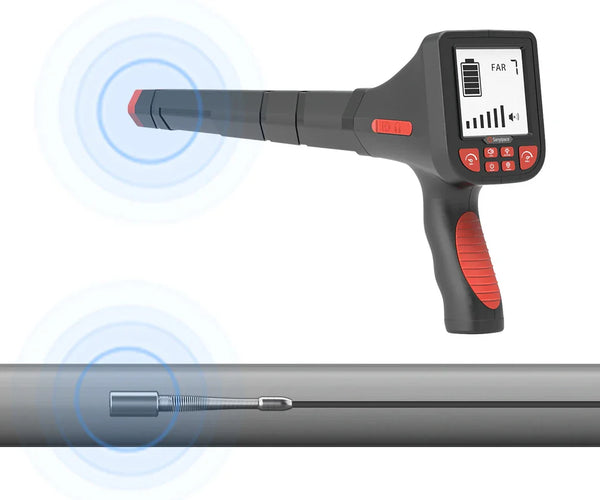
Come to Utilizzare il Telecamera idraulica localizzatore?
Inserisci il telecamera idraulica nella tua rete fognaria per monitorare cambiamenti come il passaggio dal PVC alla ghisa. La bacchetta localizzatore è fornita in una robusta custodia con valvola di pressione. Le caratteristiche includono:
-
Caricabatterie CC
-
Misuratore di sensibilità
-
Altoparlante di avviso acustico
-
Indicatore del livello della batteria

Accenderlo ed eseguire la scansione dell'area. Quando la sensibilità raggiunge il picco, passare alla modalità vicina e ridurre la sensibilità per una precisione millimetrica. Una forte oscillazione dell'ago significa che sei direttamente sopra l'area. telecamera per l'ispezione degli scarichi.
Da 3,5 piedi di distanza, il segnale acustico aumenta di volume. Questo localizzatore è più sensibile di altri che ho usato. Rileva il telecamera idraulica fino a 4 piedi di profondità in vari materiali di tubazione.

La mia linea fognaria corre lungo la casa e sotto il vialetto. telecamera idraulica l'ha rintracciato senza problemi. Il localizzatore ha identificato con precisione il telecamera fognaria 2 piedi di profondità sotto l'asfalto in un tubo di ghisa.
Conclusione: ne vale la pena?
Allora, cosa ne penso? sistema di ispezione degli scarichi? Sono davvero impressionato. La testa della telecamera è saldamente fissata, fornendo immagini stabili e nitide. Inoltre, la bacchetta di localizzazione è estremamente reattiva e precisa.
Nel mio caso specifico, ha rilevato una condotta fognaria profonda 45 piedi.Anche la registrazione audio ha funzionato senza intoppi. L'interfaccia utente è intuitiva e tutti i componenti hanno funzionato come promesso.
Se hai trovato utile questa recensione, non dimenticare di darle un pollice in su e condividerla con gli altri. Grazie per averla guardata!

Link al prodotto: https://bit.ly/3Lic3Ww
Guarda la recensione video qui: https://youtu.be/n2Z4VE9NiXg


Lascia un commento